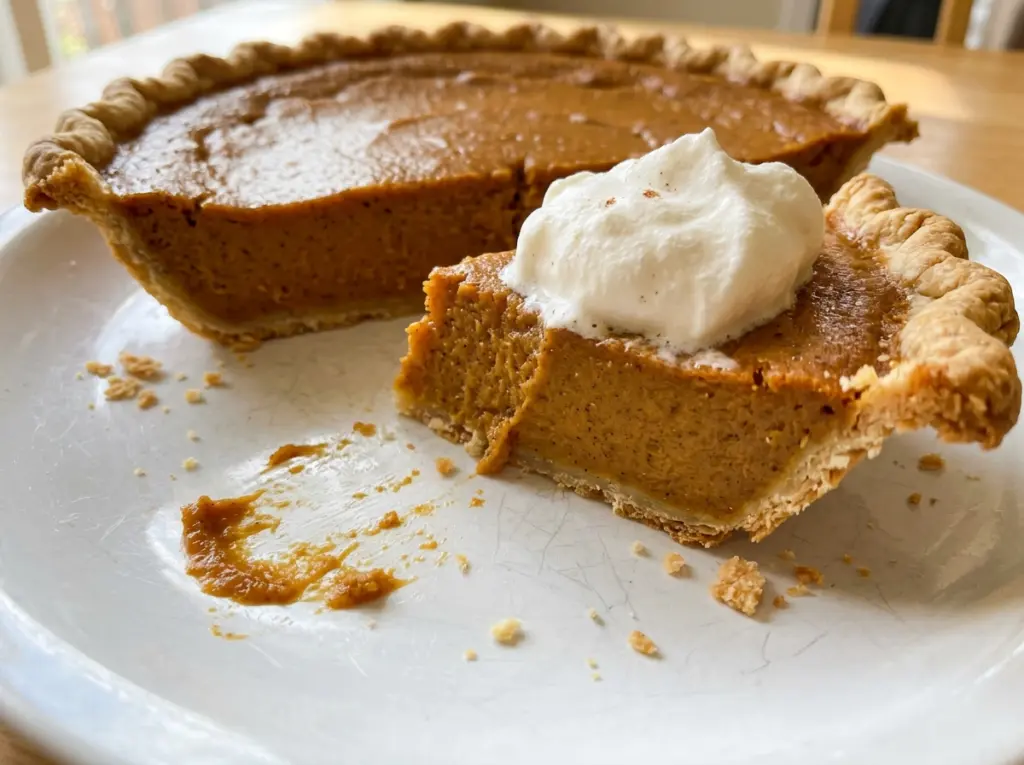
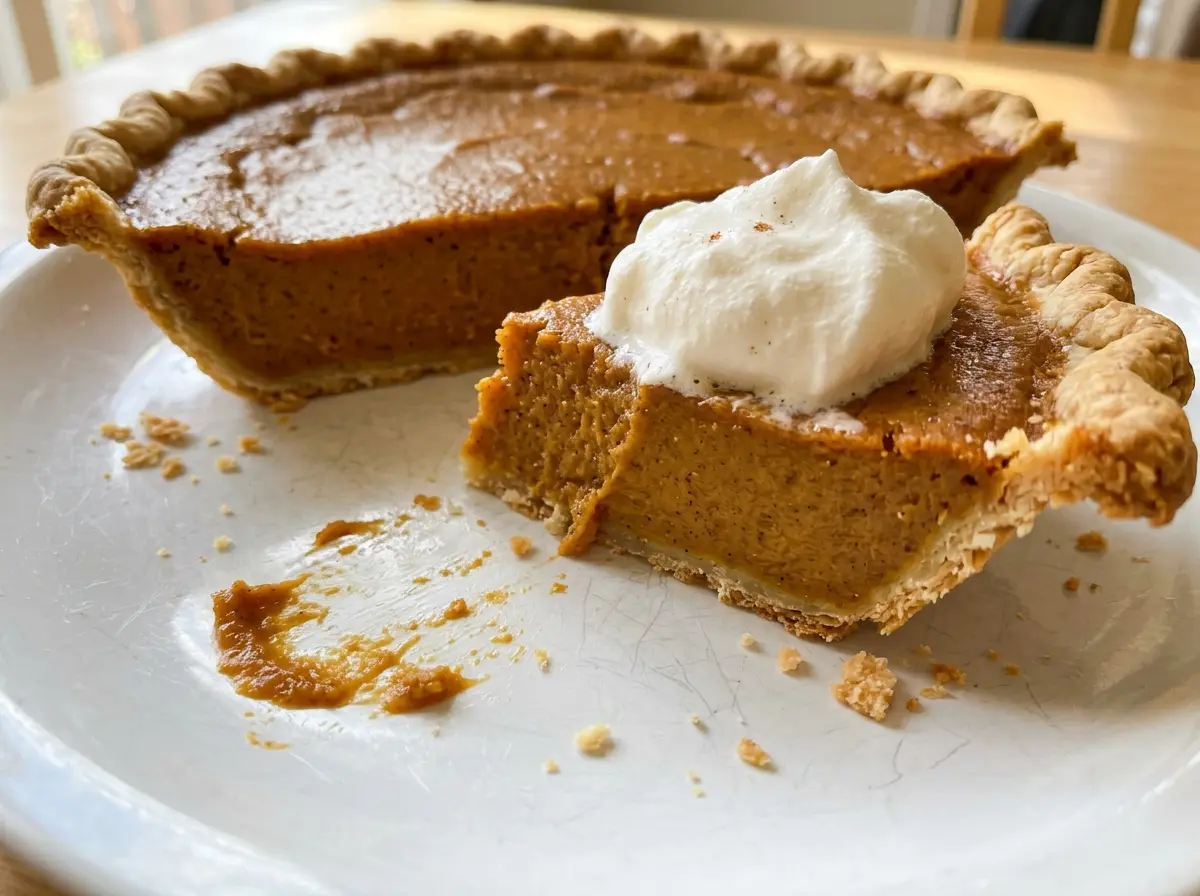
At the oven door, the center of a pumpkin pie can look underdone even after the edges have set. That slight wobble is worth paying attention to: bake until the filling reaches the right temperature, then let chilling finish the job. Cutting into it while it’s still warm leaves you with a soft, messy slice instead of the clean custard texture I want from Classic Pumpkin Pie.
This version pairs a homemade butter crust with a filling made from canned pumpkin puree, eggs, warm spices, and evaporated milk. I keep the crust cold while I work, then give the oven a high-heat start before lowering the temperature for the longer bake. The filling is whisked by hand, so there’s no extra equipment or complicated technique to manage. Once the pie has cooled and chilled completely, each slice holds its shape, with a tender pastry edge and a smooth, gently spiced center.
Kitchen Note
The dough may look crumbly in the bowl before it’s ready. Stop adding water when a pinch holds together; the full 4 tablespoons aren’t always needed.
Save Classic Pumpkin Pie for a smooth, warmly spiced filling and a flaky homemade crust that’s worth the chill time.
Why This Pumpkin Pie Changes Temperature Mid-Bake
A pumpkin pie filling is a custard: eggs help it set, but they can turn firm and grainy if the filling gets too hot. The two oven temperatures give the pastry a hotter start, then ease the custard through its longer bake at a gentler heat. That balance matters because the filling needs time to cook through without forcing the edges to overcook while the center catches up.
The first 15 minutes at 425°F get the pie baking in a hot oven. After that, lowering the temperature to 350°F gives the filling a steadier stretch of heat. Don’t wait for the center to look completely firm in the oven. The slight wobble and the 160°F reading near the center are the useful cues; cooling and chilling take the pie the rest of the way to a sliceable set. This is why a pumpkin pie can look just a little loose when it comes out and still cut cleanly later.
What the Pumpkin, Evaporated Milk, and Butter Each Bring

- Pumpkin puree — Choose plain canned pumpkin puree, not prepared pumpkin pie filling. The latter already contains sweetener and spices, so it would throw off the filling’s balance. A can of puree is convenient and consistent; there’s no need to pay extra for a specialty brand.
- Evaporated milk — This canned milk brings a concentrated dairy richness without adding as much water as regular milk. Regular milk isn’t a like-for-like swap, and sweetened condensed milk would add sugar as well as a different thickness. For this filling, stick with evaporated milk.
- Eggs and sugar — The eggs set the custard, while the granulated sugar sweetens it and contributes to its soft texture. Use large eggs as listed so the filling sets as expected. Whisk them with the other filling ingredients until the mixture is even, without beating in lots of foam.
- Cinnamon, ginger, and cloves — Keeping the spices separate lets each one come through without relying on a premixed blend whose proportions vary by brand. Ground spices should smell warm and fragrant when you open the jar; if they’ve been sitting around until they smell dusty, the pie will taste flatter.
- Cold unsalted butter — The butter should be cold and cut into small cubes before it goes into the flour. That gives you distinct bits of fat to work through the dough and keeps the crust from becoming greasy during mixing. Unsalted butter also leaves the salt level in your hands.
- Flour and salt — All-purpose flour gives the crust enough structure to hold the filling. Fine salt seasons both the pastry and the filling; dividing it between the two keeps the crust from tasting bland while the custard gets its share too.
From Pea-Size Butter Bits to a Set Custard
Cut the butter into the flour
Whisk the flour with half of the salt in a medium bowl. Cut in the cold butter until the pieces are about pea-size, rather than working it until the mixture looks like uniform sand. Those small butter pieces are what keep the pastry tender. If the butter starts to soften while you work, pause and chill the mixture before moving on.
Chill, roll, and shape the shell
Mix in ice water gradually, gather the dough into a disk, wrap it, and refrigerate it for 1 hour. Roll the chilled dough on a lightly floured surface into a 12-inch circle, then fit it into a 9-inch pie plate. Fold and crimp the edges without pulling the pastry tight across the plate. Refrigerate the shaped crust for 15 minutes as the oven heats to 425°F.
Whisk the filling until even
Whisk the eggs, sugar, pumpkin, cinnamon, ginger, cloves, and the remaining salt in a large bowl. The mixture should look evenly colored, with no streaks of egg or pockets of spice clinging to the sides. Whisk in the evaporated milk until the filling is smooth. Avoid whipping vigorously; a foamy top can make the baked surface less even.
Bake, cool, and chill before slicing
Pour the filling into the chilled crust and bake at 425°F for 15 minutes, then lower the oven to 350°F and continue baking for 40 to 50 minutes. Look for set edges and a center that still has a slight wobble; check near the center with an instant-read thermometer, which should register 160°F. If the center is completely firm in the oven, it has gone past the best cue for a tender custard. Cool the pie on a wire rack for 2 hours, then refrigerate it until completely chilled before slicing.
Two Thoughtful Ways to Change the Pie
Make the crust gluten-free
Replace the all-purpose flour with a cup-for-cup gluten-free baking blend intended for pastry, using the same measure. The dough may be more delicate to roll, so keep it cold and patch small cracks with your fingers. The filling stays the same, while the crust will have a slightly different, more tender texture.
Make the spice gentler
For a softer, less clove-forward pie, leave out the ground cloves and keep the cinnamon and ginger at their listed amounts. The result is still warmly spiced, but the sharper note at the back of each bite is milder. This changes the flavor without changing the filling method.
Storage and Reheating
- Refrigerator: Keep the covered pie refrigerated for 3 to 4 days. The crust gradually softens where it meets the filling.
- Freezer: Once completely chilled, wrap the whole pie or individual slices tightly and freeze for up to 1 month for best quality. Thaw in the refrigerator before serving.
- Reheating: This custard pie is best served chilled, so reheating isn’t needed. Warming it can soften the set filling and make slices harder to lift cleanly.
Questions That Come Up While Baking Pumpkin Pie
Classic Pumpkin Pie
Ingredients
Equipment
Method
- Whisk the flour and 1/2 teaspoon of the salt in a medium bowl.
- Cut in the butter until the pieces are about pea-size.
- Add ice water 1 tablespoon at a time, mixing just until the dough holds together when pinched, using 3 to 4 tablespoons total.
- Form the dough into a disk, wrap, and refrigerate for 1 hour.
- Roll the dough on a lightly floured surface into a 12-inch circle.
- Fit the dough into a 9-inch pie plate, then fold and crimp the edges.
- Refrigerate the crust for 15 minutes while the oven heats to 425°F.
- Whisk the eggs, sugar, pumpkin, cinnamon, ginger, cloves, and remaining 1/2 teaspoon salt in a large bowl.
- Whisk in the evaporated milk.
- Pour the filling into the chilled crust and bake at 425°F for 15 minutes.
- Reduce the oven temperature to 350°F and bake for 40 to 50 minutes, until the edges are set, the center still has a slight wobble, and an instant-read thermometer inserted near the center registers 160°F.
- Cool on a wire rack for 2 hours.
- Refrigerate until completely chilled before slicing.


