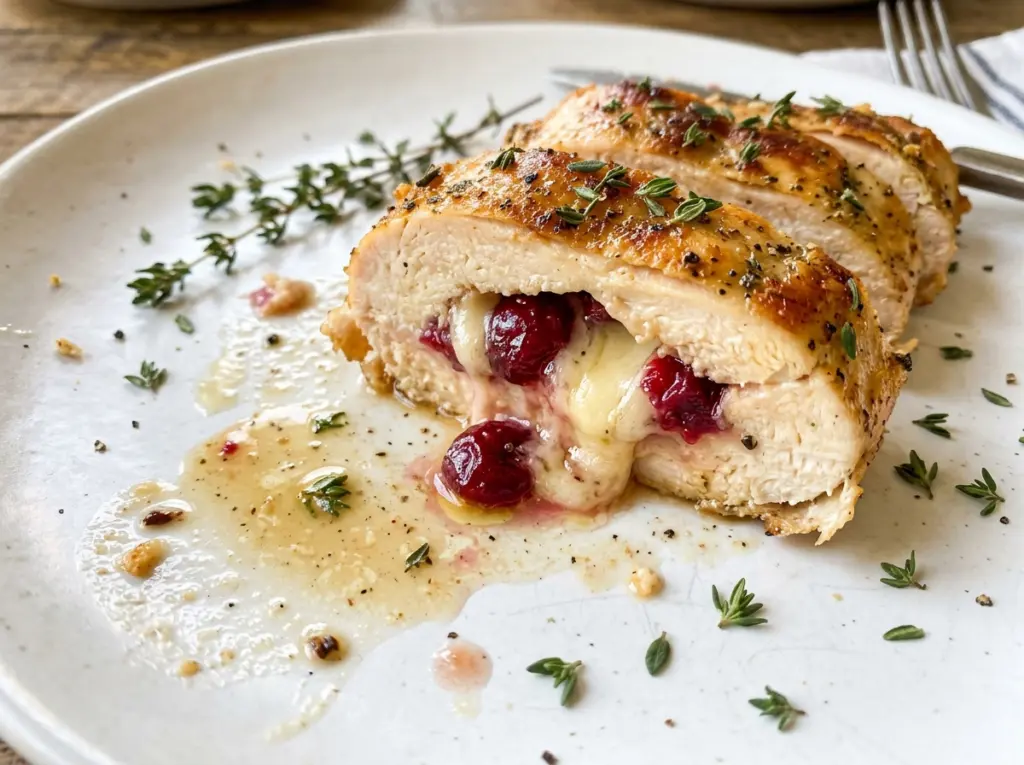
The oil should shimmer before the chicken goes into the skillet; that first sizzle is your cue that the pan is ready to brown the outside instead of letting the chicken sit and steam. For Cranberry Brie Stuffed Chicken, I tuck whole-berry cranberry sauce and a slice of Brie into each breast, then sear the chicken before it goes into the oven. The cranberry stays bright against the creamy cheese, and the browned exterior gives each piece a savory edge.
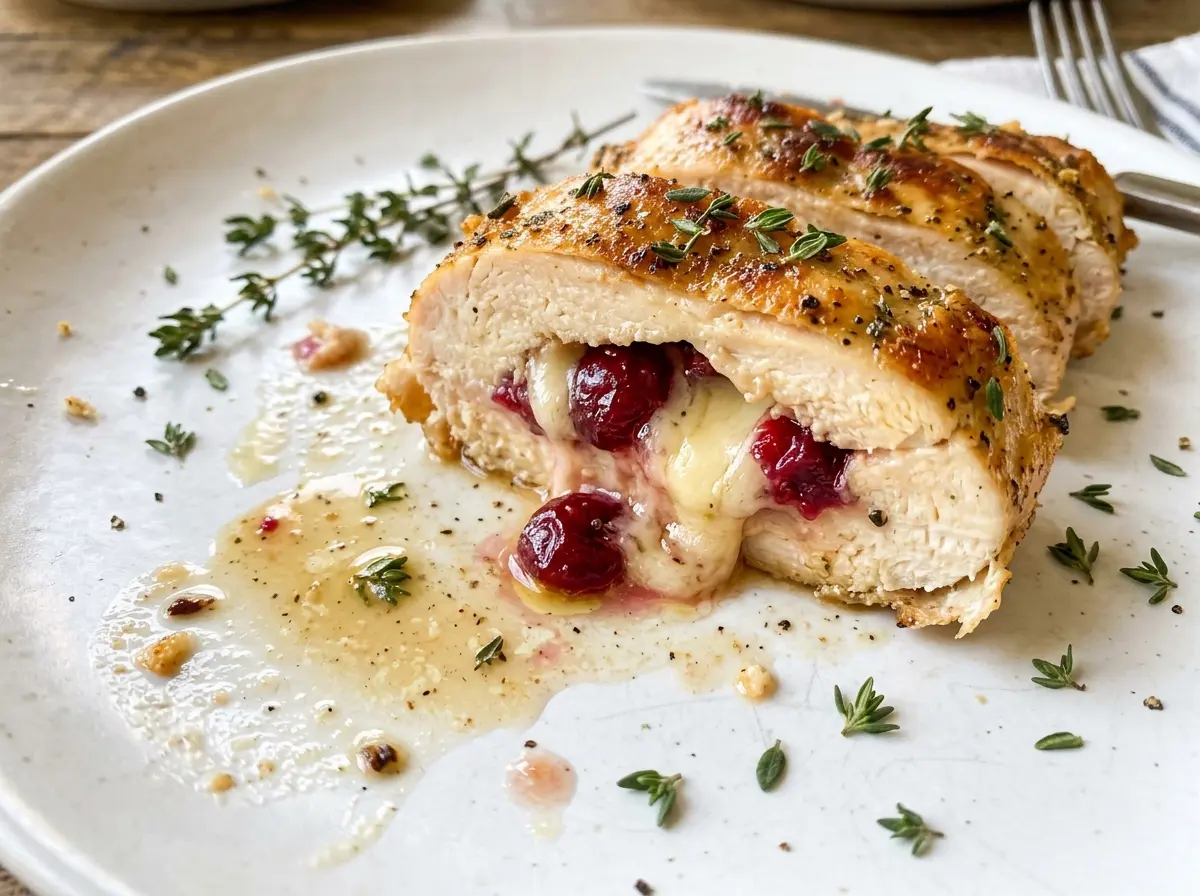
Stuffed chicken can be a little awkward to handle, but a pocket cut into the thick side is easier to fill than slicing the breast all the way open. Secure each opening with toothpicks, and the filling stays tucked inside while the chicken cooks. I like this combination because the tart berries cut through Brie’s richness without needing a separate sauce. At the table, each slice shows a warm center of cranberry and melted cheese.
Kitchen Note
Check the thickest part of the chicken breast for 165°F, keeping the thermometer out of the cranberry and Brie filling. The center of the filling can give you a misleading reading, so aim for the meat itself.
Save Cranberry Brie Stuffed Chicken for a dinner with golden-seared chicken and a warm, tart-and-creamy center.
Why Searing First Matters More Than a Longer Oven Bake
Once the chicken is filled, it’s tempting to rely on the oven for the whole job. Searing first gives the outside a browned surface before the center finishes cooking, and that matters with a stuffed breast: the filling needs time to warm while the meat reaches a safe temperature. A quick, hot sear gives you that color without asking the oven to do everything.
The 12-inch oven-safe skillet keeps the method straightforward. After both sides brown, the same skillet goes into the oven, so you don’t have to move the chicken or lose the browned bits left in the pan. The goal during searing isn’t to cook the breasts through. Look for a browned exterior, then let the oven finish the middle gently. Since these breasts range from 6 to 8 ounces, check each one rather than assuming they’ll all be ready at the same moment.
There’s a useful distinction here: browning is a visual cue, while doneness is a temperature check. A deeply colored outside doesn’t tell you whether the thickest part is cooked through, and a pale breast doesn’t need extra oven time if it has already reached the right temperature. Let the skillet do both jobs in sequence, and you get color without treating the filling as a timer.
Why Whole-Berry Cranberry Sauce Works So Well with Brie

- Whole-berry cranberry sauce brings tart fruit and a little texture to the center. Its berries give the filling more character than a smooth sauce, and the spoonful is small enough to sit beside the cheese inside the pocket. Use a sauce you enjoy eating on its own; there’s no need to seek out a specialty brand.
- Brie softens into a creamy, rich center as the chicken bakes. A good-quality wedge is pleasant here, but an everyday Brie works well since it’s warmed inside the chicken rather than served on a cheese board. Cut it into slices that fit the pockets; the source of the cheese’s creaminess is the Brie itself, so a hard cheese won’t give the same result.
- Chicken breasts are the sturdy wrapping for the filling. Look for boneless, skinless pieces in the specified 6-to-8-ounce range, and pay attention to the thick side as you cut each pocket. If one breast is much larger than the others, it may need more oven time, so judge doneness individually.
- Dried thyme, black pepper, and kosher salt season the chicken’s exterior without crowding the cranberry and Brie. Dried thyme is convenient and distributes easily through the seasoning. Olive oil is there to help the chicken brown in the skillet; a neutral cooking oil can stand in if you’re out, though olive oil’s mild savory note fits naturally here.
Stuffing, Searing, and Finishing the Chicken Without Losing the Filling
Cut a Pocket That Holds the Filling
Heat the oven to 375°F before you start filling the chicken. Cut a horizontal pocket into the thick side of each breast, stopping before the knife cuts through the opposite side. Spoon the cranberry sauce into the pocket and add a slice of Brie, keeping the filling inside rather than spreading it along the outer surface. Secure each opening with toothpicks; if the cut goes all the way through, the filling has an easy route out.
Season and Brown Both Sides
Season the chicken all over with kosher salt, black pepper, and dried thyme. Heat the olive oil in a 12-inch oven-safe skillet over medium-high heat until it shimmers. Set the chicken in the hot skillet and sear it for 3 to 4 minutes per side, until browned. If the chicken sticks at first, give the surface time to brown before trying to turn it rather than pulling at it.
Let the Oven Finish the Centers
Transfer the skillet to the preheated oven and bake the chicken for 10 to 18 minutes. The thicker breast may take longer than a smaller one, so check the thickest part of each piece and stop once the chicken reaches 165°F. Keep the thermometer in the meat, away from the filling, for a useful reading. A little cheese escaping doesn’t mean the chicken has failed; use the chicken’s temperature, not the amount of visible cheese, to decide when it’s ready.
Rest Before Removing the Toothpicks
Take the skillet out of the oven and let the chicken rest for 5 minutes. That short pause gives the hot filling a moment to settle instead of running out as soon as you cut into a breast. Remove every toothpick before serving, and check the openings carefully so none are left behind. The centers will still be warm and soft when you slice in.
Two Simple Ways to Change the Flavor Without Losing the Balance
Swap the Thyme for Dried Rosemary
Use dried rosemary in place of the dried thyme, keeping the same amount. Rosemary brings a more piney, assertive aroma, so the chicken tastes more herb-forward while the cranberry and Brie remain the center of the dish.
Make It Dairy-Free with Plant-Based Brie-Style Cheese
Replace the Brie with the same amount of a plant-based Brie-style cheese, cut into slices and tucked into the pockets as usual. The cranberry still provides its tart contrast, though the center may be less rich and creamy than one made with dairy Brie.
Storage and Reheating
- Refrigerator: Refrigerate leftovers within 2 hours and keep them covered for 3 to 4 days. The Brie will firm up when cold, and the filling may look less creamy until warmed.
- Freezer: Freeze cooled portions in an airtight container for up to 2 to 3 months. Thaw them in the refrigerator; the chicken remains usable, though Brie can lose some of its smooth texture after freezing.
- Reheating: Warm covered portions in a 325°F oven until the chicken reaches 165°F. Avoid reheating uncovered for too long, which can dry out the breast before the center warms through.
Questions That Come Up When Making Stuffed Chicken
Cranberry Brie Stuffed Chicken
Ingredients
Equipment
Method
- Preheat the oven to 375°F.
- Cut a horizontal pocket into the thick side of each chicken breast, taking care not to cut all the way through.
- Spoon 1 tablespoon cranberry sauce and place 1 slice of Brie in each pocket.
- Secure the openings with toothpicks.
- Season the chicken all over with the salt, pepper, and thyme.
- Heat the olive oil in a 12-inch oven-safe skillet over medium-high heat until shimmering.
- Sear the chicken for 3 to 4 minutes per side, until browned.
- Transfer the skillet to the oven and bake for 10 to 18 minutes, until the thickest part of each breast reaches 165°F, taking care not to measure the temperature in the filling.
- Rest the chicken for 5 minutes.
- Remove the toothpicks before serving.


