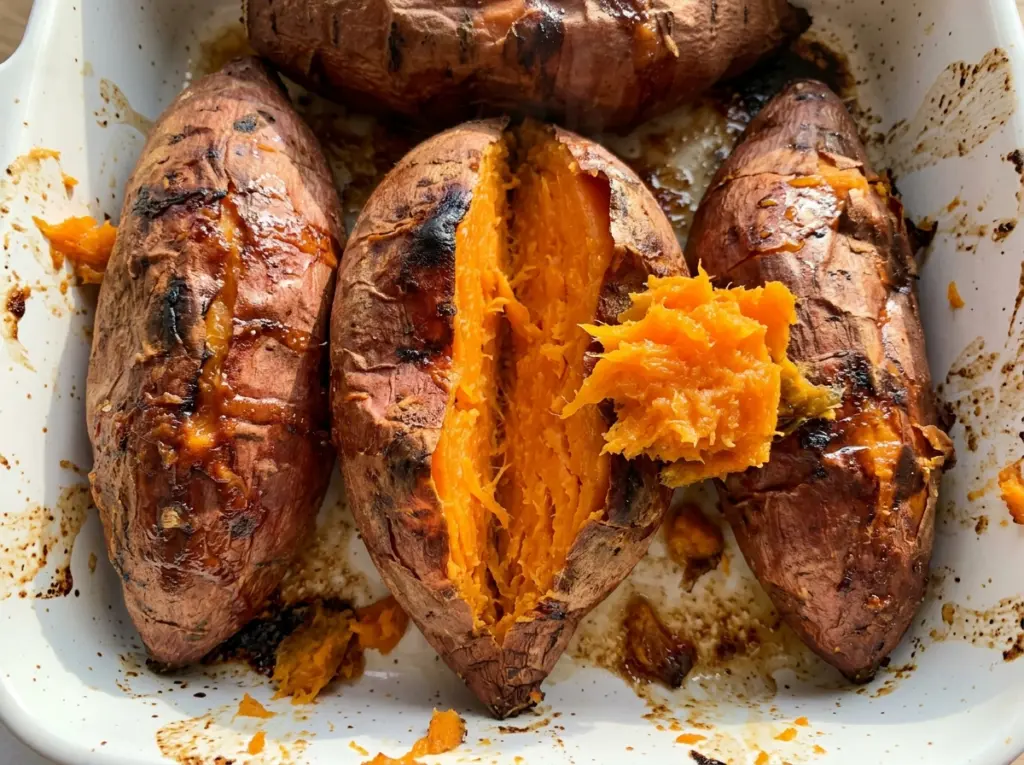
The knife test tells you more than the timer with a tray of sweet potatoes. One can turn tender before another, even when they went into the oven together, so I bake these until a knife slides easily into the center rather than pulling them out just because the clock says 45 minutes. That’s what gives these baked sweet potatoes soft, yielding centers without leaving a firm spot in the middle.
I keep the preparation simple: scrub the potatoes, dry them, pierce each one several times with a fork, and bake them whole. The foil-lined baking sheet catches any drips and saves you from scrubbing the pan later. Pick potatoes that are close in size, then let the knife—not guesswork—tell you when they’re ready.
After a five-minute rest, the skins are easy to open and the centers are tender enough to scoop. It’s a straightforward side dish, but the difference between just-baked and properly tender is worth watching for.
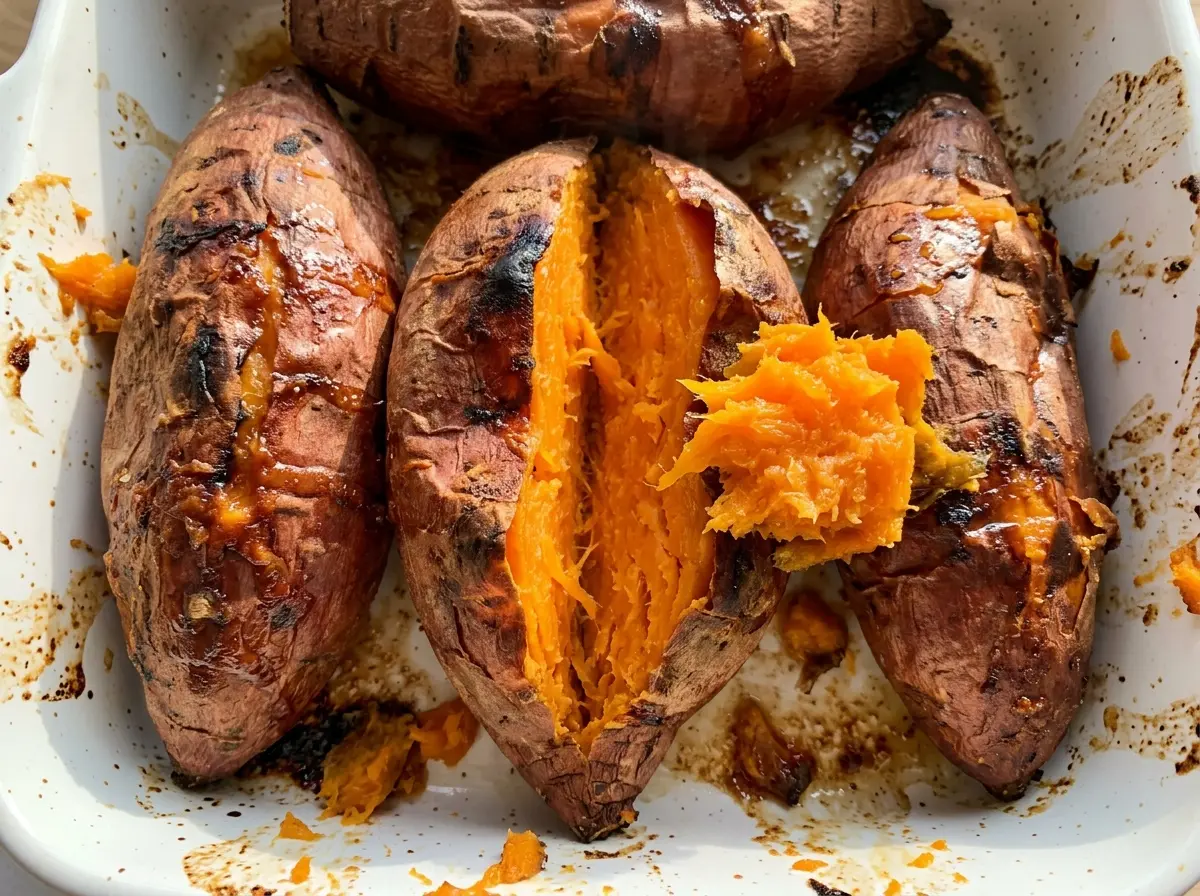
Kitchen Note
Line the rimmed baking sheet with foil before the potatoes go on. It catches any juices that escape as they bake, and cleanup stays easy.
Save these baked sweet potatoes for a simple side with tender centers and no extra ingredients to measure.
Why the Knife Test Beats the Timer for Baked Sweet Potatoes
Sweet potatoes don’t all soften at the same pace. Even within a batch, a potato at the smaller end of the medium range may be ready before one that’s a little fuller through the middle. The oven’s set to 400°F, but the 45-to-60-minute window is there for a reason: size and shape affect how quickly heat reaches the center.
At the early end of that window, test the thickest potato by inserting a knife into its center. If the blade meets a firm spot or takes effort to push through, the middle needs more time. Return the potatoes to the oven and check again later. When the knife slides in easily, the center has softened throughout. Don’t judge by the skin alone; a dark or wrinkled exterior doesn’t tell you whether the thickest part is tender.
This check also keeps you from leaving smaller potatoes in the oven longer than they need. Aim for a batch of similarly sized potatoes when you can, and use the same simple cue for each one. If one is ready first, you can take it out while the others finish rather than overbaking the whole tray.
What to Look for When Choosing Sweet Potatoes

- Sweet potatoes — Choose four medium potatoes, about 8 to 10 ounces each, so they’re sized for the same baking window. Firm potatoes without soft or damaged areas are easiest to scrub and handle whole. A similar size across the batch matters more than finding potatoes that look perfectly identical.
- Skin and shape — The skin stays on during baking, so look for potatoes that are intact and easy to clean. A smooth, fairly even shape is convenient because it makes it easier to pierce each potato several times and test the center with a knife. There’s no need to peel them before baking.
- Color and variety — Sweet potatoes come in different flesh colors and textures. Any sweet potato that fits the medium size range works here, though varieties can differ in how moist or starchy the cooked center feels. Since the recipe uses no seasoning to mask the potato’s natural character, choose the kind you like to eat plain.
- Preparation matters — Scrub away visible dirt, then dry the potatoes before piercing them. A fork gives you several small openings in each skin without cutting the potatoes apart. No oil or other ingredient is needed for this method.
From Scrubbed Potato to Tender Center
Heat the Oven and Line the Pan
Heat the oven to 400°F and line a rimmed baking sheet with foil. Use a rimmed pan so the potatoes sit securely as you move it in and out of the oven. Get the pan ready before handling the potatoes; once they’re clean and pierced, they can go straight onto it. The foil also makes it easier to lift away any residue after baking.
Scrub, Dry, and Pierce
Scrub each sweet potato under running water to remove dirt from the skin. Dry it well, then pierce it several times with a fork. Keep the potato whole rather than cutting into it, and spread the fork holes around the surface instead of making one deep puncture. Repeat for all four potatoes so each one is prepared the same way.
Bake Until a Knife Slides In Easily
Arrange the potatoes on the foil-lined sheet and bake for 45 to 60 minutes. Start checking by testing the center with a knife; the potato is ready when the blade slides in easily. If the center still feels firm, give it more time and test again rather than relying on the appearance of the skin. Smaller or slimmer potatoes may reach the tender stage sooner than larger ones.
Rest Before Serving
When the centers are tender, take the baking sheet from the oven and let the potatoes rest for 5 minutes before serving. That brief pause gives you a moment to handle them more comfortably. Open each potato when you’re ready to eat it, and check the center if you’re unsure whether it softened all the way through. The finished flesh should yield easily to a fork.
Two Ways to Change the Sweet Potato Without Adding Ingredients
Try a different sweet potato variety
Choose a purple-fleshed or pale-fleshed sweet potato instead of the familiar orange type for a different color and a change in the cooked texture. Keep the potatoes in the same medium size range and use the knife test to judge tenderness, since the variety may feel less moist or more starchy when baked. The method stays simple, but the potato itself takes center stage.
Turn the baked potatoes into a simple mash
For a different texture, let the baked potatoes rest, split them open, and mash the cooked flesh with a fork. This keeps the dish to its one ingredient while changing it from whole baked potatoes to a soft mash. It will be less structured on the plate, but the naturally sweet flavor stays front and center.
Storage and Reheating
- Refrigerator: Refrigerate cooked sweet potatoes within 2 hours and keep them in a covered container for 3 to 4 days. The skin softens in storage, while the center remains easy to scoop.
- Freezer: They freeze well. Cool completely, wrap each potato tightly, and freeze for up to 3 months for best quality; thaw in the refrigerator before reheating.
- Reheating: Warm a refrigerated potato in the microwave or in the oven until steaming hot throughout. For food safety, reheat leftovers to 165°F. Avoid overheating in the microwave, which can dry the center before it warms evenly.
Questions That Come Up When Baking Sweet Potatoes
Baked Sweet Potatoes
Ingredients
Equipment
Method
- Heat the oven to 400°F.
- Line a rimmed baking sheet with foil.
- Scrub the sweet potatoes.
- Dry the sweet potatoes.
- Pierce each sweet potato several times with a fork.
- Arrange the sweet potatoes on the baking sheet.
- Bake for 45 to 60 minutes, until a knife slides easily into the center.
- Let the sweet potatoes rest for 5 minutes before serving.


