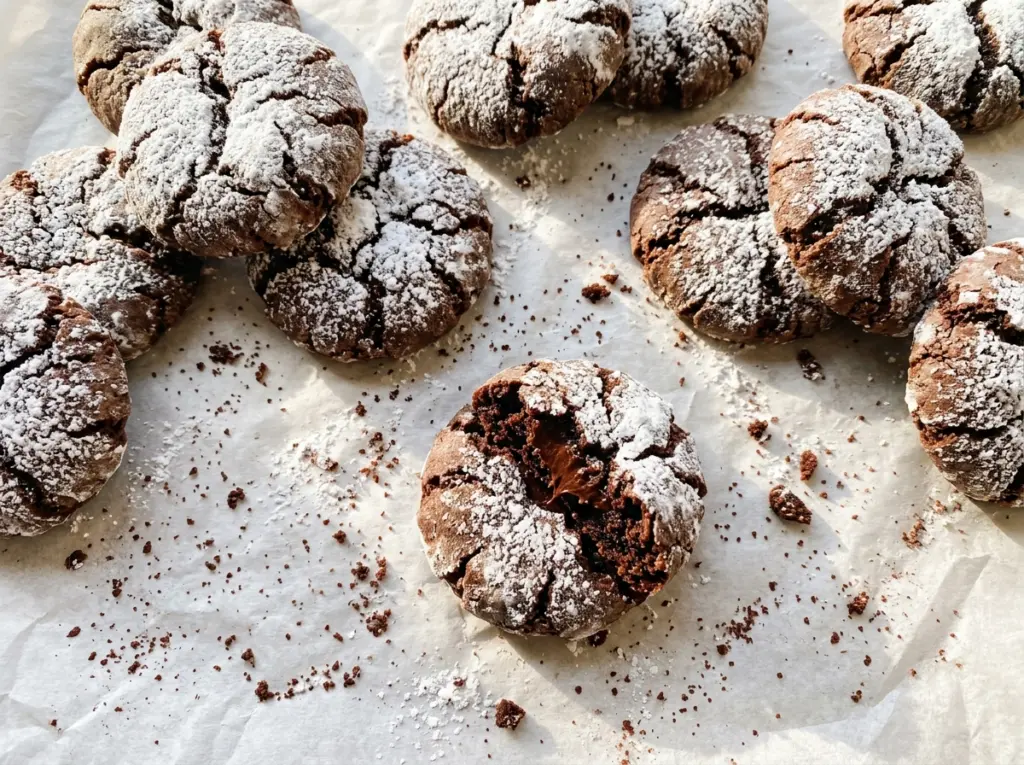
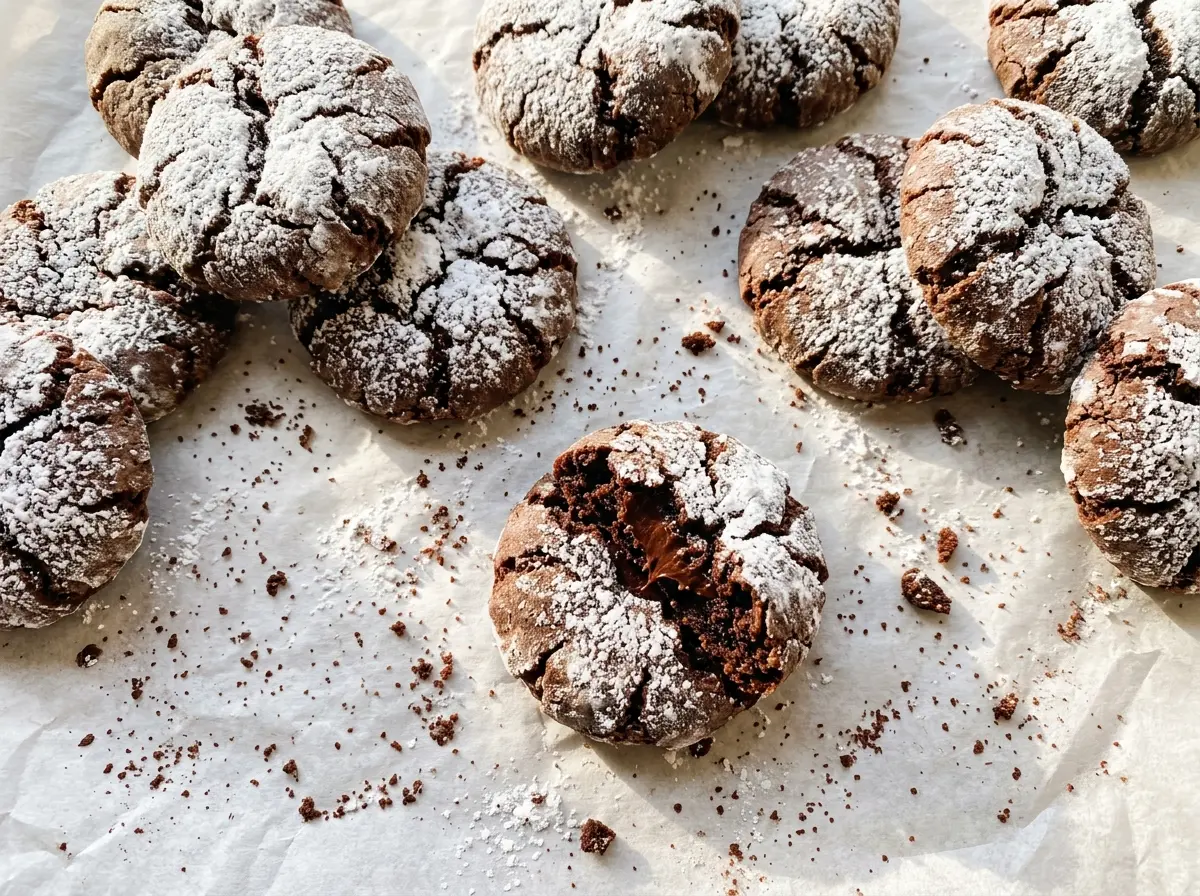
The first thing you notice when these cookies come out of the oven is the contrast: white powdered sugar split into little ridges around dark chocolate centers. Chocolate crinkle cookies can look a bit underbaked right when you pull them, and that’s exactly the point. The edges should be set while the centers are still soft.
I like this dough because the cocoa goes straight into the sugar and oil, so there’s no melted chocolate to fuss with. The long chill gives the dough time to firm up before you scoop it, and a generous coat of powdered sugar makes those crinkles stand out against the chocolate. Once cooled, the cookies are tender in the middle with a delicate, crackly outside.
Kitchen Note
Cover the dough well before it goes into the refrigerator. If its surface dries out, the outside can feel tougher than the center when you scoop and roll it.
Save these Chocolate Crinkle Cookies for a bake with soft chocolate centers and those unmistakable snowy cracks.
Why the Powdered Sugar Needs a Thick Coat to Crackle
Those pale fissures aren’t just decoration. As the dough expands in the oven, its surface breaks through the powdered sugar, creating the crinkled pattern and the dark-and-white contrast. If the coating is skimpy, more of the chocolate surface shows through and the cracks are less distinct. Roll every ball generously so it looks fully white before it goes onto the baking sheet.
The dough’s chill matters for a different reason: firm dough is easier to portion and roll, and it goes into the oven as a compact ball instead of a soft mound. That gives the outside time to crack as the cookie spreads. Don’t rush the refrigeration just because the dough looks mixed; wait until it’s firm enough to scoop and roll without slumping. The edges will set first in the oven, while the centers stay soft until the cookies cool.
What Cocoa, Oil, and Flour Do in These Chocolate Crinkles

- Unsweetened cocoa powder — This provides the cookies’ chocolate flavor without adding sugar, so stick with unsweetened cocoa rather than a sweetened drink mix. A good everyday cocoa works well; a Dutch-process version makes a useful flavor variation, while the recipe doesn’t depend on an expensive brand.
- Vegetable oil — Oil keeps the dough moist and gives the cooled centers a tender texture. There’s no need for a specialty oil; a neutral canola oil can stand in for vegetable oil in the same amount, while butter changes the texture and isn’t a direct swap.
- All-purpose flour — Flour gives the dough enough structure to hold its shape as it bakes. Spoon it into the measuring cup and level it rather than packing the cup, which can leave you with dry, stiff dough. A gluten-free blend needs to be designed as a one-to-one baking replacement, as described below.
- Eggs — The eggs bind the cocoa mixture and help the cookies set. Use large eggs for the intended balance; there isn’t a straightforward egg-free swap that keeps this dough’s structure the same.
- Baking powder — This gives the cookies lift as they bake, helping the dough spread and crack. Fresh baking powder matters more here than a premium brand.
- Powdered sugar and vanilla — Powdered sugar makes the pale coating, so use a dry, free-flowing bag rather than one with damp clumps. Vanilla rounds out the chocolate; an everyday extract is fine.
Mixing, Chilling, and Baking the Dough Without Guesswork
Whisk the Cocoa Base and Eggs
In a large bowl, whisk the granulated sugar, vegetable oil, and unsweetened cocoa powder until they’re evenly combined. The mixture will look thick and glossy rather than like a pourable cake batter. Whisk in the eggs one at a time, then add the vanilla. Adding the eggs individually helps them blend into the dense cocoa base.
Stop Stirring When the Flour Disappears
In a separate bowl, whisk the flour, baking powder, and salt together so the leavening is distributed through the flour. Stir that dry mixture into the cocoa mixture just until no dry streaks remain. The dough will be thick and sticky, which is expected; don’t keep mixing to make it smooth. Extra stirring after the flour disappears can make the cookies less tender.
Give the Dough Time to Firm Up
Cover the bowl and refrigerate the dough for at least 4 hours, or until it’s firm enough to scoop and roll. A soft, loose dough is harder to shape into neat balls and won’t hold its shape as well on the baking sheet. The texture, not just the clock, tells you when it’s ready. While the dough chills, heat the oven to 350°F and line two large baking sheets with parchment paper.
Coat, Bake, and Let the Centers Set
Put the powdered sugar in a shallow bowl. Scoop the dough into 1-tablespoon portions, roll each portion into a ball, then coat it generously in powdered sugar; arrange the balls about 2 inches apart on the prepared sheets. Bake one sheet at a time for 10 to 12 minutes, until the cookies are cracked and the edges look set while the centers remain soft. Leave them on the baking sheet for 5 minutes before transferring them to a wire rack to cool completely.
Two Useful Ways to Adapt These Chocolate Crinkles
Make a Gluten-Free Batch
Replace the all-purpose flour with a one-to-one gluten-free baking flour blend that includes xanthan gum. The dough may feel a little less elastic, and the finished cookies can have a more delicate crumb, so handle the rolled balls gently.
Use Dutch-Process Cocoa for a Milder Chocolate Note
Swap the unsweetened cocoa powder for the same amount of unsweetened Dutch-process cocoa. It gives the cookies a rounder, less sharp cocoa flavor while keeping the recipe’s chocolate-forward character; don’t use sweetened cocoa drink mix for this change.
Storage and Reheating
- Refrigerator: Keep the cookies airtight for up to 1 week; refrigeration firms the centers and can make the powdered sugar coating damp.
- Freezer: Freeze fully cooled cookies in an airtight container for up to 2 months, with parchment between layers. Thaw at room temperature before serving.
- Reheating: These are best at room temperature, so they don’t need reheating. Skip the microwave, which can turn the powdered sugar coating sticky and the centers gummy.
Questions That Come Up When Baking Chocolate Crinkle Cookies
Chocolate Crinkle Cookies
Ingredients
Equipment
Method
- In a large bowl, whisk together the granulated sugar, vegetable oil, and cocoa powder until evenly combined.
- Whisk in the eggs one at a time, then whisk in the vanilla extract.
- In a separate bowl, whisk together the flour, baking powder, and salt.
- Stir the dry ingredients into the cocoa mixture just until no dry streaks remain.
- Cover the dough and refrigerate for at least 4 hours, or until firm enough to scoop and roll.
- Heat the oven to 350°F.
- Line two large baking sheets with parchment paper.
- Put the powdered sugar in a shallow bowl.
- Scoop the dough into 1-tablespoon portions.
- Roll each portion into a ball.
- Coat each ball generously in powdered sugar.
- Arrange the balls about 2 inches apart on the prepared sheets.
- Bake one sheet at a time for 10 to 12 minutes, until the cookies are cracked and set at the edges but still soft in the centers.
- Let the cookies cool on the baking sheet for 5 minutes.
- Transfer the cookies to a wire rack to cool completely.


