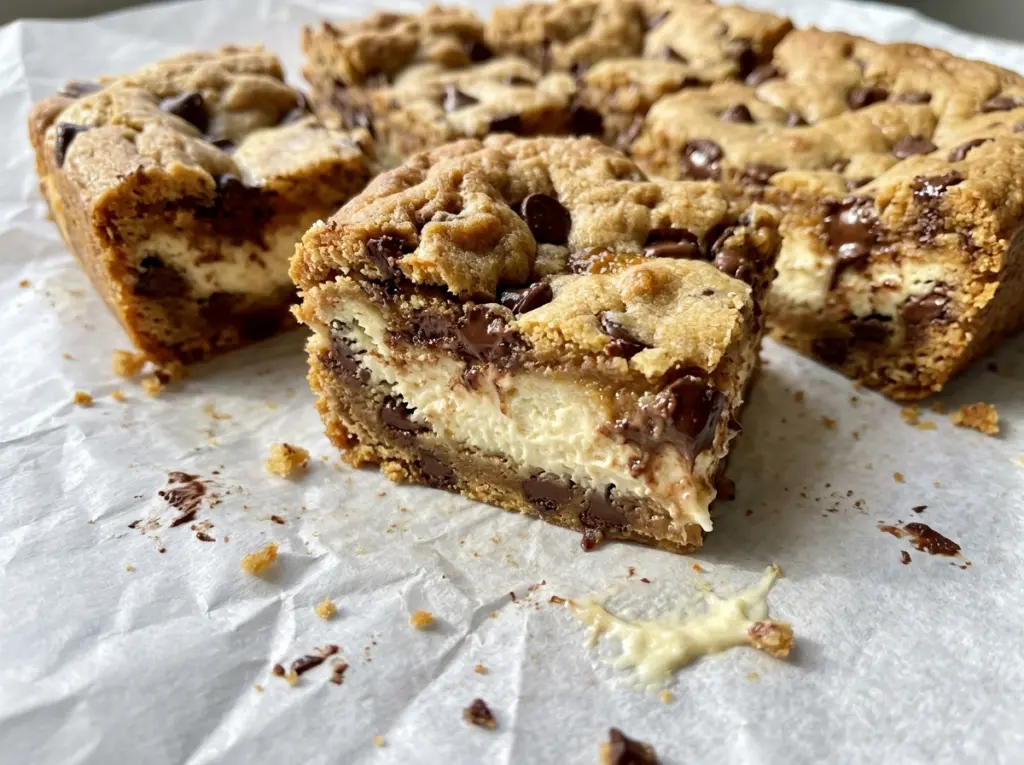
The cookie base comes out of the oven pale and set, not golden, and that can look a little unfinished. I leave it that way on purpose: it still has a second bake ahead, under a smooth cheesecake layer and a scatter of chocolate chip dough. These Chocolate Chip Cookie Cheesecake Bars bring both textures into one square without asking you to choose between a cookie and a slice of cheesecake.
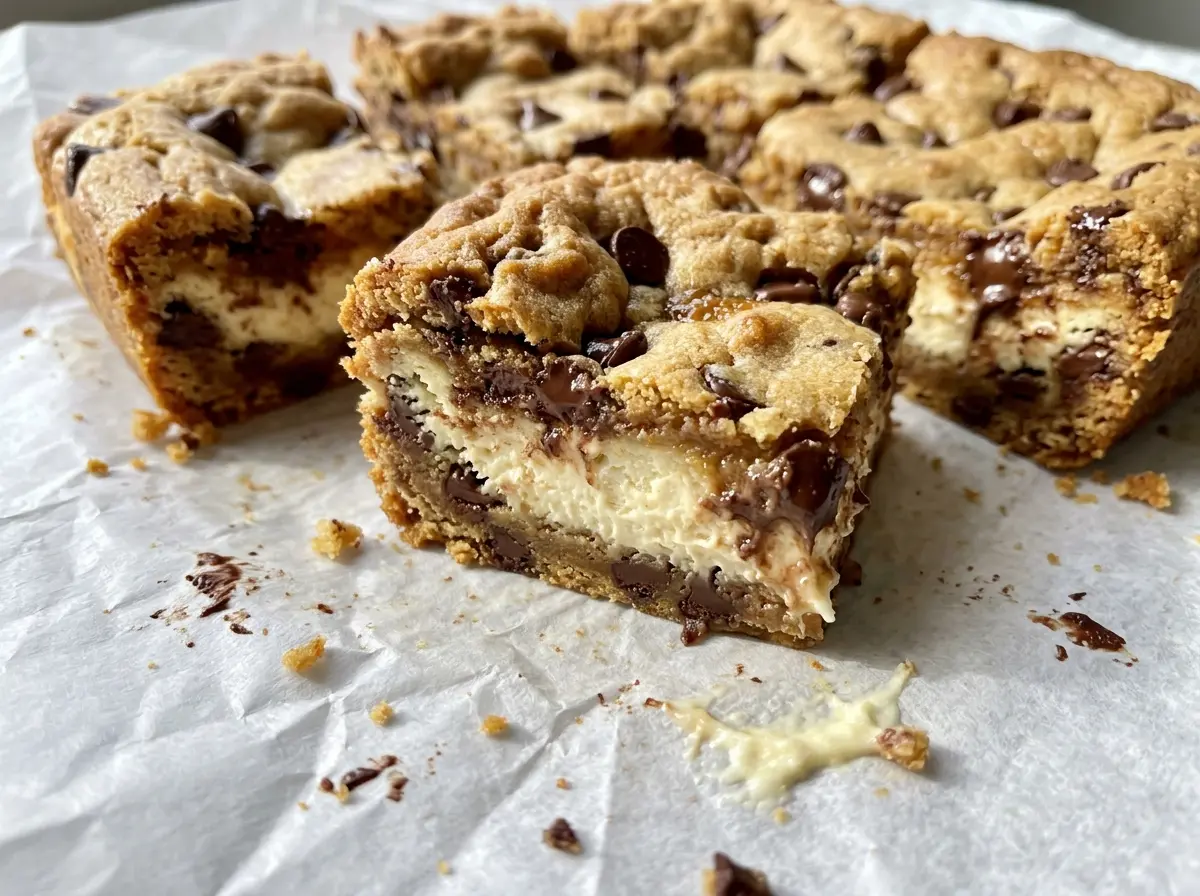
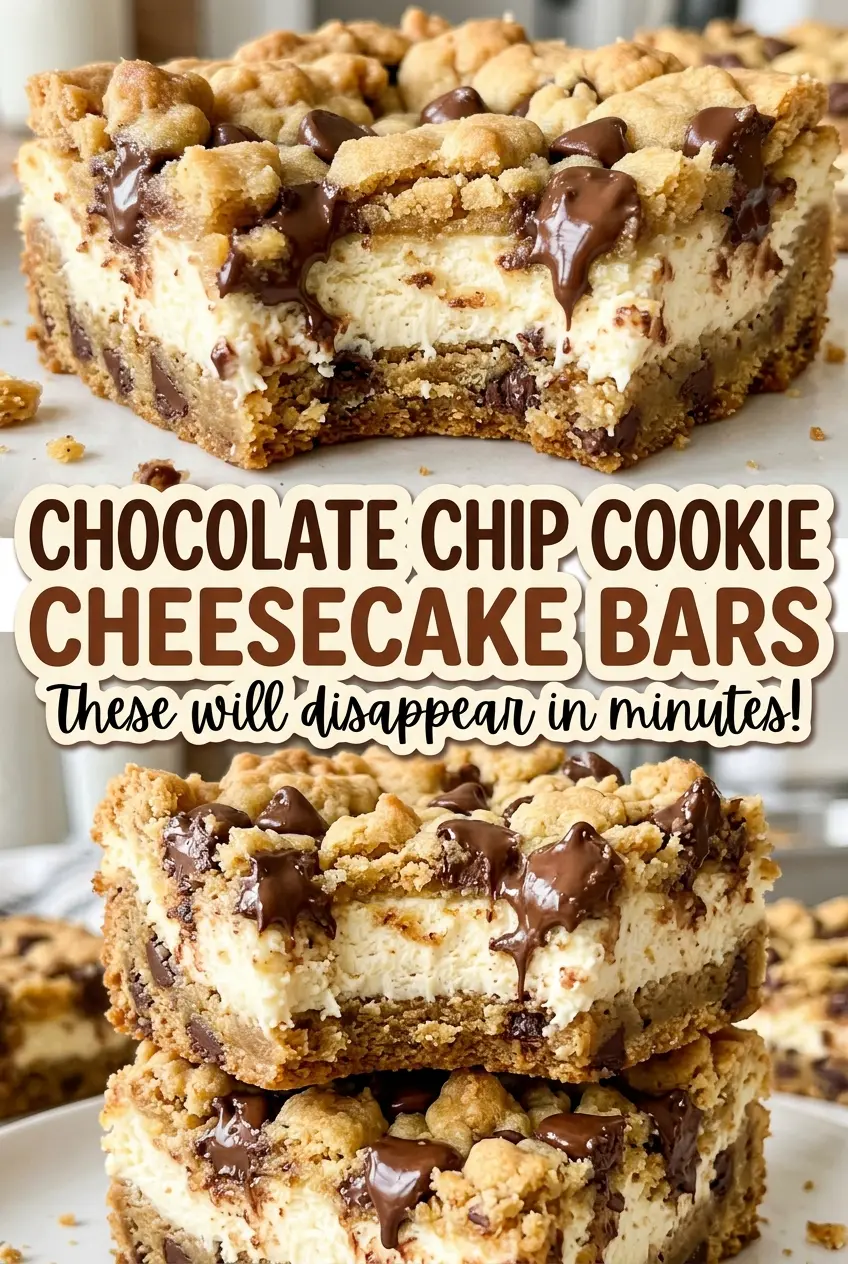
What makes the layers work is using one batch of cookie dough for two different jobs. The pressed base gives the cheesecake a sturdy bottom, while the crumbled dough on top bakes into golden pockets around the filling. Once the bars have chilled until firm, the cuts show off that contrast: buttery cookie at the edges, creamy cheesecake in the middle, and chocolate chips tucked throughout.
Kitchen Note
The cookie topping makes it hard to see the cheesecake center, so I check the temperature through a gap between the crumbles. That keeps the thermometer in the filling, where the 160°F reading matters.
Save these Chocolate Chip Cookie Cheesecake Bars for a bake-ahead treat with a creamy center and a golden cookie crumble.
Why One Batch of Cookie Dough Makes Two Distinct Layers
The cookie dough does double duty here, but the two portions aren’t interchangeable once they hit the pan. Pressing one portion into a continuous base creates a firm layer that can support the cheesecake filling. The remaining dough is crumbled across the top, so the baked bars have separate patches of cookie rather than a second solid sheet covering the cheesecake.
That contrast is what gives each bite its balance. The bottom is compact and cookie-like, the middle stays creamy, and the top brings crisp golden edges with softer spots where the crumbles are thicker. Keep the portions in their assigned roles: a pressed base below and crumbles above. If you spread all the dough into a single layer, the filling loses the open, craggy top that makes these bars look and eat like a cookie-cheesecake combination instead of a layered slab.
The first bake is part of that structure, not an extra step to skip. It gives the bottom cookie layer a head start before it meets the filling, while the later bake finishes the cookie topping and sets the cheesecake. The result is a bar that holds its layers once chilled rather than a loose scoop of dough and filling.
What Each Ingredient Brings to the Cookie-and-Cheesecake Layers
- Unsalted butter and brown sugar — Softened butter creams smoothly with the sugars and gives the cookie layers their rich, tender texture. Packed light brown sugar adds a little more moisture and a mellow caramel note than granulated sugar alone; use fresh brown sugar that isn’t dried into hard lumps.
- Granulated sugar — It sweetens both the cookie dough and the cheesecake filling, but it also keeps the two layers tasting distinct. In the filling, it dissolves into the cream cheese for a smooth, clean sweetness rather than adding the deeper flavor of brown sugar.
- All-purpose flour, baking soda, and salt — Flour gives the cookie dough enough structure to press into a base and crumble over the filling. Baking soda helps the cookie portions bake up rather than stay dense, while salt keeps the chocolate and sugar from tasting flat. For a gluten-free version, use a one-to-one gluten-free baking blend that includes xanthan gum; see the variation below.
- Block cream cheese — The blocks provide a thick, smooth filling that can hold its shape between the cookie layers. Choose cream cheese that tastes fresh and has no dried edges; whipped cream cheese from a tub has a different, airy texture and isn’t the right swap for this filling.
- Large eggs and vanilla — The eggs bind the cheesecake filling and help it set as it bakes. Vanilla goes into both the cookie dough and filling, carrying through each layer; measure the divided portions separately so none gets missed.
- Semisweet chocolate chips — Semisweet chips keep the cookie portions chocolatey without making every bite as sweet as a milk-chocolate version. A familiar grocery-store brand works well here; you don’t need specialty couverture chocolate for chips mixed into cookie dough.
Building the Bars Without Losing the Layers
Cream the Cookie Dough
Heat the oven to 350°F and line a 9×13-inch baking pan with parchment, leaving overhang on two sides. Beat the softened butter with the brown sugar and the cookie portion of the granulated sugar until fluffy, about 2 minutes. Beat in the egg and the cookie portion of the vanilla, then whisk the flour, baking soda, and salt separately before mixing them into the butter mixture on low speed just until combined. Stir in the semisweet chocolate chips; mixing the flour in only until it disappears keeps the dough from getting tough.
Give the Base Its Head Start
Press half of the cookie dough evenly into the parchment-lined pan. Bake it for 10 to 12 minutes, watching for a surface that looks set but hasn’t browned. The base should still look pale because it will bake again under the cheesecake. If it already looks deeply golden, it has gone further than this first bake needs.
Mix and Layer the Cheesecake Filling
In a clean large bowl, beat the softened cream cheese until smooth before adding the remaining granulated sugar and vanilla. Beat in the eggs one at a time on low speed, stopping as soon as they’re combined; overmixing can make the filling airy. Spread the filling over the warm cookie crust so it reaches the edges. Crumble the remaining cookie dough evenly over the top instead of pressing it into a solid layer.
Bake Until the Filling Sets, Then Chill
Bake for 35 to 45 minutes, until the cookie topping is golden and the center of the filling reaches 160°F. Insert an instant-read thermometer through a gap in the topping so it measures the cheesecake rather than a cookie crumble. Cool the pan on a rack for 1 hour, then cover and refrigerate for at least 4 hours, until firm. Lift the slab out using the parchment overhang and cut it into 24 pieces.
Easy Swaps That Change the Cookie Layer
Use milk chocolate chips for a sweeter bar
Swap the semisweet chips for milk chocolate chips in the same quantity. The cookie layers will taste sweeter and more familiar, with less contrast against the cheesecake filling.
Make the cookie layers gluten-free
Replace the all-purpose flour with a one-to-one gluten-free baking blend that contains xanthan gum. The bars keep the same layered format, though the cookie portions may be a little more delicate and crumbly.
Trade chips for chopped bittersweet chocolate
Use chopped bittersweet chocolate in place of the semisweet chips. Larger pieces create more pronounced pockets of chocolate, and the less-sweet taste gives the bars a deeper, more grown-up chocolate edge.
Storage and Reheating
- Refrigerator: Keep the bars covered and refrigerated for 3 to 4 days. The cookie topping softens a little as it sits against the cheesecake.
- Freezer: Freeze the chilled bars in a single layer until firm, then wrap individually and store in an airtight container for up to 2 months. Thaw in the refrigerator for the neatest texture.
- Reheating: These bars are best served cold, so don’t reheat them. Keep portions chilled rather than leaving the cream cheese filling at room temperature for an extended stretch.
Questions That Come Up When Baking These Bars
Chocolate Chip Cookie Cheesecake Bars
Ingredients
Equipment
Method
- Heat the oven to 350°F.
- Line a 9x13-inch baking pan with parchment paper, leaving overhang on two sides.
- Beat the butter, brown sugar, and 1/2 cup granulated sugar with an electric mixer until fluffy, about 2 minutes.
- Beat in the egg and 2 teaspoons vanilla extract until combined.
- In a medium bowl, whisk together the flour, baking soda, and salt.
- Mix the flour mixture into the butter mixture on low speed just until combined.
- Stir in the chocolate chips.
- Press half of the cookie dough evenly into the prepared pan.
- Bake for 10 to 12 minutes, until the surface looks set but is not browned.
- In a clean large bowl, beat the cream cheese until smooth.
- Beat in the remaining 1/2 cup granulated sugar and 1 teaspoon vanilla extract.
- Beat in the eggs one at a time on low speed, just until combined.
- Spread the filling over the warm crust.
- Crumble the remaining cookie dough evenly over the top.
- Bake for 35 to 45 minutes, until the cookie topping is golden and the center of the filling reaches 160°F on an instant-read thermometer inserted through a gap in the topping.
- Cool in the pan on a rack for 1 hour.
- Cover and refrigerate for at least 4 hours, until firm.
- Lift the bars from the pan using the parchment overhang.
- Cut into 24 pieces.


