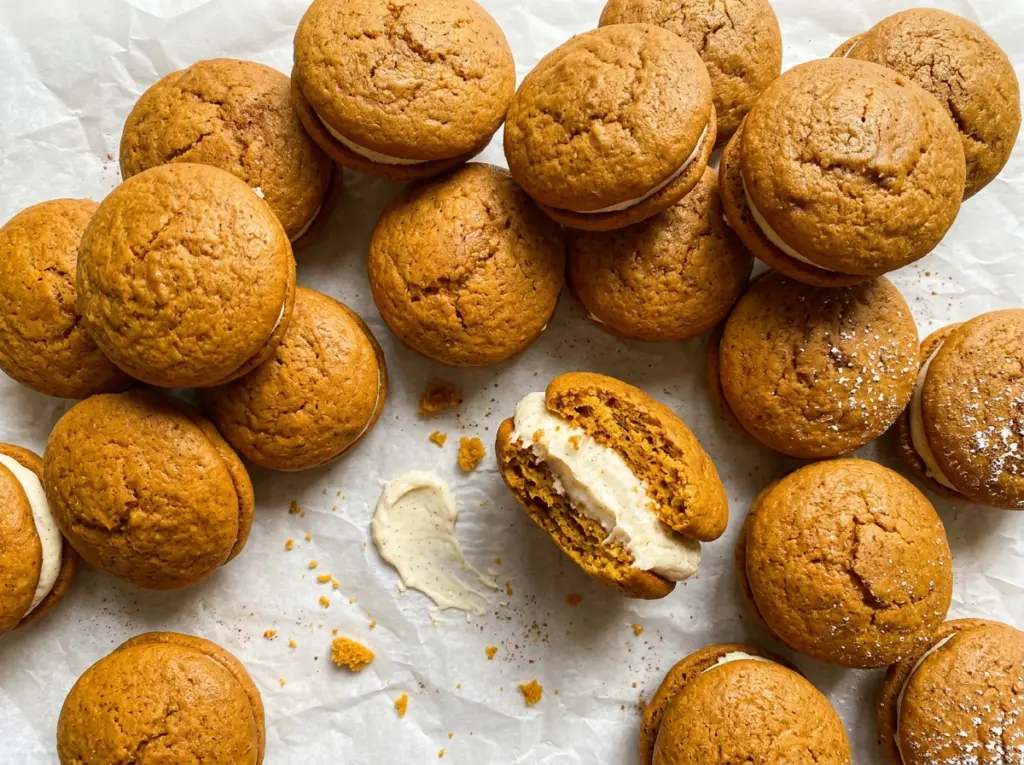
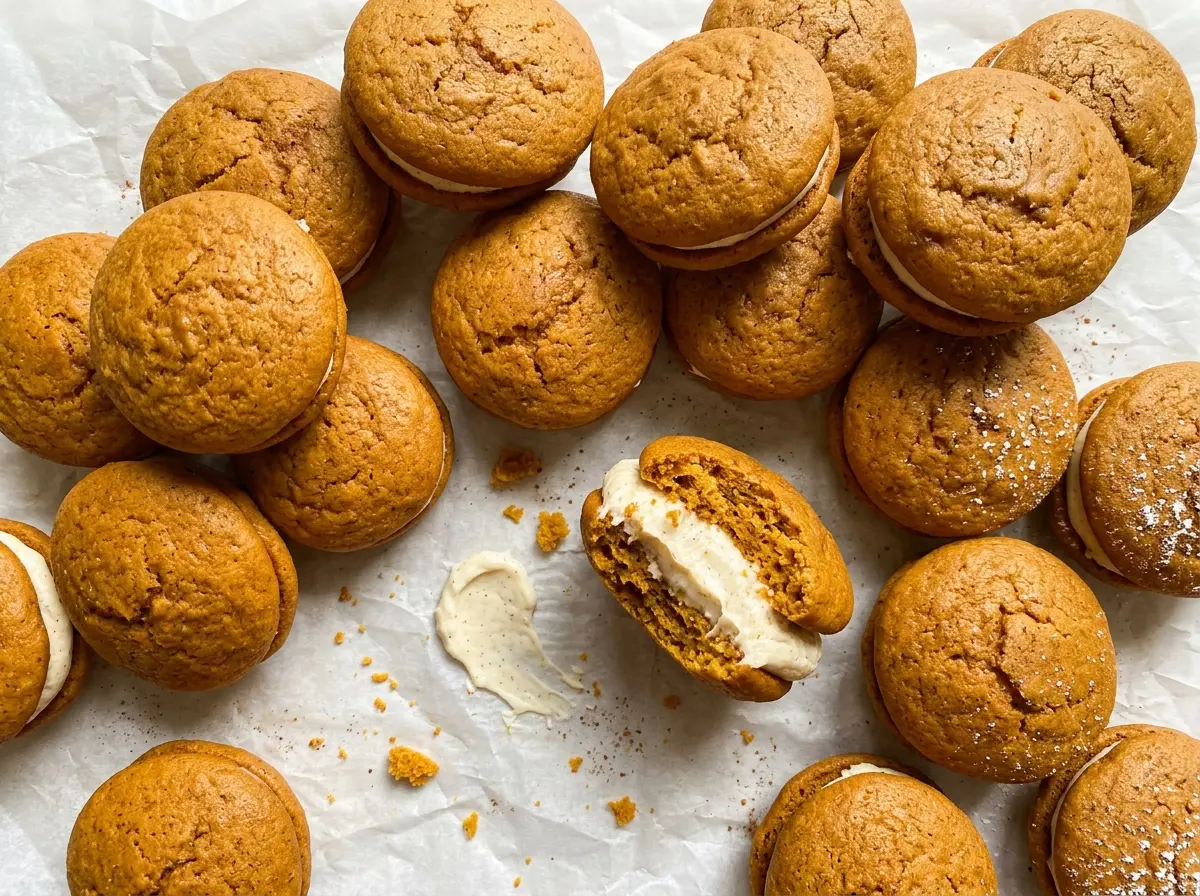
When the oven timer goes off, the tops should spring back when you touch them lightly; that’s a better cue than waiting for pumpkin cakes to look deeply browned. These Pumpkin Whoopie Pies bake into soft, gently spiced rounds, then sandwich a smooth cream cheese filling between them. The batter comes together in two bowls, and the portions go straight onto parchment-lined baking sheets.
I use plain pumpkin puree, not pumpkin pie filling, so the cinnamon, ginger, and nutmeg stay balanced without extra sugar or spices sneaking in. Folding the flour mixture in just until the dry streaks disappear keeps the cakes tender, while the brown sugar and neutral oil help them stay soft. Once the cakes are completely cool, their mild pumpkin flavor and tangy filling make a sweet, creamy little sandwich.
Kitchen Note
Pumpkin batter is much softer than cookie dough, so don’t try to roll it into balls or add extra flour to make it easier to handle. Drop level portions straight onto the lined sheets, and let the cakes—not the raw batter—set their shape in the oven.
Save these Pumpkin Whoopie Pies for a bake when you want tender spiced cakes and a tangy cream cheese center.
Why These Pumpkin Cakes Turn Dense When You Keep Stirring
Whoopie pie cakes sit somewhere between a cookie and a little cake, and the texture depends on treating the flour gently. Once the wet pumpkin mixture meets the flour, the baking powder and baking soda start working, while stirring develops gluten in the flour. Mix too long and the rounds can bake up tougher instead of soft and cake-like.
Whisking the dry ingredients together first spreads the spices and leaveners through the flour, so you don’t end up with a pocket of baking soda or a cinnamon-heavy bite. When you fold the dry mixture into the pumpkin bowl, stop as soon as you can’t see dry streaks. A few small lumps are less of a problem than beating the batter until it’s perfectly smooth. That light hand gives the baked rounds a tender crumb that stays pleasant beside the rich filling.
What Pumpkin, Brown Sugar, and Cream Cheese Each Bring

- Pumpkin puree — Use plain canned pumpkin, not pumpkin pie filling, which already contains sweetener and spices and would throw off the balance. Canned puree is a dependable choice here; homemade puree can vary in moisture and make the batter behave differently.
- Neutral oil — Vegetable or canola oil keeps the cakes tender without adding a strong flavor. Either one works well, so use whichever neutral oil you have on hand; a strongly flavored oil would distract from the pumpkin and spices.
- Light brown sugar — Its molasses notes deepen the pumpkin flavor and help keep the crumb moist. Dark brown sugar works in the same amount if that’s what you have, with a slightly richer molasses taste.
- Flour and leaveners — All-purpose flour gives the rounds enough structure to hold the filling, while baking powder and baking soda help them rise. Measure the leaveners carefully; swapping in self-rising flour would make the amount of lift difficult to control.
- Cinnamon, ginger, and nutmeg — These are the warm, familiar spices that keep the pumpkin from tasting flat. Fresh, fragrant spices make the biggest difference; if a jar smells faint, the baked cakes will taste muted too.
- Cream cheese and butter — Both need to be softened so they beat together smoothly instead of leaving little lumps. Regular cream cheese gives the filling a tangy, sturdy texture; whipped cream cheese spread is looser and won’t give the same result.
- Eggs and vanilla — The eggs help hold the cake batter together, and vanilla rounds out both the pumpkin and the filling. Use large eggs and regular vanilla extract for the proportions and flavor intended here.
From Spiced Batter to Neat Little Sandwiches
Whisk the Spices Into the Dry Ingredients
Heat the oven to 350°F and line two baking sheets with parchment paper. In a medium bowl, whisk the flour, baking powder, baking soda, salt, cinnamon, ginger, and nutmeg until the spices look evenly distributed. Breaking up any little clumps now makes it easier to fold the mixture in evenly later.
Bring the Pumpkin Batter Together Gently
In a large bowl, whisk the oil and packed brown sugar until smooth. Whisk in the eggs one at a time, then whisk in the vanilla and pumpkin puree. Fold the flour mixture into the wet ingredients just until no dry streaks remain; don’t keep stirring to chase every small lump.
Bake Until the Tops Spring Back
Drop level 2-tablespoon portions of batter onto the prepared sheets, leaving about 2 inches between them. Bake for 12 to 15 minutes, rotating the sheets halfway through so the cakes bake evenly. Touch a top lightly: it should spring back rather than hold a dent. If it still feels soft in the center, give it another minute and check again.
Cool the Cakes Before Filling
Let the cakes cool on the baking sheets for 5 minutes, then transfer them to a wire rack and cool completely. Beat the softened cream cheese and butter in a large bowl until smooth. Add the powdered sugar and vanilla, beat on low until combined, then increase the speed and beat until fluffy. Spread about 2 tablespoons of filling on the flat side of half the cooled cakes, then top each with another cake, flat side down.
Three Changes That Work Without Losing the Soft Cake
Make the Cakes Gluten-Free
Replace the all-purpose flour with the same volume of a cup-for-cup gluten-free baking blend that includes xanthan gum. The cakes may have a slightly more delicate crumb, so let them cool fully on the rack before handling and filling.
Use a Dairy-Free Filling
Swap the cream cheese and butter for equal amounts of dairy-free cream cheese and stick-style dairy-free butter, then beat them in the same order as the original filling. The cakes are already dairy-free, and the filling will taste a little less tangy; choose a firm dairy-free cream cheese for the best spreadable texture.
Turn Up the Ginger
For a ginger-forward batch, use 1 1/2 teaspoons ground ginger and 1 1/2 teaspoons cinnamon, keeping the nutmeg unchanged. The spice blend stays balanced, but each cake has a warmer, sharper finish.
Storage and Reheating
- Refrigerator: Store assembled pies in an airtight container for up to 4 days. The cakes soften a little as they sit against the filling.
- Freezer: Freeze unfilled cakes in a single layer until firm, then transfer them to an airtight container for up to 2 months. Thaw before adding the filling.
- Reheating: These aren’t meant to be reheated; heat can soften the filling too much. For a less-chilled bite, let a pie sit at room temperature for about 15 minutes before serving.
Questions That Come Up With Pumpkin Whoopie Pies
Pumpkin Whoopie Pies
Ingredients
Equipment
Method
- Heat the oven to 350°F.
- Line two baking sheets with parchment paper.
- Whisk the flour, baking powder, baking soda, salt, cinnamon, ginger, and nutmeg in a medium bowl.
- In a large bowl, whisk the oil and brown sugar until smooth.
- Whisk the eggs into the oil mixture one at a time.
- Whisk the vanilla and pumpkin into the oil mixture.
- Fold in the flour mixture just until no dry streaks remain.
- Drop level 2-tablespoon portions of batter onto the prepared sheets, spacing them about 2 inches apart.
- Bake for 12 to 15 minutes, rotating the sheets halfway through, until the tops spring back when lightly touched.
- Cool the cakes on the sheets for 5 minutes.
- Transfer the cakes to a wire rack and cool completely.
- Beat the cream cheese and butter in a large bowl until smooth.
- Add the powdered sugar and vanilla and beat on low until combined.
- Increase the speed and beat until fluffy.
- Spread about 2 tablespoons of filling on the flat side of half the cooled cakes.
- Top with the remaining cakes, flat side down.


