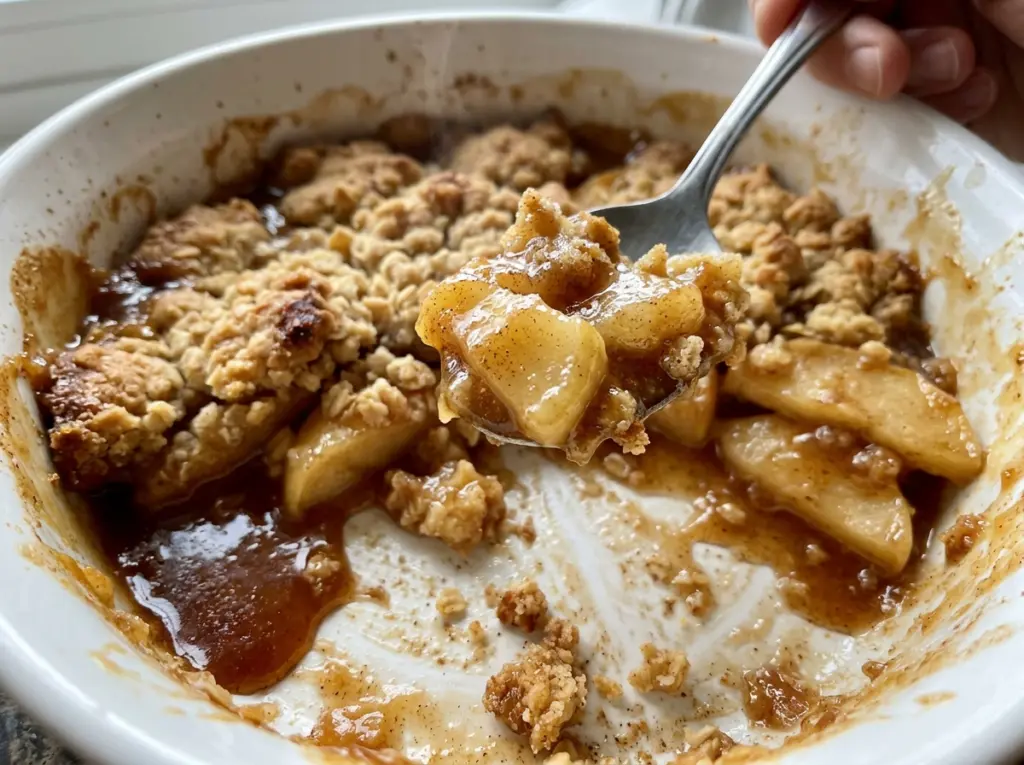
The edges start to bubble before the biscuit tops have turned fully golden, and that little contrast is how I know this cobbler is on track. Caramel Apple Pie Cobbler gives you tender, cinnamon-scented apples beneath a golden biscuit topping, with a ribbon of caramel over the top. It has the comfort of apple pie without a pastry crust to roll or crimp, and each scoop catches both soft fruit and a bit of biscuit.
I use tart Granny Smith apples here because their sharpness stands up to the brown sugar and caramel. The topping is a buttermilk biscuit dough, not a cake batter, so it bakes up with a tender center and a golden top. Once the cobbler comes out of the oven, a short rest gives the filling time to settle into the kind of saucy spoonful you want.
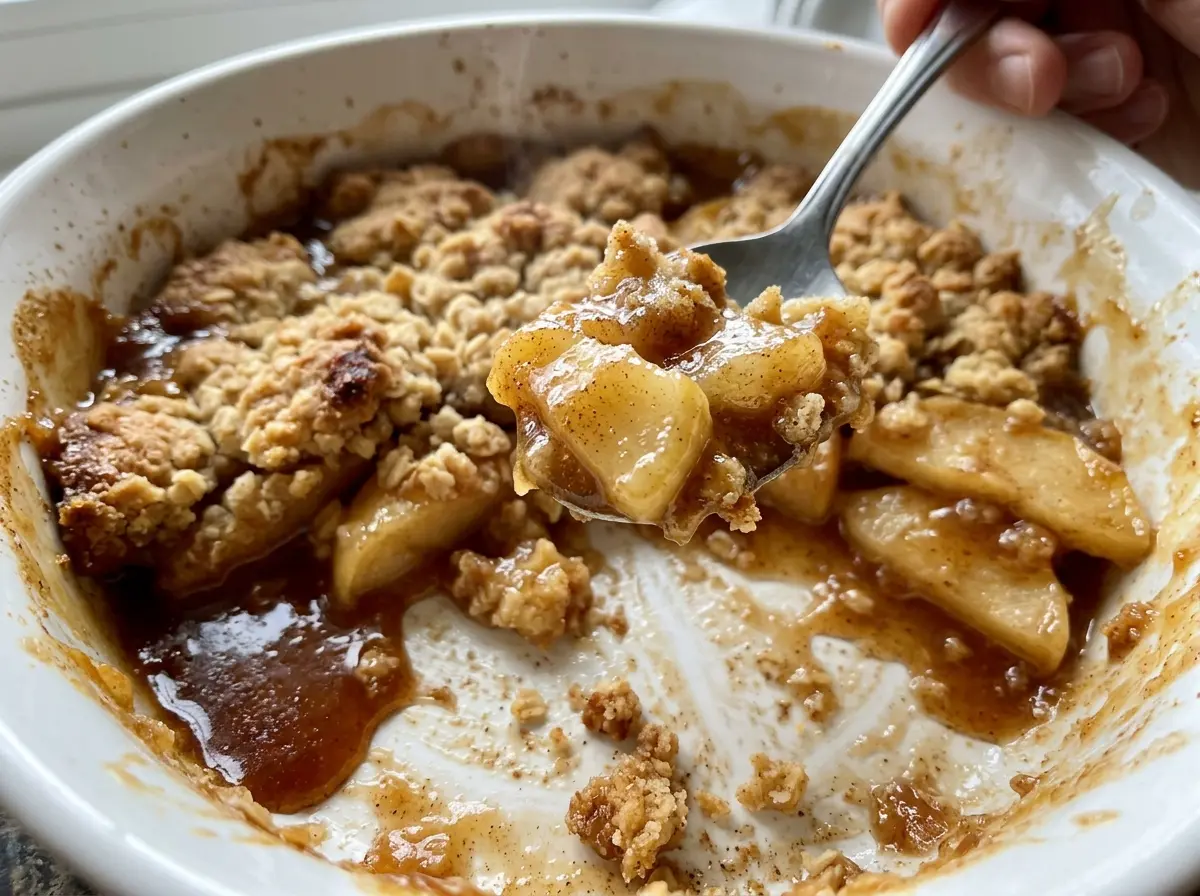
Kitchen Note
Warm the finishing caramel in 10-second bursts. It only needs to become pourable, so stop as soon as it flows easily from a spoon.
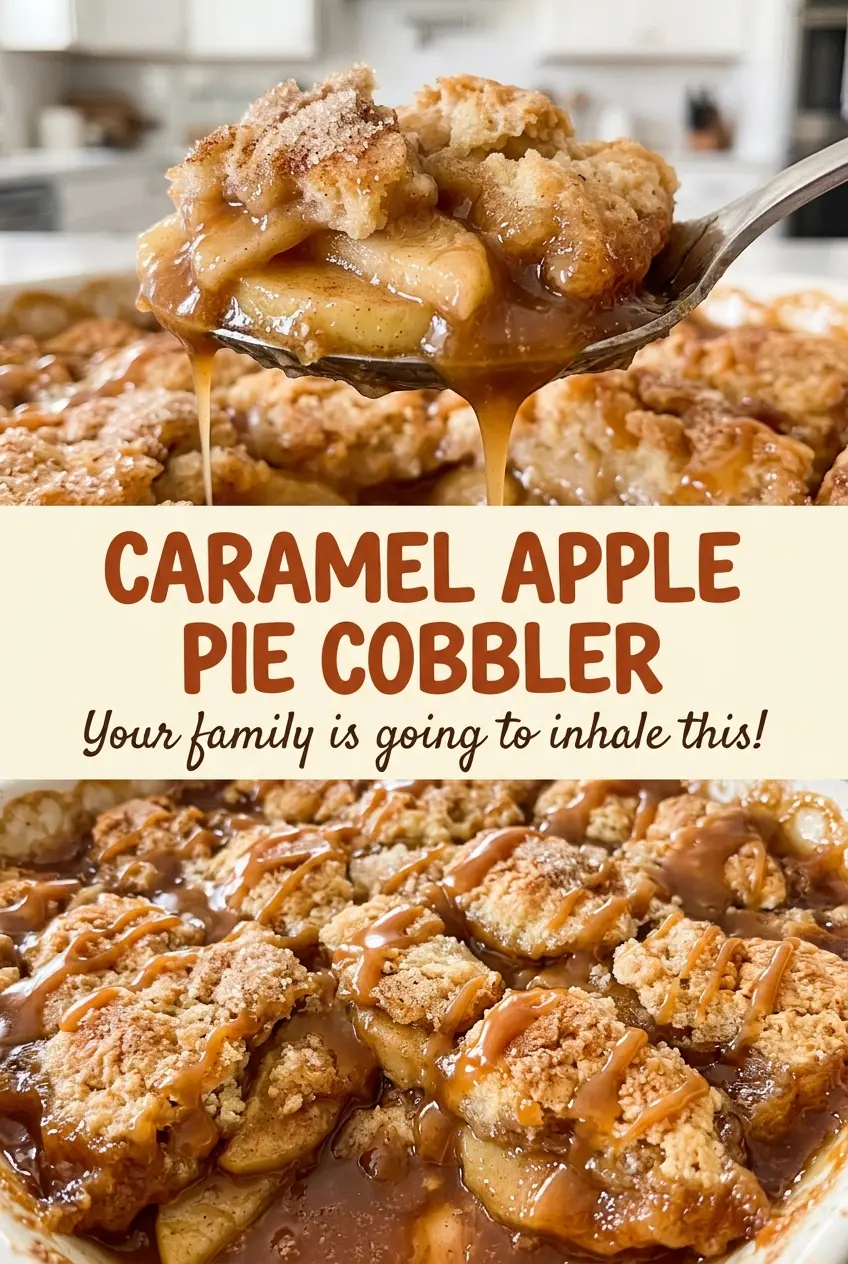
Save this Caramel Apple Pie Cobbler for tender spiced apples, golden biscuit tops, and that warm caramel finish.
Why the Biscuit Topping Shouldn’t Seal In the Apples
A cobbler isn’t a pie with a different name. The biscuit topping sits in separate mounds, and the small gaps between them are part of the design. As the apples bake, steam can escape through those openings instead of being trapped beneath one unbroken layer of dough. The fruit softens while the biscuits turn golden, and the apple juices bubble up around their edges.
If you cover the entire surface with a solid sheet of dough, the center can stay damp while the top browns. Dropping the dough in 10 to 12 mounds gives you a better balance: crisp, browned tops; soft undersides that pick up some of the spiced juices; and visible pockets of fruit between them. Keep the mounds roughly similar in size so they bake at about the same rate. A little irregularity looks right here, and the open spaces are what make each serving a mix of biscuit and apples rather than a single dense layer.
Why Granny Smith Apples and Buttermilk Make This Cobbler Work
- Granny Smith apples — Their tartness balances the sweetness of the brown sugar and caramel, and the slices hold their shape as they bake. If you need a substitute, use another firm, tart apple in the same weight; sweeter, softer apples can make the filling taste sweeter and turn softer.
- Prepared caramel sauce — A smooth, spoonable sauce is easiest to toss with the apples and drizzle over the finished cobbler. A standard store-bought sauce works well; a thicker sauce may need a little more warming before it pours.
- Cornstarch and lemon juice — Cornstarch thickens the juices released by the apples, while lemon juice keeps the filling from tasting flat. Toss thoroughly so the starch coats the fruit instead of clumping in one spot.
- Cold unsalted butter — Small cold pieces create a tender biscuit texture as they melt in the oven. Unsalted butter also lets you control the topping’s salt; cut it in while it’s still cold rather than letting it soften on the counter.
- Buttermilk — Its acidity gives the biscuit dough a gentle tang and helps keep the crumb tender. For a practical substitute, stir 1 tablespoon lemon juice into 1 cup milk, let it stand for 5 minutes, then measure what you need.
- All-purpose flour and baking powder — Flour gives the biscuits their structure, and baking powder supplies their lift. For a gluten-free version, use a cup-for-cup baking blend in the topping; the biscuits will be more delicate, so handle the dough gently.
Building the Apple Filling and Biscuit Top Without Overworking Either
Coat the Apples Evenly
Heat the oven to 375°F and lightly coat a 9×13-inch baking dish with nonstick cooking spray. Toss the sliced apples with the brown sugar, 1/4 cup of the caramel sauce, lemon juice, cornstarch, cinnamon, nutmeg, and 1/4 teaspoon salt. Keep tossing until there are no dry patches of starch or spice at the bottom of the bowl. Spread the fruit evenly in the prepared dish so it bakes in a level layer.
Mix a Shaggy Biscuit Dough
Whisk the flour, granulated sugar, baking powder, and remaining 1/2 teaspoon salt in a medium bowl. Cut in the cold butter with a pastry cutter or your fingertips until the largest pieces are about the size of peas. Stir in the buttermilk just until a shaggy dough forms; it shouldn’t look smooth like cake batter. Stop mixing once the flour is moistened, since extra stirring can make the biscuits firm.
Leave Gaps Between the Dough Mounds
Drop the dough in 10 to 12 mounds over the apples, leaving small gaps between them. The dough will spread as it bakes, so don’t press the mounds flat or try to join them into a single crust. Keep some apple filling visible between the biscuits. That open arrangement lets the topping brown while the fruit cooks underneath.
Bake, Rest, and Finish With Caramel
Bake for 45 to 55 minutes, until the biscuits are golden, a toothpick inserted in a biscuit comes out without wet dough, and a paring knife slides into the apples easily. Use all three cues; golden tops alone don’t tell you whether the fruit is tender. Let the cobbler rest for 20 minutes so the bubbling filling can settle. Warm the remaining 1/4 cup caramel sauce in the microwave until pourable, then drizzle it over the cobbler just before serving.
Three Small Changes for a Different Cobbler
Make the Biscuit Topping Gluten-Free
Replace the all-purpose flour with the same amount of a cup-for-cup gluten-free flour blend made for baking. The biscuits may be more delicate than the original, so mix only until the dough comes together and drop it gently over the apples.
Use a Pear-and-Apple Filling
Replace part of the Granny Smith apples with firm pears, keeping the total amount of fruit the same. The pears bring a softer, mellow sweetness, while the apples preserve some tartness and structure under the biscuit topping.
Give the Filling a Ginger Note
Add ground ginger to the apple mixture along with the cinnamon and nutmeg. Its warm, peppery edge makes the caramel taste a little less sweet without changing the cobbler’s biscuit topping or baking method.
Storage and Reheating
- Refrigerator: Cover leftovers and refrigerate for 3 to 4 days. The biscuit topping will soften as it sits, but the apple filling stays spoonable.
- Freezer: Freeze baked portions in an airtight container for up to 2 months. Thaw them in the refrigerator before reheating; the biscuit may be softer than when freshly baked.
- Reheating: Warm portions in a 325°F oven until heated through. Avoid prolonged microwave heating, which can leave the biscuit topping soft and chewy.
Questions That Come Up When Baking This Apple Cobbler
Caramel Apple Pie Cobbler
Ingredients
Equipment
Method
- Heat the oven to 375°F and lightly coat a 9x13-inch baking dish with nonstick cooking spray.
- In a large bowl, toss the apples with the brown sugar, 1/4 cup caramel sauce, lemon juice, cornstarch, cinnamon, nutmeg, and 1/4 teaspoon salt.
- Spread the apple mixture evenly in the prepared baking dish.
- In a medium bowl, whisk together the flour, granulated sugar, baking powder, and remaining 1/2 teaspoon salt.
- Cut in the cold butter with a pastry cutter or your fingertips until the largest pieces are about pea-size.
- Stir in the buttermilk just until a shaggy dough forms.
- Drop the dough in 10 to 12 mounds over the apples, leaving small gaps between them.
- Bake for 45 to 55 minutes, until the biscuits are golden, a toothpick inserted in a biscuit comes out without wet dough, and the apples are tender when pierced with a paring knife.
- Let the cobbler rest for 20 minutes.
- Warm the remaining 1/4 cup caramel sauce in the microwave in 10-second bursts until pourable.
- Drizzle the caramel sauce over the cobbler just before serving.


