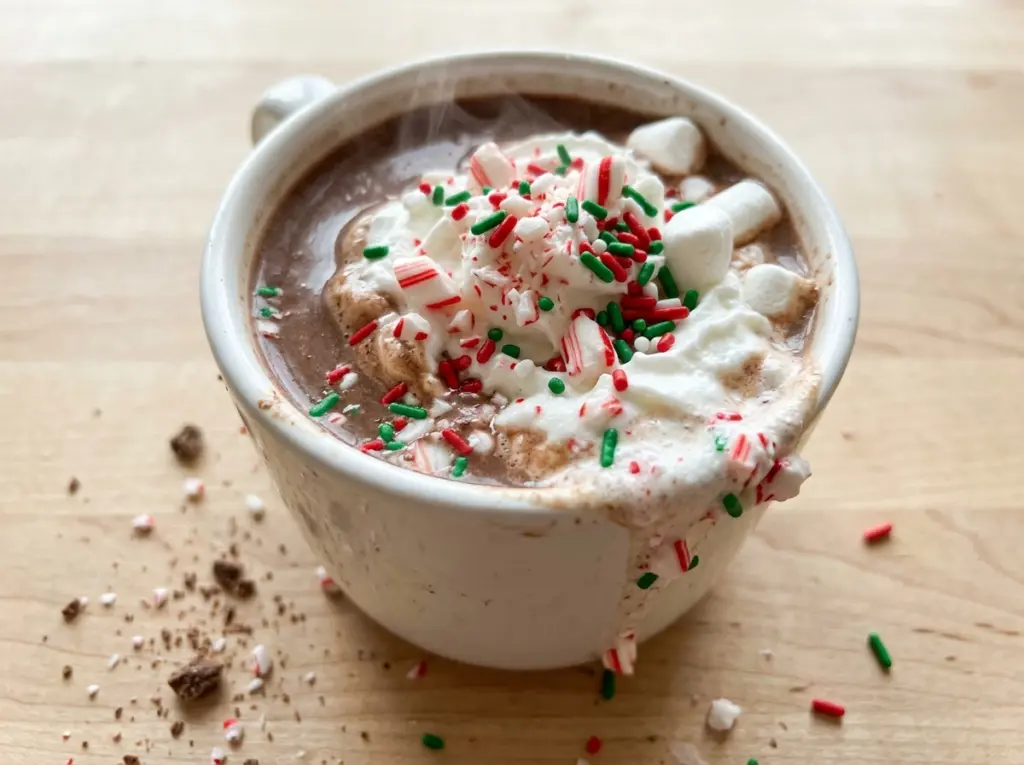
The first few minutes in the saucepan can look deceptively ordinary: the cocoa darkens the milk, while the chopped chocolate still sits in little pieces. Keep whisking over medium heat, and those pieces melt into a smooth, glossy drink that steams without boiling. That gentle finish is what I want for a Whoville Hot Cocoa Bar, because every mug should taste rich before anyone adds marshmallows or whipped cream. I keep the crushed peppermint and sprinkles on the side, too, so the cocoa doesn’t have to please every sweet tooth in the room.
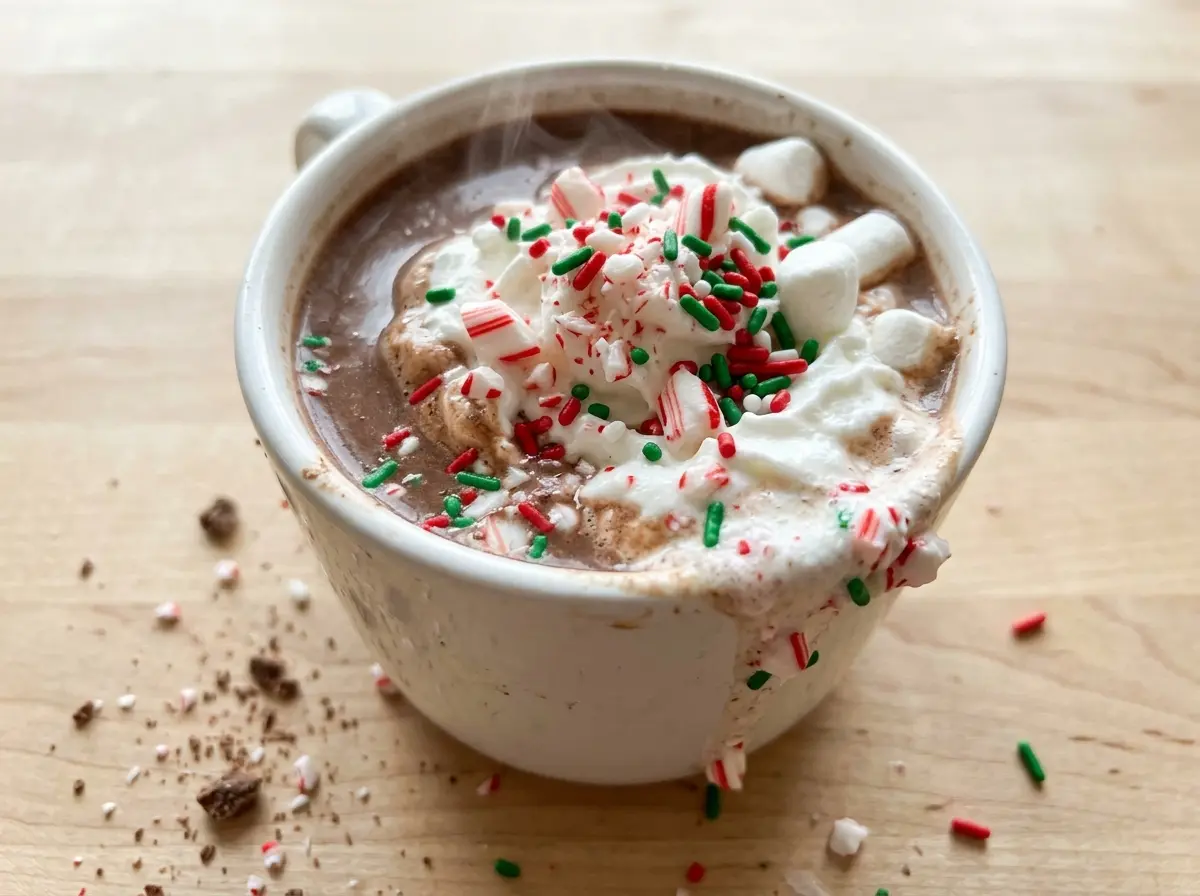
I treat the topping bowls as part of the recipe, not an afterthought. A spoonful of peppermint gives a cool crunch, whipped cream softens the first sip, and mini marshmallows slowly soften on top. The cocoa itself stays smooth and chocolate-forward, with room for those different finishes. Set out the toppings, ladle the steaming cocoa into mugs, and let each cup come together with a little color and a lot of chocolate.
Kitchen Note
Whisk the cocoa, sugar, salt, and that first cup of milk until the mixture is completely smooth before adding the rest of the dairy. Starting with a smaller amount of liquid makes it much easier to work out dry cocoa pockets before the saucepan is full.
Save this Whoville Hot Cocoa Bar for a gathering where everyone can finish a rich chocolate mug with peppermint, marshmallows, whipped cream, or sprinkles.
Why the Toppings Stay Out of the Saucepan
Once marshmallows and crushed peppermint go into the pot, they start changing the cocoa itself. Marshmallows soften and melt, while candy dissolves into the drink and adds sweetness. That can be lovely in an individual mug, but it takes away the choice that makes this bar useful: one person can have a plain chocolate cup, and another can pile on whipped cream and peppermint.
Keeping each topping in its own bowl also protects the contrast between the warm drink and the finishes. Mini marshmallows stay distinct until they meet the cocoa, crushed peppermint keeps its crunch, and sprinkles add color without melting into the batch. It’s a small setup choice with a practical payoff: the saucepan stays consistent from the first mug to the last, even when everyone wants something different.
Set out the toppings in separate bowls rather than combining them into a single mix. Guests can choose what goes in their cup, and any topping they skip won’t affect the cocoa waiting in the saucepan.
What the Cocoa Powder and Semisweet Chocolate Each Bring

- Unsweetened cocoa powder — It brings concentrated chocolate flavor without adding sweetness. Whisk it into the first portion of milk until smooth; a dry clump that escapes now is harder to break up once the saucepan is full.
- Semisweet chocolate — Finely chopped pieces melt into the warm dairy and give the cocoa a fuller, silkier feel than cocoa powder alone. Use a chocolate you enjoy eating; the chocolate flavor comes through clearly in a drink with only a few ingredients.
- Whole milk and half-and-half — Whole milk forms the base, while half-and-half adds extra richness. Keeping both gives the finished cocoa its rounded texture; a thinner dairy choice would make a lighter cup.
- Granulated sugar — It sweetens the unsweetened cocoa and semisweet chocolate without competing with the toppings. The topping bowls add their own sweetness to individual mugs, so the base doesn’t need to taste like candy on its own.
- Vanilla extract — Stir it in after taking the pan off the heat. That timing lets its aroma stay noticeable instead of cooking away during the heating stage.
- Mini marshmallows, whipped cream, peppermint candies, and sprinkles — These are the finishing touches, not ingredients that need to be mixed into the full batch. Use the crushed peppermint as a crisp, minty contrast; the other toppings add soft texture, creaminess, or a little color.
From a Smooth Cocoa Paste to a Ready-to-Serve Bar
Whisk the cocoa paste first
In a 4-quart saucepan, whisk the cocoa powder, granulated sugar, kosher salt, and 1 cup of the milk until smooth. Keep scraping around the bottom and corners of the pan with the whisk, where dry cocoa likes to hide. The mixture should look dark and even, with no visible dry streaks. Don’t rush past this stage just because the saucepan still looks nearly empty.
Add the remaining dairy and chocolate
Whisk in the remaining 5 cups of milk and the half-and-half, then add the finely chopped semisweet chocolate. Give the chocolate pieces room to disperse instead of dropping them in as one clump. At this point they won’t have melted yet, which is expected. The steady whisking now helps distribute them through the whole pot as the cocoa heats.
Heat until steaming, not boiling
Set the saucepan over medium heat and whisk often for 6 to 8 minutes. Watch for steam rising from the surface and a smooth appearance as the chocolate melts; the cocoa should be hot, but it shouldn’t bubble into a boil. If you see active bubbling, take the pan off the burner briefly and keep whisking. Remove it from the heat once it’s steaming and smooth, then stir in the vanilla.
Arrange the toppings and fill the mugs
Put the mini marshmallows, whipped cream, crushed peppermint candies, and red and green sprinkles in separate serving bowls. Keeping the toppings apart makes it easy to choose one or combine a few. Ladle the hot cocoa into mugs and let everyone add toppings to taste. The cocoa is ready to serve while it’s still steaming.
Two Topping Combinations That Change Each Mug
Peppermint Cream Finish
Add whipped cream to a mug, then finish it with crushed peppermint candies. The creamy topping softens the first sip, and the candy brings a bright, crunchy contrast. Keep the peppermint in the bowl until each mug is ready so it stays a distinct topping rather than sweetening the entire pot.
Marshmallow-and-Sprinkle Mug
Top a mug with mini marshmallows and red and green sprinkles, leaving the whipped cream and peppermint out. This keeps the finish soft and colorful without the minty crunch. It’s also an easy combination for anyone who wants the cocoa’s chocolate flavor to stay in front.
Holding and Storing Leftover Cocoa
- Refrigerator: Transfer leftover cocoa to a covered container and refrigerate within 2 hours. Use it within 3 to 4 days; it may thicken as it chills.
- Freezer: I don’t recommend freezing this milk-based cocoa. The dairy can separate after thawing and leave the drink grainy.
- Reheating: Warm it gently in a saucepan over low to medium-low heat, whisking until steaming. Don’t let it boil, which can scorch the milk and affect the smooth texture.
Questions That Come Up When You’re Setting Up a Cocoa Bar
Whoville Hot Cocoa Bar
Ingredients
Equipment
Method
- In a 4-quart saucepan, whisk the cocoa powder, sugar, salt, and 1 cup of the milk until smooth.
- Whisk in the remaining 5 cups milk and the half-and-half.
- Add the chopped chocolate.
- Heat over medium heat, whisking often, for 6 to 8 minutes, until steaming and smooth; do not let the cocoa boil.
- Remove the saucepan from the heat.
- Stir in the vanilla extract.
- Arrange the mini marshmallows, whipped cream, crushed peppermint candies, and sprinkles in separate serving bowls.
- Ladle the hot cocoa into mugs.
- Let everyone add toppings to taste.


