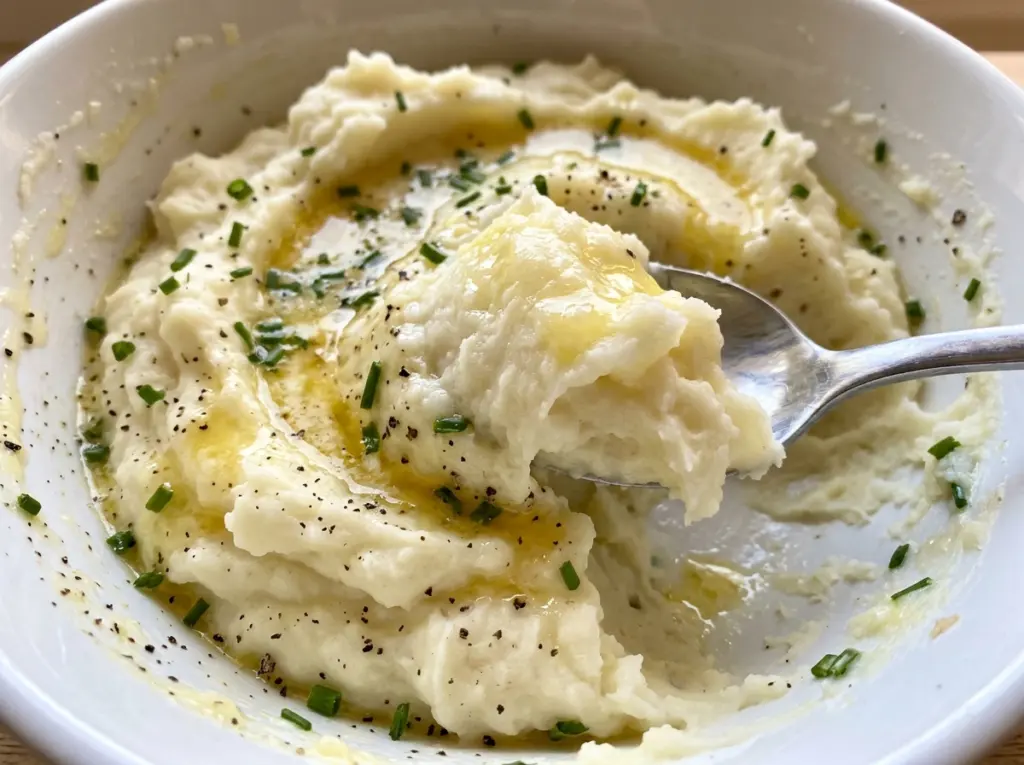
A pot of potatoes can look perfectly ready to mash, then turn loose and watery the moment the dairy goes in. I learned to give them a little time back in the warm pot after draining; that small pause helps these buttermilk mashed potatoes stay creamy instead of thin.
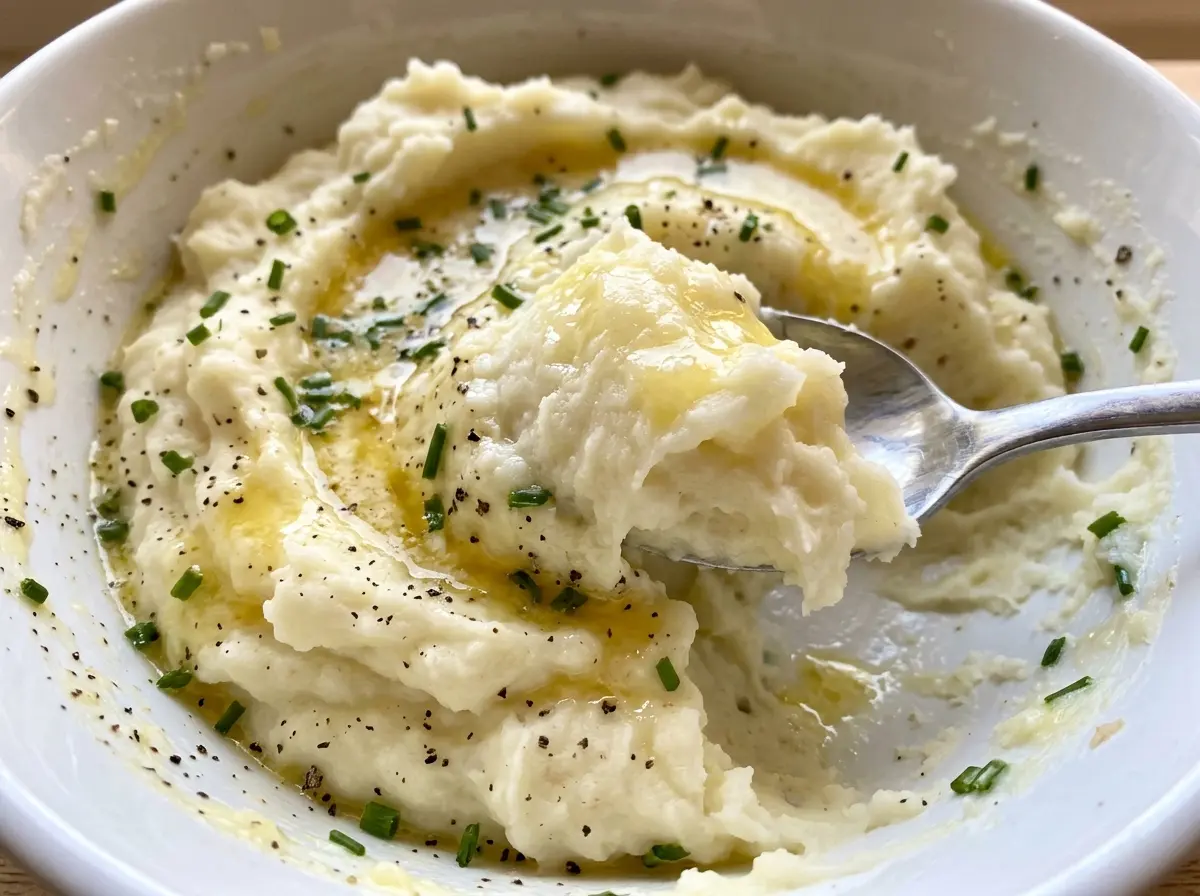
Yukon Golds bring a naturally buttery texture, while buttermilk adds a gentle tang that keeps the finished potatoes from tasting heavy. I warm the butter and buttermilk together before they meet the potatoes, then add that mixture gradually as I mash. The result is smooth and rich, with enough tang to make every bite taste balanced.
These are a dependable side for a weeknight dinner or a larger table, and the ingredient list stays simple. Serve them warm, while the butter is silky and the potatoes are soft.
Kitchen Note
Keep the butter and buttermilk over low heat just until the butter melts, and don’t let the mixture boil. Warm dairy blends into the potatoes smoothly without cooling them down.
Save these buttermilk mashed potatoes for a creamy, tangy side that comes together with a handful of pantry staples.
Why Draining Isn’t Enough for Creamy Buttermilk Mashed Potatoes
Water clinging to cooked potatoes doesn’t disappear just because you poured it down the sink. If you mash while the cut surfaces are still wet, that extra moisture dilutes the butter and buttermilk, and the potatoes can turn soft and loose before they feel creamy. Returning them to the same pot over low heat gives steam a chance to escape before any dairy goes in.
Watch for the change rather than relying only on the clock: the potatoes should look drier, and you won’t see moisture pooling at the bottom of the pot. Shake the pot now and then so the pieces don’t sit in one spot. This short drying stage also gives you more control when you add the buttermilk mixture; you can stop once the potatoes reach a creamy consistency instead of trying to correct a watery mash with extra butter.
Yukon Gold potatoes help, too. Their flesh mashes into a naturally smooth texture without needing aggressive mixing. A potato masher keeps the process straightforward, while the brief drying step handles the moisture that can undermine that texture.
What Yukon Golds, Buttermilk, and Butter Each Bring to the Pot

- Yukon Gold potatoes — Their creamy, slightly waxy flesh makes a smooth mash with a buttery taste of its own. Choose firm potatoes without soft spots; there isn’t much advantage to paying extra for a special grade. Russets are a workable swap, but they produce a fluffier, more starchy mash rather than the close, creamy texture of Yukon Golds.
- Buttermilk — Cultured buttermilk gives the potatoes their mild tang and a pourable consistency that mixes in as you mash. Regular grocery-store buttermilk works well; there’s no need for a premium brand. Plain milk won’t bring the same tang, and sour cream can make the mash heavier, so I stick with buttermilk when I want this particular balance.
- Unsalted butter — Butter rounds out the tang and gives the potatoes a soft, rich finish. Store-brand unsalted butter is fine here because it melts into the warm buttermilk rather than standing alone as a topping. If you only have salted butter, keep the salt in the cooking water and wait before adding the final salt; the salt level varies by brand.
- Kosher salt and black pepper — Salt in the cooking water seasons the potatoes beyond their surface, while the final seasoning lets you adjust the mash once the butter and buttermilk are incorporated. Freshly ground or pre-ground black pepper both work; choose the texture and bite you prefer. If your salt has fine rather than coarse crystals, measure by weight when possible, since the same spoonful can contain different amounts of salt.
From Fork-Tender Potatoes to a Smooth, Tangy Mash
Simmer Until a Fork Slips In Easily
Add the peeled, 1 1/2-inch potato pieces to a 6-quart pot with the tablespoon of kosher salt and cold water, covering the potatoes by about an inch. Bring the pot to a boil over high heat, then lower the heat and simmer for 15 to 20 minutes. Start checking near the shorter end of that range; a fork should pass through the center without resistance. If the middle still feels firm, give the potatoes more time before draining.
Let Steam Escape in the Warm Pot
Drain the potatoes well, then return them to the pot over low heat for 1 to 2 minutes. Shake the pot occasionally so the pieces shift rather than catch on the bottom. The surface will look less wet as the remaining moisture evaporates. Don’t skip this stage or rush straight into mashing; excess water can thin the finished potatoes.
Melt the Butter Into the Buttermilk
While the potatoes are drying, warm the butter and buttermilk together in a small saucepan over low heat for 2 to 3 minutes. Stir as the butter melts so the mixture stays even. It should be warm, not bubbling; boiling can change the texture of the dairy. Take it off the heat once the butter has melted.
Mash Gradually and Season at the End
Use a potato masher to break up the hot potatoes, then add the warm buttermilk mixture gradually as you continue mashing. Stop when the mash looks smooth and creamy; adding all the liquid at once makes it harder to judge the texture as you go. Stir in the remaining kosher salt and black pepper, then serve warm. If you keep mashing after the potatoes are smooth, the texture can become heavier than intended.
Three Small Changes for a Different Batch
Make a Half Batch for Four
Use 1 1/2 pounds potatoes, 1/2 tablespoon plus 1/4 teaspoon kosher salt divided, enough cold water to cover the potatoes by an inch, 3 tablespoons butter, 3/8 cup buttermilk, and 1/8 teaspoon black pepper. Keep the same pot method and judge doneness with a fork, since a smaller quantity may reach tenderness sooner.
Use Russets for a Fluffier Mash
Swap in the same weight of peeled russet potatoes and keep the other ingredients and method the same. Their starchier flesh gives you a lighter, fluffier result, but it can turn gluey if worked too hard, so mash only until the potatoes come together. A hand masher gives you better control than a high-speed mixer.
Give the Finish More Pepper
For a more noticeable pepper bite, increase the black pepper to 1/2 teaspoon. Add it with the final salt, taste, and stop there if you want the buttermilk tang to stay in the foreground. This keeps the creamy base intact while giving the finish a little more warmth.
Storage and Reheating
- Refrigerator: Refrigerate in a covered container for 3 to 4 days. The potatoes will firm up as they chill.
- Freezer: They can be frozen in an airtight container for up to 1 month for best quality, though the buttermilk-based texture may become slightly grainy after thawing.
- Reheating: Warm gently in a saucepan over low heat, stirring often, until hot throughout; 165°F is the safe target for leftovers. High heat can scorch the bottom before the center warms.
Questions That Come Up With Buttermilk Mashed Potatoes
Buttermilk Mashed Potatoes
Ingredients
Equipment
Method
- Put the potatoes, 1 tablespoon salt, and water in a 6-quart pot over high heat.
- Bring to a boil, then reduce the heat and simmer for 15 to 20 minutes, until the potatoes are fork-tender.
- Drain the potatoes well, return them to the pot, and cook over low heat for 1 to 2 minutes, shaking the pot occasionally, until excess moisture evaporates.
- Warm the butter and buttermilk in a small saucepan over low heat for 2 to 3 minutes, stirring until the butter melts; do not let the mixture boil.
- Mash the potatoes with a potato masher, gradually adding the warm buttermilk mixture until smooth and creamy.
- Stir in the remaining 1/2 teaspoon salt and the pepper, then serve warm.


