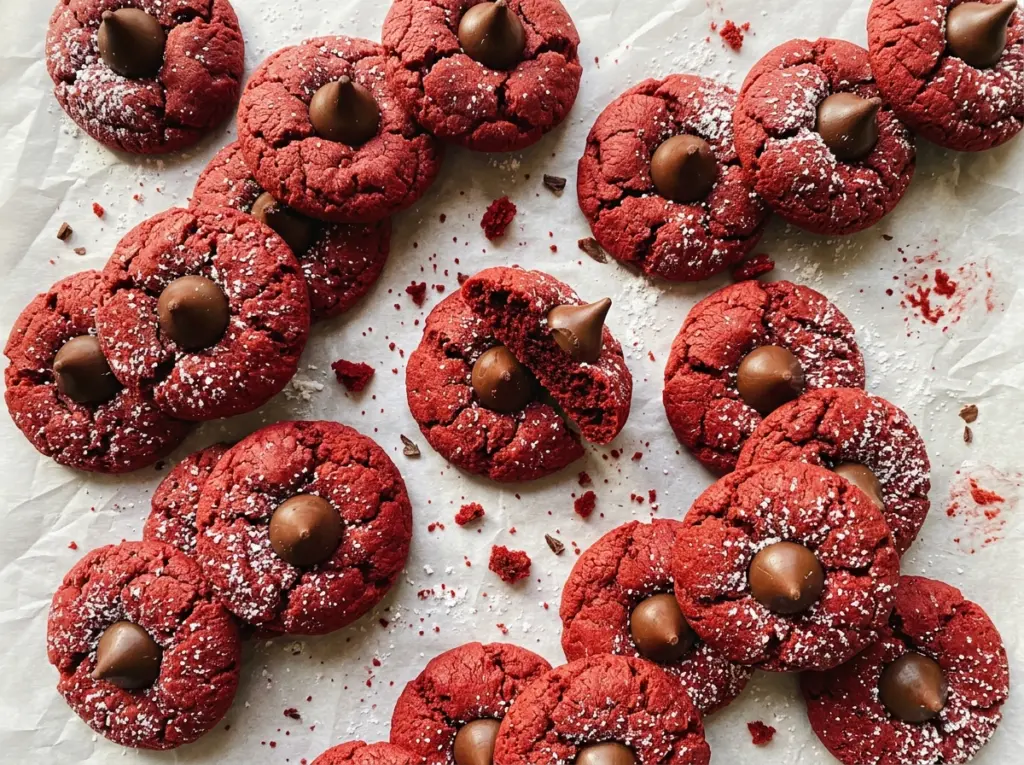
The sugar coating catches the light as the dough balls go onto the pan, but the edges tell me when these cookies are ready. They should look set while the centers are still puffed and soft. That’s the moment to pull out the tray for these red velvet blossoms—not when the centers look firm.
Unsweetened cocoa gives the cookies a gentle chocolate note, while red gel coloring brings the color without adding much liquid to the dough. A short chill helps the dough keep its shape as it bakes, and each warm cookie gets a milk chocolate kiss pressed into its center. The finished cookies have a tender cocoa crumb, a little crunch from the sugar, and a smooth chocolate center.
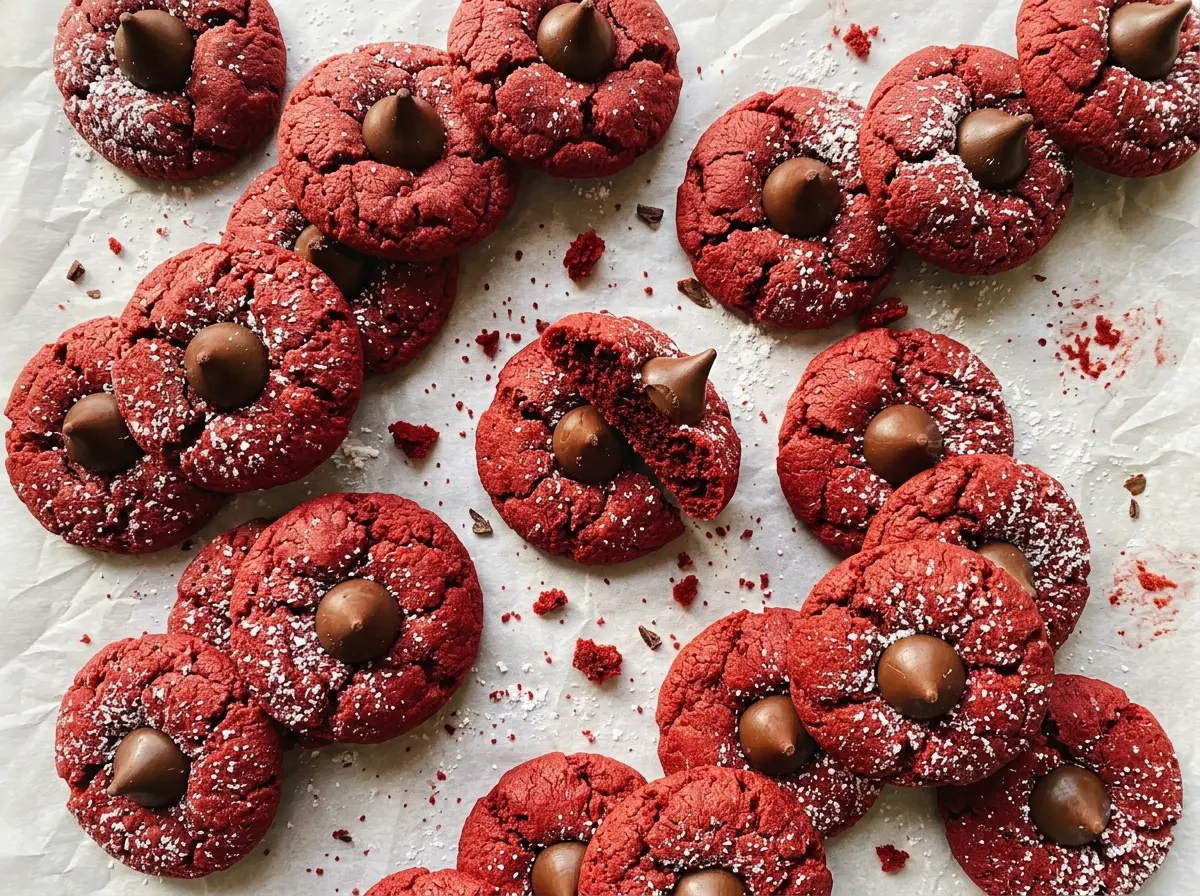
Kitchen Note
Press each chocolate kiss into its cookie as soon as the tray comes out of the oven. The cookies are still soft enough for the candy to settle into the middle without having to push hard.
Save these Red Velvet Blossoms for a cookie tray with a cocoa-soft center, a sugar sparkle, and a milk chocolate kiss in every bite.
The Half-Hour Chill Is What Keeps These Blossoms Round
Red velvet dough can seem firm enough to roll as soon as it’s mixed, but softened butter still needs a little time to cool back down. When warm dough goes straight into the oven, the butter melts quickly and the cookies spread before their edges have time to set. Chilling the covered dough for 30 minutes gives it a firmer feel and makes neat, evenly sized balls easier to roll.
That matters especially here because each cookie needs a stable center for its chocolate kiss. A very flat cookie leaves less of a soft middle to press into, while a rounded, puffed cookie holds the candy neatly in place. Keep the dough covered during the chill so the surface doesn’t dry out. Afterward, work with one half at a time; the remaining dough can stay cool while the first dozen bake.
The chill also makes the sugar coating easier to apply without smearing the dough across your hands. Roll each ball in the granulated sugar until it has a light, even coat, rather than packing on a thick layer. You’ll get a fine sparkle and a delicate crunch without masking the cocoa flavor.
Why the Cocoa and Red Gel Need to Stay in Balance
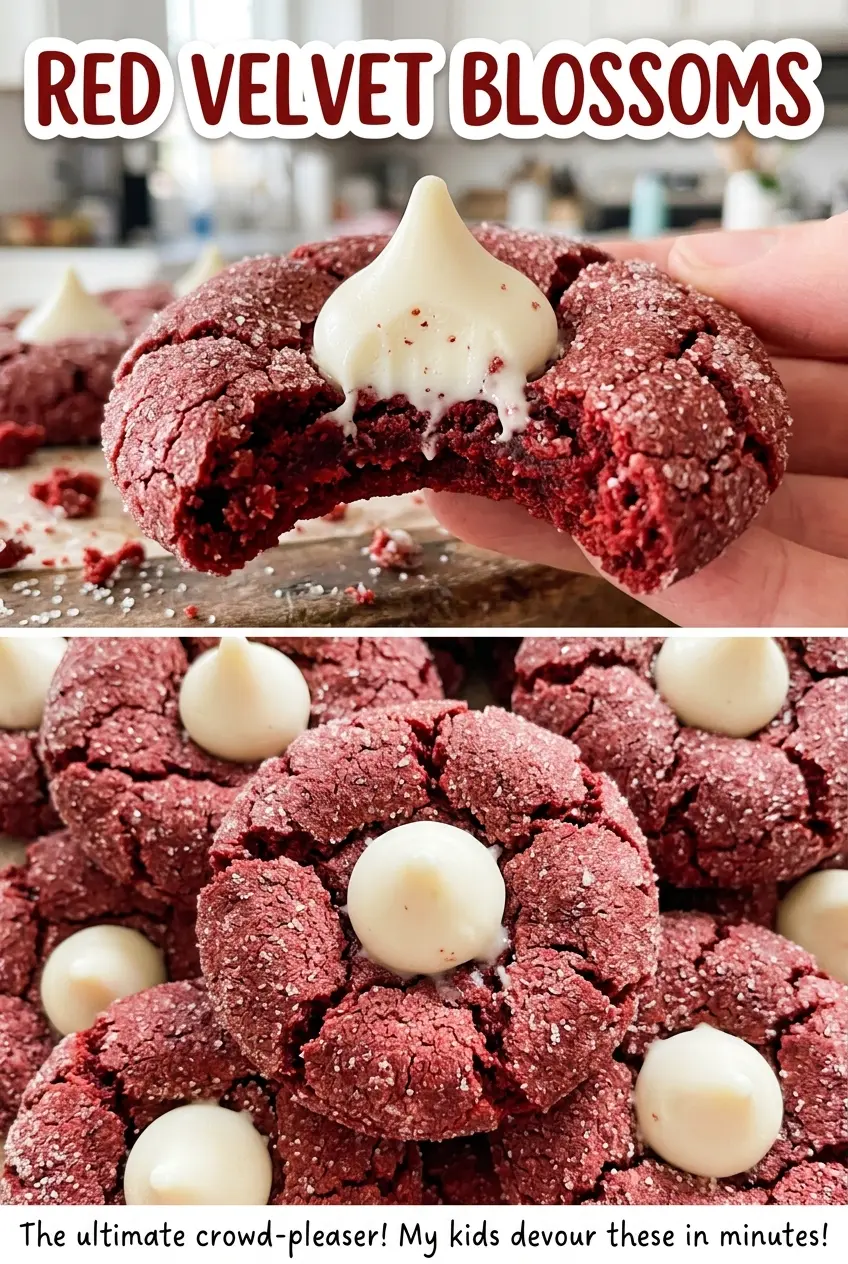
- Unsweetened cocoa — Cocoa brings the quiet chocolate note that makes these taste like red velvet rather than plain sugar cookies. Regular unsweetened cocoa is fine; Dutch-process cocoa also works in the same amount, with a darker, mellower result. Skip sweetened cocoa mix, which adds sugar and doesn’t give the same concentrated cocoa flavor.
- Red gel food coloring — Gel gives the dough a strong red color without pouring in extra liquid. Liquid food coloring can work, but the shade is usually less vivid and the dough may feel softer; use gel when you want the clearest red. Mix until the color looks even before adding the flour mixture, since streaks are harder to blend out later.
- All-purpose flour — This gives the cookies enough structure to hold their shape around the chocolate center, and an everyday store brand works well. For a gluten-free batch, use a cup-for-cup gluten-free baking flour meant to replace all-purpose flour; the crumb may be a little more delicate.
- Unsalted butter — Softened butter creams smoothly with the sugar and helps create a tender cookie. You don’t need a premium brand, but it should be soft enough to press with a finger while still holding its shape. Don’t melt it; melted butter makes a different, looser dough.
- Milk chocolate kisses — Their small shape gives every cookie a tidy, familiar center without needing to chop chocolate. Use fresh, unwrapped candies so they press in cleanly. Dark or white chocolate kisses are straightforward swaps, though either changes the sweetness and chocolate balance.
- Granulated sugar — Sugar in the dough supports the cookie’s sweetness, while the separate coating adds a crisp, sparkly outside. Plain granulated sugar is the right choice for a fine, even coat; coarse sugar makes a crunchier, more noticeable crust.
The Mixing and Baking Sequence for Soft, Neat Centers
Cream the Butter Before Adding the Dry Mix
Start by heating the oven to 350°F and lining an 18×13-inch baking sheet with parchment paper. Whisk the flour, cocoa powder, baking powder, and kosher salt together in a medium bowl so the cocoa doesn’t stay in clumps. In a large bowl, beat the softened butter with the first portion of granulated sugar until creamy, about 2 minutes. Beat in the egg, milk, vanilla, and red gel coloring until the color is even.
Bring the Dough Together, Then Chill It
Add the flour mixture to the butter mixture and mix only until no dry streaks remain. Stop once the last pale patches of flour disappear; mixing beyond that can make the cookies less tender. Cover the bowl and refrigerate the dough for 30 minutes. Divide it in half, roll one half into 12 balls, and coat each ball in the remaining granulated sugar.
Bake Until the Edges Set
Arrange the dough balls about 2 inches apart on the prepared sheet. Bake for 9–11 minutes, until the edges are set and the centers are puffed; don’t wait for the centers to look firm. Press a chocolate kiss into the center of each cookie as soon as the tray comes out. Let the cookies cool on the baking sheet for 5 minutes, then move them to a wire rack, and wait for the sheet to cool completely before baking the remaining dough.
Three Swaps for a Different Center or Crumb
Use dark chocolate kisses
Replace the milk chocolate kisses with dark chocolate kisses one for one. The center will taste less sweet and more cocoa-forward, which plays nicely against the sugar coating.
Make the centers white chocolate
Swap in white chocolate kisses in the same quantity. They make a sweeter, creamier contrast with the cocoa cookie, so the red-and-white look stands out on a platter.
Bake a gluten-free batch
Replace the all-purpose flour with a cup-for-cup gluten-free baking flour designed for cookies. Keep the other ingredients and method the same; the finished cookies may have a slightly more delicate crumb, so move them gently to the rack.
Storage and Reheating
- Room temperature: Keep fully cooled cookies in an airtight container for up to 4 days. The sugar coating softens a little over time.
- Freezer: Freeze the cooled cookies in an airtight container for up to 2 months, with parchment between layers. Thaw them in the container at room temperature to limit condensation on the chocolate.
- Reheating: These are best at room temperature, so reheating isn’t needed. Avoid microwaving; the chocolate kiss can melt before the cookie warms through.
Questions That Come Up While Baking Red Velvet Blossoms
Red Velvet Blossoms
Ingredients
Equipment
Method
- Preheat the oven to 350°F.
- Line an 18x13-inch baking sheet with parchment paper.
- Whisk the flour, cocoa powder, baking powder, and salt together in a medium bowl.
- Beat the butter and 3/4 cup granulated sugar in a large bowl until creamy, about 2 minutes.
- Beat in the egg, milk, vanilla, and red food coloring until evenly colored.
- Add the flour mixture and mix just until no dry streaks remain.
- Cover and refrigerate the dough for 30 minutes.
- Divide the dough in half.
- Roll one half into 12 balls.
- Roll the balls in the remaining granulated sugar.
- Arrange the balls about 2 inches apart on the prepared baking sheet.
- Bake for 9–11 minutes, until the edges are set and the centers are puffed.
- Immediately press one chocolate kiss into the center of each cookie.
- Cool the cookies on the baking sheet for 5 minutes.
- Transfer the cookies to a wire rack.
- Let the baking sheet cool completely.
- Roll the remaining dough into 12 balls.
- Roll the balls in the remaining granulated sugar.
- Arrange them about 2 inches apart on the prepared baking sheet.
- Bake for 9–11 minutes, until the edges are set and the centers are puffed.
- Immediately press one chocolate kiss into the center of each cookie.
- Cool the cookies on the baking sheet for 5 minutes.
- Transfer the cookies to a wire rack.


