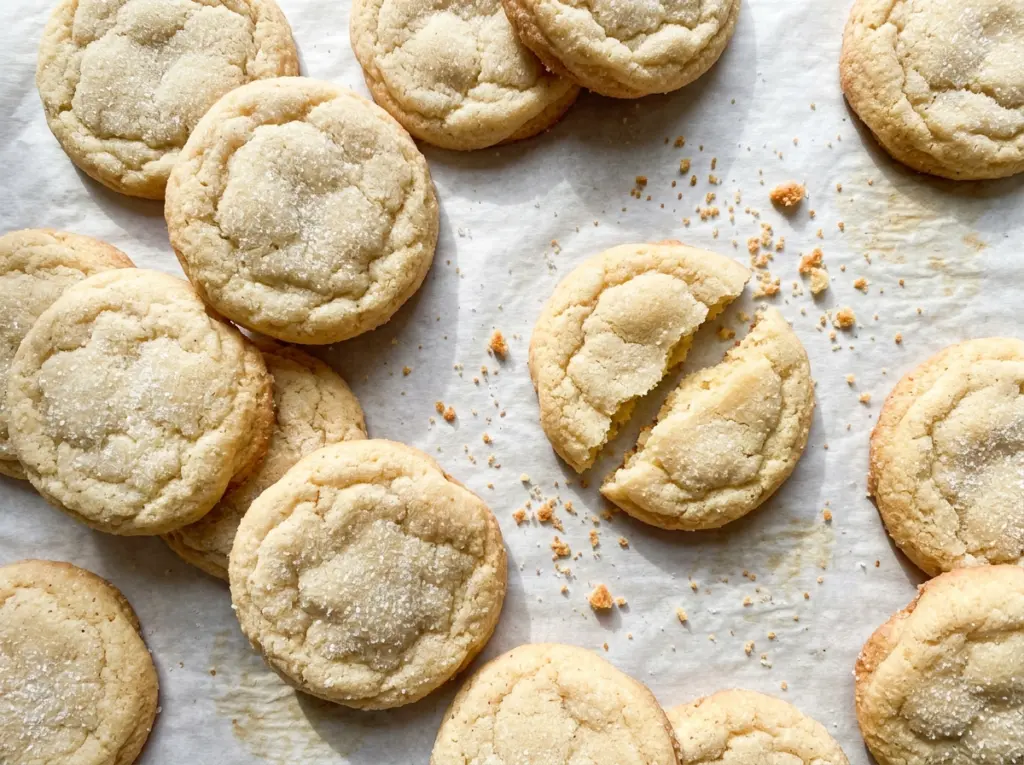
At the 10-minute mark, the centers of these cookies can look a little too soft to take out of the oven. That’s exactly when I start watching the edges instead. They should look set while the middle still appears slightly underdone, and the cookies finish firming up on the hot baking sheet. That small visual cue is what keeps these Soft and Chewy Sugar Cookies tender instead of dry.
I cream the butter with most of the sugar, then use both a whole egg and an extra yolk for a dough that bakes up soft and chewy. A one-hour chill gives the dough time to firm before scooping, and rolling each portion in sugar leaves a delicate, sparkly finish. The cookies cool briefly on the pan before moving to a rack, so they’re sturdy enough to lift without losing their soft centers.
Kitchen Note
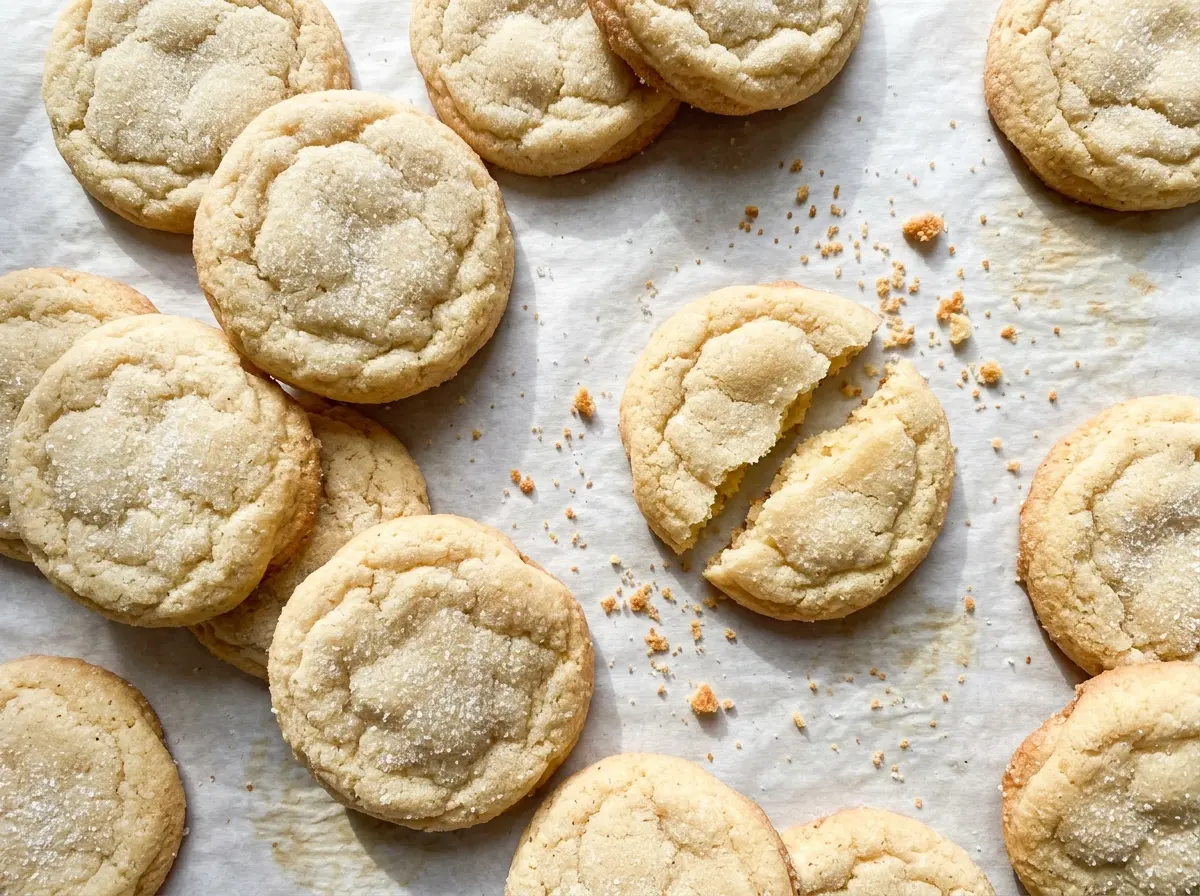
Don’t wait for the centers to look fully baked. When the edges are set and the middle still looks a touch soft, take the pan out; those five minutes on the sheet finish the job without drying the cookies out.
Save these Soft and Chewy Sugar Cookies for a bake day when you want tender centers and a delicate, sugar-coated finish.
Why This Sugar Cookie Dough Needs Its Hour in the Fridge
Chilling isn’t just a pause between mixing and baking. Freshly mixed dough is soft from the butter, and a soft dough is harder to portion neatly and more likely to spread quickly in the oven. After an hour in the refrigerator, it’s firmer and easier to roll into even portions, which helps the cookies bake more consistently.
That rest also gives the flour time to absorb moisture from the eggs and butter. The dough becomes less sticky and more cohesive, so you can roll the portions in sugar without having them cling to your hands. If you rush straight from mixing to the baking sheet, the dough can be loose and messy to handle. Keep the full chill in the schedule, then work with one baking sheet at a time so the portions stay manageable while they wait for the oven.
The texture depends on more than the chill, of course. Creaming the butter and sugar until light and fluffy incorporates air, while mixing the flour in only until no dry streaks remain keeps the dough from getting overworked. Together, those choices make a cookie that holds its shape but stays tender inside.
What the Extra Yolk and Sugar Coating Bring to These Cookies

- Egg and egg yolk — The whole egg helps bind the dough, and the extra yolk brings richness that supports a soft, chewy texture. Use both at room temperature so they blend smoothly into the creamed butter. The yolk is part of the balance here, not an optional extra.
- Granulated sugar — Most of the sugar is creamed with the butter, where it helps aerate the dough. The reserved portion is for rolling and gives the outside a light sugary coating. Keep that portion separate rather than accidentally adding it all to the mixing bowl.
- Unsalted butter — Softened butter creams properly with the sugar; melted butter won’t give the same light mixture. A standard grocery-store unsalted butter works well, so there’s no need for a specialty brand. Let it soften until it yields to a gentle press but still holds its shape.
- All-purpose flour — This gives the cookies their structure. A regular all-purpose flour is the right choice here; a different flour can change how the dough absorbs moisture and spreads. Mix it in on low speed and stop once the dry streaks disappear.
- Baking soda and baking powder — The two leaveners work together to give the cookies lift while they bake. Whisk them thoroughly with the flour and salt first, so neither one is concentrated in a single part of the dough.
- Vanilla extract — Vanilla rounds out the buttery, sweet dough. A basic pure or imitation vanilla both work; use the one you keep on hand rather than changing the amount.
From Lightly Creamed Butter to Soft, Set-Edged Cookies
Cream the Butter and Sugar Until Fluffy
Whisk the flour, baking soda, baking powder, and kosher salt together in a medium bowl before you start the mixer. In a large bowl, beat the softened butter with 1 1/2 cups of the sugar on medium speed for 2 to 3 minutes. The mixture should look lighter and fluffier, not merely stirred together. If butter is still firm or cold, it won’t cream evenly, so give it time to soften before mixing.
Make the Dough and Let It Chill
Beat in the room-temperature egg, egg yolk, and vanilla until combined. Add the flour mixture on low speed and stop as soon as no dry streaks remain; continuing to beat after that point can make the cookies tougher. Cover the bowl and refrigerate the dough for 1 hour. It should feel firmer and easier to scoop after its rest.
Portion and Coat Each Cookie
Heat the oven to 350°F and line a large baking sheet with parchment paper. Put the remaining 1/4 cup of sugar in a small bowl, then scoop the dough into 1 1/2-tablespoon portions and roll each one in the sugar. Arrange them about 2 inches apart so they have room to spread. If the dough starts getting sticky as you work, return it to the refrigerator while the first batch bakes.
Bake Until the Edges Set
Bake the cookies in batches for 10 to 12 minutes, watching for set edges and centers that still look slightly underdone. The centers shouldn’t look completely firm in the oven; they continue setting as the cookies rest. Leave them on the baking sheet for 5 minutes, then transfer them to a wire rack to cool. Moving them too soon can make the warm cookies bend or break.
Easy Ways to Change the Finish or Plan Ahead
A quieter sugar finish
Use only some of the reserved sugar for rolling, or leave a few dough portions uncoated. The cookies will have a plainer top and a little less sugary crunch outside, while keeping the same soft interior.
Freeze portions for a later batch
After chilling and portioning the dough, freeze the uncoated portions in a single layer until firm, then transfer them to an airtight container. Thaw them in the refrigerator until scoopable, roll in the reserved sugar, and bake as usual. This gives you a head start without changing the cookie dough.
Make a smaller batch
The dough can be divided before baking so you can bake only what you need and freeze the remaining portions. Keep each portion the same size and preserve the dough’s ingredient proportions for the same tender, chewy result.
Storage and Reheating
- Refrigerator: These cookies don’t need refrigeration. Store them in an airtight container at room temperature; chilling baked cookies can make them firm and dry.
- Freezer: Baked cookies freeze well in an airtight container. Separate layers with parchment and thaw at room temperature before serving.
- Reheating: They’re good at room temperature, but you can warm one briefly in the microwave if you like. Don’t heat it until hot, or the cookie can turn tough.
Questions About Soft and Chewy Sugar Cookies
Soft and Chewy Sugar Cookies
Ingredients
Equipment
Method
- Whisk the flour, baking soda, baking powder, and salt together in a medium bowl.
- In a large bowl, beat the butter and 1 1/2 cups of the sugar with an electric mixer on medium speed for 2 to 3 minutes, until light and fluffy.
- Beat in the egg, egg yolk, and vanilla until combined.
- Mix in the flour mixture on low speed just until no dry streaks remain.
- Cover and refrigerate the dough for 1 hour.
- Heat the oven to 350°F.
- Line a large baking sheet with parchment paper.
- Put the remaining 1/4 cup sugar in a small bowl.
- Scoop the dough into 1 1/2-tablespoon portions, roll each portion in the sugar, and arrange them about 2 inches apart on the baking sheet.
- Bake in batches for 10 to 12 minutes, until the edges are set and the centers still look slightly underdone.
- Let the cookies cool on the baking sheet for 5 minutes.
- Transfer the cookies to a wire rack to cool.


