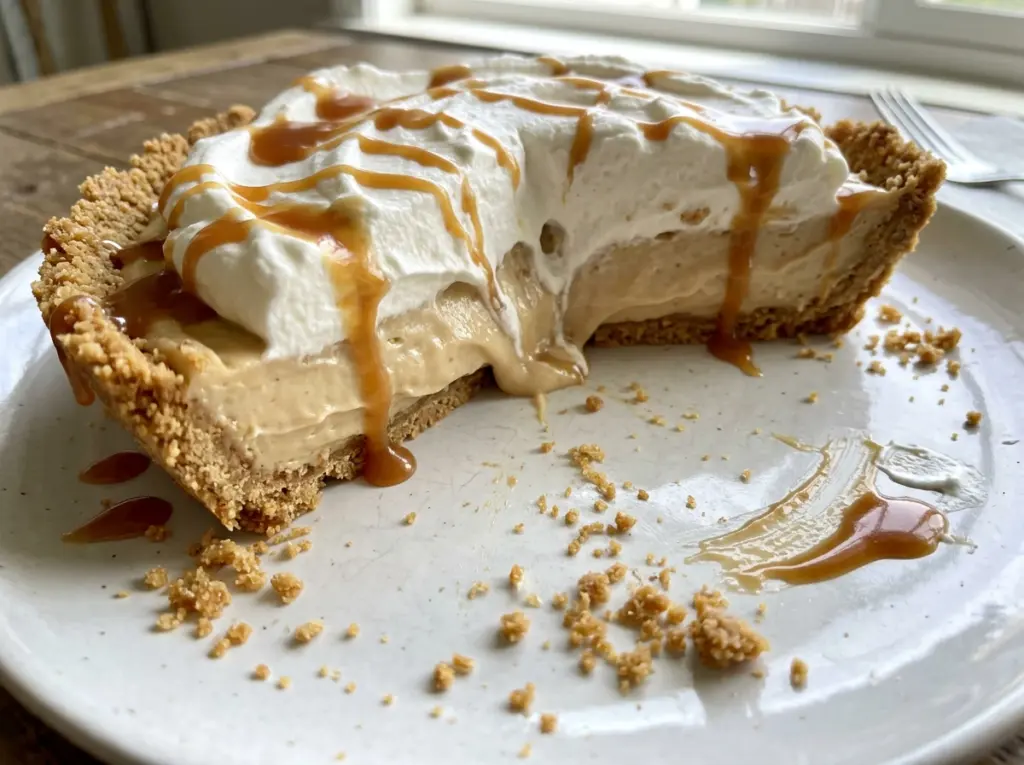
When the sugar starts turning amber, it can go from pale gold to too dark faster than you expect. I keep my attention on the pan and swirl it gently rather than stirring, because this caramel is the backbone of the filling in caramel cream pie. Once the warm milk goes in, the mixture bubbles hard, and any caramel that firms up needs a little time over low heat to melt back in.
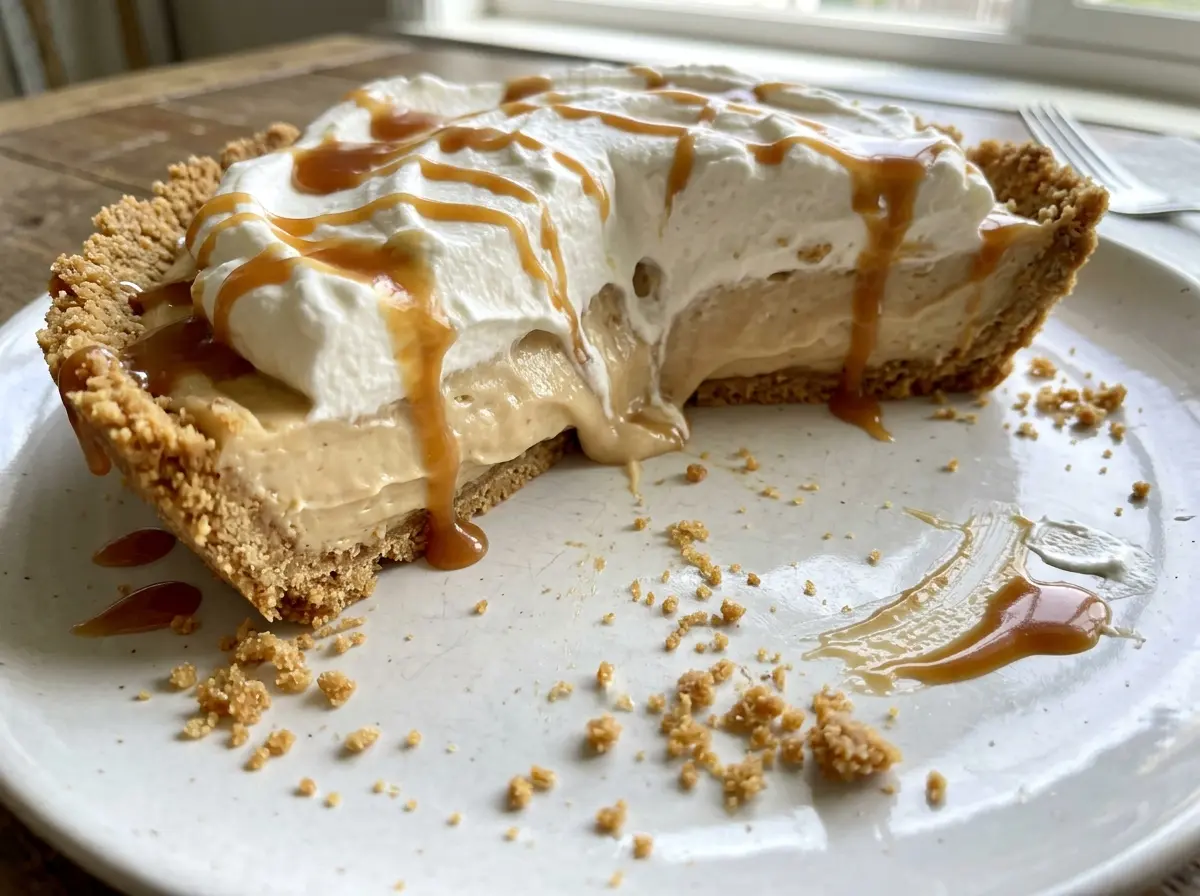
The filling gets its smooth, sliceable texture from egg yolks and cornstarch, cooked together until thick and bubbling. I pour it into a fully cooled crust, cover the surface, and give it a long chill before adding the whipped cream. That order keeps the filling from softening the crust and gives the pie enough time to set into neat slices, with a deep caramel layer under a soft cap of cream.
Kitchen Note
Let the crust cool completely in the pie plate before adding the filling. Even a slightly warm crust can soften underneath the custard, so I use that cooling time to make the caramel.
Save this caramel cream pie for a make-ahead dessert with a glossy caramel filling and a cloud of vanilla whipped cream.
Why the Caramel Needs to Reach Deep Amber Before the Milk Goes In
The color of the sugar tells you more than the timer does. Pale caramel tastes mostly sweet; deep amber brings the rounded, slightly bittersweet flavor that keeps this pie from tasting like plain vanilla pudding. The sugar and water cook together without stirring, while an occasional swirl helps the color develop evenly. As the water cooks off, the bubbles change and the sugar darkens. Stay beside the pan near the end, because the difference between deep amber and burnt sugar can happen quickly.
Adding warm milk to hot caramel is a dramatic moment: it bubbles up, and some caramel may harden on contact. That doesn’t mean the batch is ruined. Return the pan to low heat and stir until those hardened pieces dissolve before adding the egg mixture. The milk also needs to be steaming rather than boiling when it meets the caramel; gentle warmth helps the two come together without adding another uncontrolled boil to an already hot pan.
What Gives This Pie Its Caramel Flavor and Silky Set

- Granulated sugar and water — Plain granulated sugar melts into a clean caramel, and water gives it an even start in the saucepan. Keep the sugar mixture free of stirring while it boils; brown sugar isn’t a direct swap because its molasses and moisture change how the caramel cooks.
- Whole milk — Whole milk gives the custard a fuller, creamier body. Use fresh milk and warm it until steaming, not boiling; lower-fat milk won’t give quite the same richness.
- Egg yolks and cornstarch — Yolks bring richness, while cornstarch helps the filling set firmly enough to slice after chilling. The two work together here, so don’t replace the yolks with whole eggs or trade the cornstarch for flour.
- Unsalted butter — Whisking it in off the heat rounds out the caramel and gives the filling a smooth finish. Unsalted butter also leaves the measured salt in control.
- Vanilla extract — Vanilla softens the sharper edge of caramel. Use an extract you like; there’s no need for an expensive bottle in a filling with such a strong caramel base.
- Refrigerated pie crust — A ready-made 9-inch crust keeps the preparation focused on the caramel custard. Its edge can be crimped before blind baking, and the crust needs to cool fully before it meets the filling.
- Cold heavy cream and powdered sugar — Heavy cream whips into the stable topping, and powdered sugar dissolves smoothly without leaving a gritty feel. Keep the cream cold and chill the bowl so it reaches medium-stiff peaks without dragging out the beating.
Build the Pie in Four Stages, from Crisp Crust to Set Custard
Blind-Bake Until the Bottom Is Golden
Heat the oven to 400°F and fit the refrigerated crust into a 9-inch pie plate, crimping the edge. Line it with parchment and fill it with pie weights so the bottom stays flat as it bakes. Bake for 15–18 minutes, then lift out the parchment and weights and bake another 8–12 minutes, until the crust is golden brown. Let it cool completely in the pie plate; filling a warm crust risks a softer base.
Cook the Sugar to a Deep Amber
Whisk the egg yolks, cornstarch, salt, and 1/2 cup of milk in a medium bowl until smooth, then set that mixture aside. Warm the remaining 2 cups of milk in a small saucepan over medium-low heat for 3–5 minutes, until steaming but not boiling. In a heavy 2- to 3-quart saucepan, bring the sugar and water to a boil over medium-high heat; cook without stirring, swirling the pan occasionally, for 8–12 minutes until deep amber. Watch the color closely as it darkens.
Temper the Yolks and Thicken the Filling
Take the caramel off the heat and slowly whisk in the warm milk, taking care as it bubbles. Return the pan to low heat and stir until any hardened caramel dissolves. Slowly whisk about 1 cup of the hot caramel mixture into the yolk mixture, then whisk the tempered mixture back into the saucepan; adding it gradually helps keep the yolks smooth. Cook over medium heat, whisking constantly, until the filling is thick and bubbling, then continue for 1 minute.
Chill Fully Before Adding the Cream
Remove the pan from the heat and whisk in the butter and vanilla. Pour the filling into the cooled crust, press plastic wrap directly onto the surface, and refrigerate for at least 6 hours, until fully set. Beat the cold heavy cream with powdered sugar and vanilla in a chilled bowl for about 2–4 minutes, until medium-stiff peaks form. Remove the plastic wrap, spread the whipped cream over the chilled pie, and serve.
Three Ways to Adapt Caramel Cream Pie Without Losing Its Character
Use a Gluten-Free Refrigerated Crust
For a gluten-free pie, swap in a refrigerated gluten-free crust sized for a 9-inch pie plate. Follow its package guidance for fitting and blind baking, since gluten-free crusts can be more delicate and their bake times vary. The caramel filling and whipped cream stay the same, though the crust may be more crumbly when sliced.
Make Crustless Caramel Custard Cups
Skip the crust and divide the cooked filling among individual serving dishes, then chill until set and finish with the whipped cream. The result is a spoonable caramel custard rather than sliceable pie, with the same caramel and vanilla flavors and no blind-baking stage.
Add the Whipped Cream by the Slice
Instead of spreading the topping over the whole pie, spoon whipped cream onto each portion just before serving. This leaves the caramel surface visible until serving and keeps the topping separate if you expect to have leftovers.
Storage and Reheating
- Refrigerator: Keep the pie covered and refrigerated for up to 3 days. The whipped cream softens over time, but the custard remains spoonable and the slices are still good cold.
- Freezer: Freezing isn’t a good fit for this pie; the custard can turn watery and the whipped cream loses its smooth texture as it thaws.
- Reheating: Don’t reheat it. This custard pie is served cold, and warming it can loosen the filling and melt the topping.
Questions That Come Up While Making Caramel Cream Pie
Caramel Cream Pie
Ingredients
Equipment
Method
- Heat the oven to 400°F.
- Fit the pie crust into a 9-inch pie plate and crimp the edge.
- Line the crust with parchment paper and fill it with pie weights.
- Bake for 15–18 minutes, then remove the parchment and weights.
- Bake for 8–12 minutes more, until the crust is golden brown.
- Cool the crust completely in the pie plate.
- In a medium bowl, whisk the egg yolks, cornstarch, salt, and 1/2 cup of the milk until smooth.
- Warm the remaining 2 cups milk in a small saucepan over medium-low heat for 3–5 minutes, until steaming but not boiling.
- Combine the sugar and water in a heavy 2- to 3-quart saucepan and bring to a boil over medium-high heat.
- Cook without stirring, swirling the pan occasionally, for 8–12 minutes, until deep amber.
- Remove the caramel from the heat and slowly whisk in the warm milk, taking care as it bubbles.
- Return the pan to low heat and stir until any hardened caramel dissolves.
- Slowly whisk about 1 cup of the hot caramel mixture into the yolk mixture.
- Whisk the tempered yolk mixture back into the saucepan.
- Cook over medium heat, whisking constantly, until the filling is thick and bubbling.
- Continue cooking for 1 minute.
- Remove the pan from the heat and whisk in the butter and vanilla extract.
- Pour the filling into the cooled crust.
- Press plastic wrap directly onto the filling’s surface and refrigerate for at least 6 hours, until fully set.
- Beat the heavy cream, powdered sugar, and vanilla extract in a chilled bowl until medium-stiff peaks form, about 2–4 minutes.
- Remove the plastic wrap and spread the whipped cream over the chilled pie.
- Serve.


