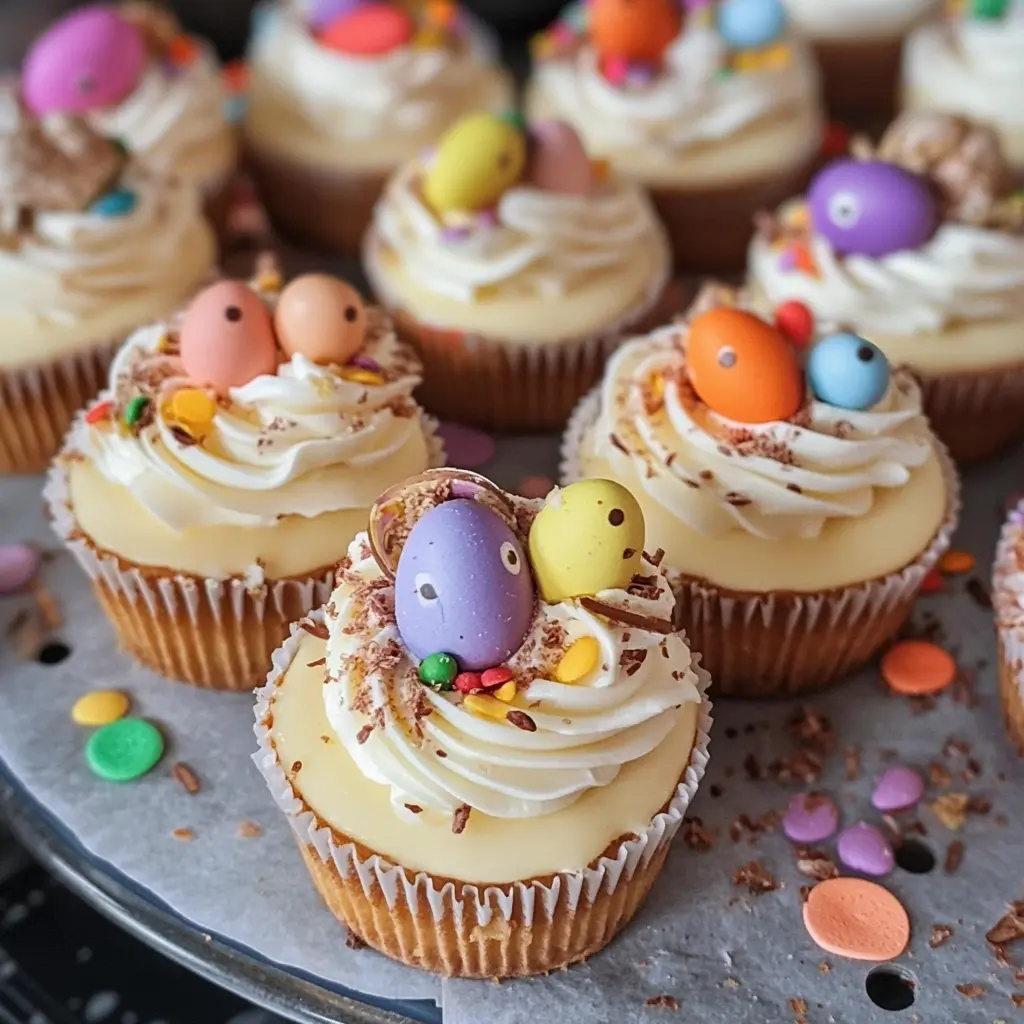
These Mini Easter Cheesecakes are cute little treats that bring a smile! With a creamy filling and a crunchy crust, they’re perfect for any celebration. You can even add colorful toppings!
Making them is a breeze! I love how they’re the perfect size for sharing (or not sharing!). Just whip up the ingredients, bake, and you’re set for a sweet treat—Happy Easter!
Key Ingredients & Substitutions
Digestive Biscuits: These provide a deliciously sweet crust. If you can’t find them, Graham crackers work great. For a gluten-free option, try almond flour mixed with a bit of melted butter.
Cream Cheese: Make sure it’s at room temperature for easy blending. If you’re looking for a lower-fat alternative, Neufchâtel cheese is a good choice. Vegan cream cheese can also work if you want a dairy-free version.
Double Cream: This is essential for a rich texture. You can substitute with heavy whipping cream. For a lighter version, consider using chilled coconut cream for a dairy-free option, which adds a nice flavor.
White Chocolate: It’s perfect for sweetness. If you want a dairy-free option, use a vegan white chocolate. You can also omit it for less sweetness and just stick with the cream cheese filling.
How Do You Get a Smooth and Creamy Cheesecake Filling?
Achieving the perfect cheesecake filling is all about mixing and folding correctly. Start by beating the cream cheese until it’s very smooth; it should have no lumps. Add the icing sugar gradually, allowing it to blend well.
- When incorporating melted white chocolate, let it cool slightly to avoid melting the cream cheese.
- For whipping the cream, use cold cream and a chilled bowl to help it whip better. Beat until soft peaks form, but don’t overwhip, or it’ll become grainy.
- Gently fold the whipped cream into the cream cheese mixture, being careful not to deflate it. This keeps your filling light and airy.

How to Make Mini Easter Cheesecakes
Ingredients You’ll Need:
For The Base:
- 200g digestive biscuits (or Graham crackers)
- 100g unsalted butter, melted
For The Cheesecake Filling:
- 300g cream cheese (room temperature)
- 150g icing sugar (powdered sugar)
- 200ml double cream (heavy cream)
- 1 tsp vanilla extract
- 100g white chocolate, melted
For Decoration:
- 100g milk chocolate, melted (optional for drizzling)
- Easter-themed chocolate candies (e.g., mini eggs, chocolate bunnies)
- Cocoa powder or chocolate shavings for garnish (optional)
How Much Time Will You Need?
This recipe requires about 20 minutes of prep time and 10 minutes of baking. You’ll need to allow at least 4 hours for chilling in the fridge, but overnight is best for a nice set. So, plan for a total of about 4 hours and 30 minutes to make these delightful treats!
Step-by-Step Instructions:
1. Preparing the Base:
First, preheat your oven to 160°C (320°F) and line a muffin tin with 12 cupcake liners. If you have a food processor, crush the digestive biscuits into fine crumbs. If not, you can place the biscuits in a zip-lock bag and roll over them with a rolling pin. In a bowl, mix the biscuit crumbs with the melted butter until they stick together nicely.
2. Forming the Base:
Spoon the biscuit mixture evenly into the lined muffin tin. Press down on each portion firmly to create a solid base. Pop the muffin tin in your preheated oven and bake for about 10 minutes. Once done, take them out and let them cool completely.
3. Making the Cheesecake Filling:
In a large mixing bowl, use a hand mixer to beat the cream cheese until it’s nice and smooth. Gradually add the icing sugar and mix until everything is blended well. Then, pour in the melted white chocolate and vanilla extract, continuing to mix until it’s all combined.
4. Whipping the Cream:
In a separate bowl, whip the double cream with an electric mixer until soft peaks form. This means that the cream is fluffy but still holds its shape. Gently fold this whipped cream into the cream cheese mixture using a spatula, taking care to keep the mixture light and airy.
5. Filling the Cheesecakes:
Spoon the cheesecake filling evenly into each muffin tin over the cooled biscuit bases. Use a spatula to smooth the tops of each one. Cover the muffin tin with plastic wrap and refrigerate for at least 4 hours, or overnight for the best results!
6. Decorating:
Once the cheesecake filling is set, carefully remove the mini cheesecakes from the muffin tin. You can add a dollop of whipped cream on top, and if you like, drizzle some melted milk chocolate over them. Get creative with your decorations by adding colorful Easter-themed candies like mini eggs or chocolate bunnies. Sprinkle cocoa powder or chocolate shavings on top if you want to add some final flair!
7. Serving:
Arrange the mini cheesecakes on a lovely platter and get ready to enjoy your festive Easter treats! Share them with friends and family, or keep them all for yourself—no judgment here!
Enjoy making these delightful Mini Easter Cheesecakes! They’re sure to bring a smile to everyone’s face during the holiday celebrations!

### FAQ for Mini Easter Cheesecakes
Can I Use Different Types of Biscuits for the Base?
Absolutely! While digestive biscuits are traditional, you can also use Graham crackers, Oreo cookies, or even shortbread for a unique flavor. Just make sure to adjust the amount of butter slightly if the biscuits are particularly dry or moist.
How Can I Make These Cheesecakes Ahead of Time?
These mini cheesecakes are perfect for making ahead! You can prepare them up to two days in advance. Just keep them covered in the fridge until you’re ready to serve. This allows the flavors to meld together beautifully while they set!
What’s the Best Way to Store Leftover Cheesecakes?
Store any leftovers in an airtight container in the refrigerator for up to 3 days. If you plan to keep them longer, consider freezing them without the toppings. Thaw in the fridge before serving, and add the decorations right before you enjoy them.
Can I Substitute the Heavy Cream with Something Lighter?
Yes, you can substitute the double cream with whipped topping or lighter creams, but keep in mind that the texture and richness may differ. For a dairy-free version, use coconut cream or a plant-based whipped cream, making sure to adjust for sweetness if needed!