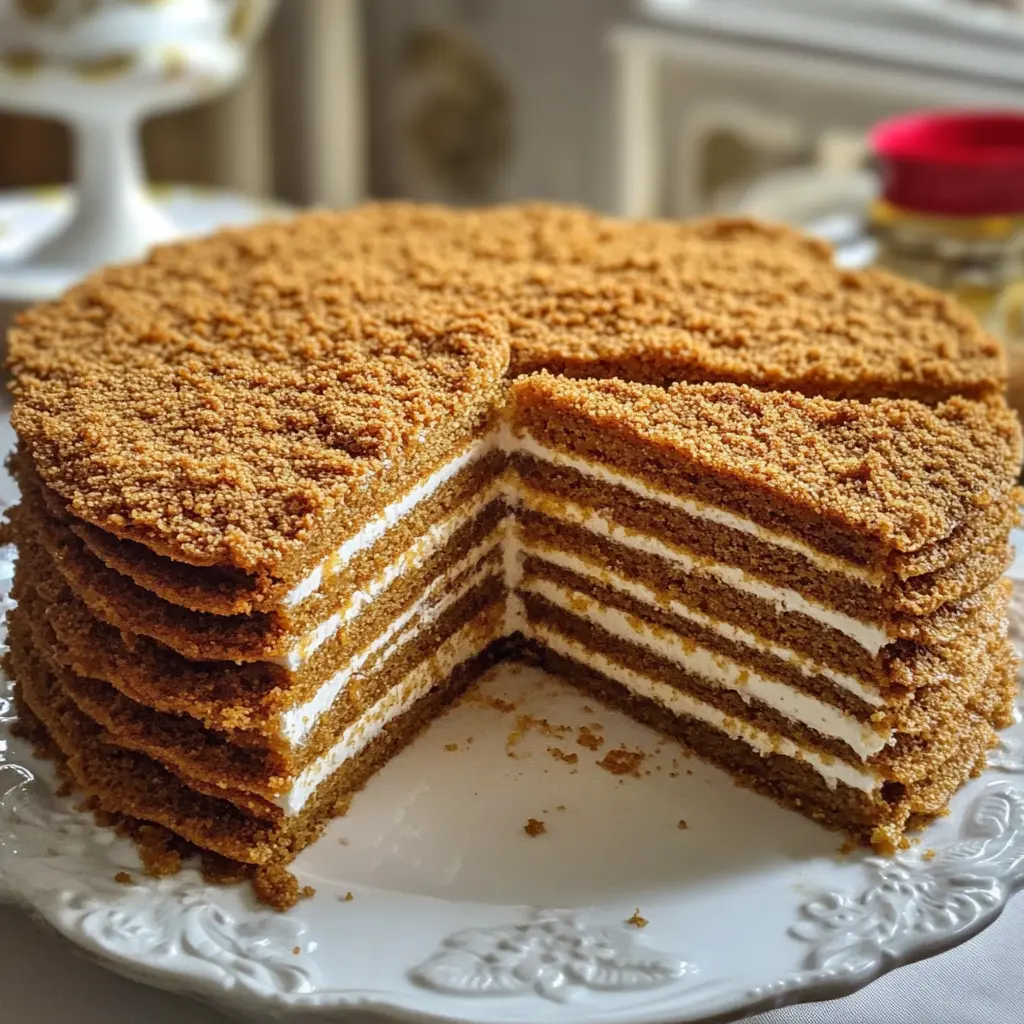
This Russian Honey Cake, known for its sweet layers and creamy goodness, is a treat for any occasion! With honey and sour cream, it’s both soft and rich.
Making this cake can feel like a mini adventure in the kitchen, especially when stacking those delicious layers. Trust me, the taste will win your heart! 🐝❤️
I love serving this cake chilled, as it really helps the flavors blend together. It’s perfect for gatherings or just to impress your dessert-loving friends! Enjoy!
Key Ingredients & Substitutions
All-Purpose Flour: This is the backbone of your cake layers. If you need a gluten-free option, almond flour or a gluten-free flour blend can work, but be cautious as texture may vary.
Honey: The honey adds not only flavor but also moisture. If you’re out of honey, maple syrup can be a sweet substitute, but it will change the taste slightly.
Heavy Whipping Cream: Using heavy cream is essential for a rich filling, but if you want a lighter option, you can use half-and-half or even coconut cream for a dairy-free choice.
Sour Cream: This ingredient adds tang and moisture to the cake. If you don’t have sour cream, plain Greek yogurt can substitute well, providing a similar tangy flavor.
Sugar: While granulated sugar is the standard, you can also try brown sugar for a hint of molasses flavor in your layers. Just note it may make them slightly darker.
How Do You Ensure Your Cake Layers Are Perfectly Thin?
Rolling out the cake layers to the right thickness is key for a good texture. Here’s how to do it:
- Divide the dough into 8 equal pieces. Keep the others covered while you work to prevent them from drying out.
- On a lightly floured surface, roll out each piece to about 1/8 inch thick—this requires a bit of patience!
- Use a rolling pin, and if the dough seems sticky, sprinkle a bit more flour. You want them thin for even baking.
- Once rolled, transfer to a baking sheet lined with parchment paper carefully, as they can be fragile.
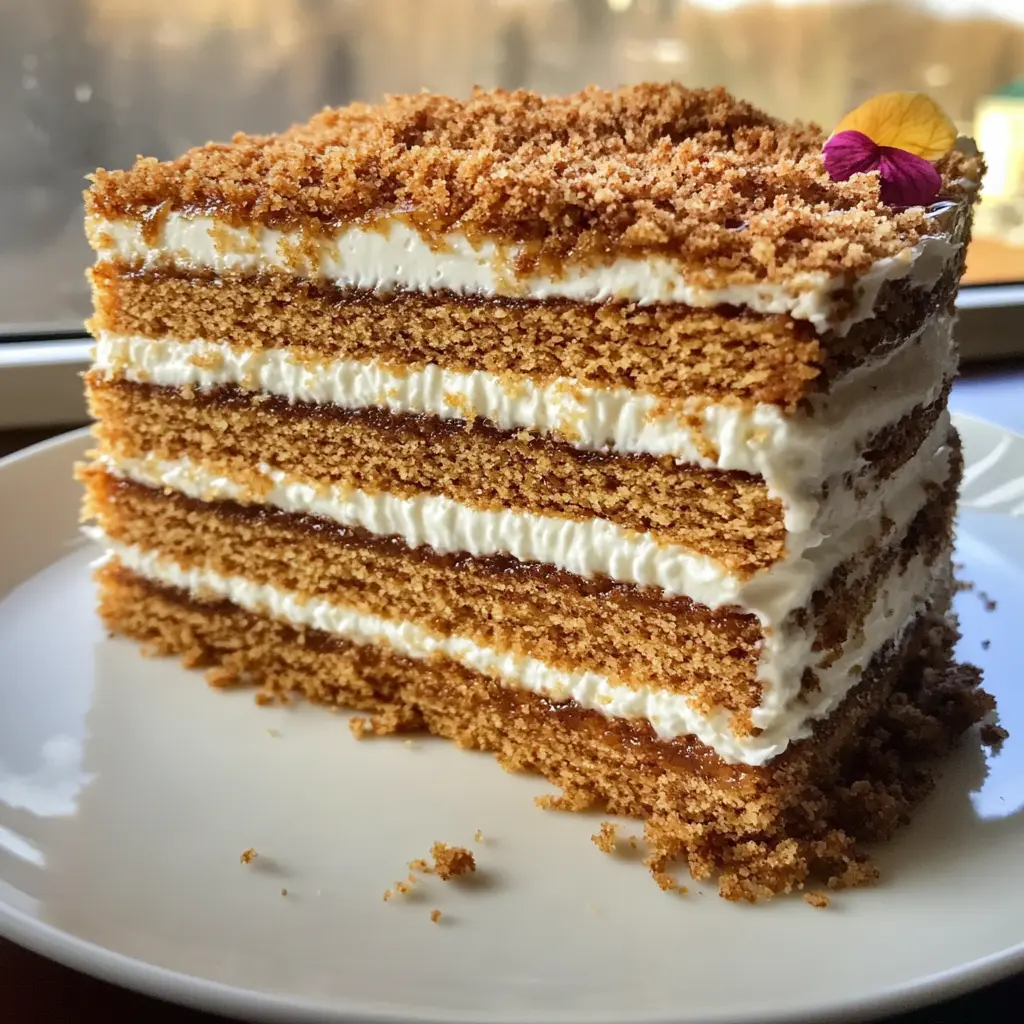
How to Make Russian Honey Cake (Medovik)
Ingredients You’ll Need:
For the Cake Layers:
- 3 cups all-purpose flour
- 1 cup granulated sugar
- 1/2 cup unsalted butter
- 3 tablespoons honey
- 1 teaspoon baking soda
- 1/2 teaspoon salt
- 1 large egg
- 1/2 cup sour cream
For the Cream Filling:
- 2 cups heavy whipping cream
- 1 cup powdered sugar
- 1 teaspoon vanilla extract
For Garnish:
- 1/4 cup crushed walnuts (optional)
- Fresh berries (such as raspberries and blueberries)
How Much Time Will You Need?
This delicious Russian Honey Cake will take about 30 minutes of prep time, plus around 10-15 minutes to bake the layers. Don’t forget to let it chill in the fridge for at least a few hours—preferably overnight—to let the flavors really come together. So, in total, you’ll spend a bit more time but it’s worth the wait!
Step-by-Step Instructions:
1. Preparing the Cake Layers:
Start by melting 1/2 cup of unsalted butter in a saucepan over low heat. Once melted, add in 1 cup of granulated sugar, 3 tablespoons of honey, and 3 tablespoons of water. Stir it all together until it’s smooth and combined. Next, remove the saucepan from heat and whisk in 1 large egg until it’s nicely mixed.
In a separate bowl, mix 3 cups of all-purpose flour, 1 teaspoon of baking soda, and 1/2 teaspoon of salt. Gradually add this dry mixture to the honey mixture, stirring until it forms a soft dough. Divide the dough into 8 equal pieces. Roll each piece into a thin layer, making them about 1/8 inch thick, and place them on baking sheets lined with parchment paper.
Preheat your oven to 350°F (175°C) and bake each layer for about 5-7 minutes, or until they turn lightly golden. Once done, take them out and let them cool.
2. Preparing the Cream Filling:
Get a large mixing bowl and whip 2 cups of heavy whipping cream until you see soft peaks forming. Gradually add in 1 cup of powdered sugar and 1 teaspoon of vanilla extract, continuing to whip until stiff peaks form. This will be your fluffy cream filling!
3. Assembling the Cake:
Start stacking your cake! Place the first baked layer on a serving platter and spread a layer of your cream filling over it. Repeat this with all the remaining layers, adding cream in between each. Once you have all the layers stacked up, use the remaining cream to cover the top and sides of the cake.
4. Garnishing:
If you like, crush some walnuts and sprinkle them over the top for a little crunch. You can also add fresh berries like raspberries and blueberries to make it look pretty and fancy!
5. Chilling the Cake:
Wrap the cake and place it in the fridge to chill for at least a few hours. For the best flavor, let it sit overnight. This helps the cake layers absorb the cream, making it even tastier.
6. Serving:
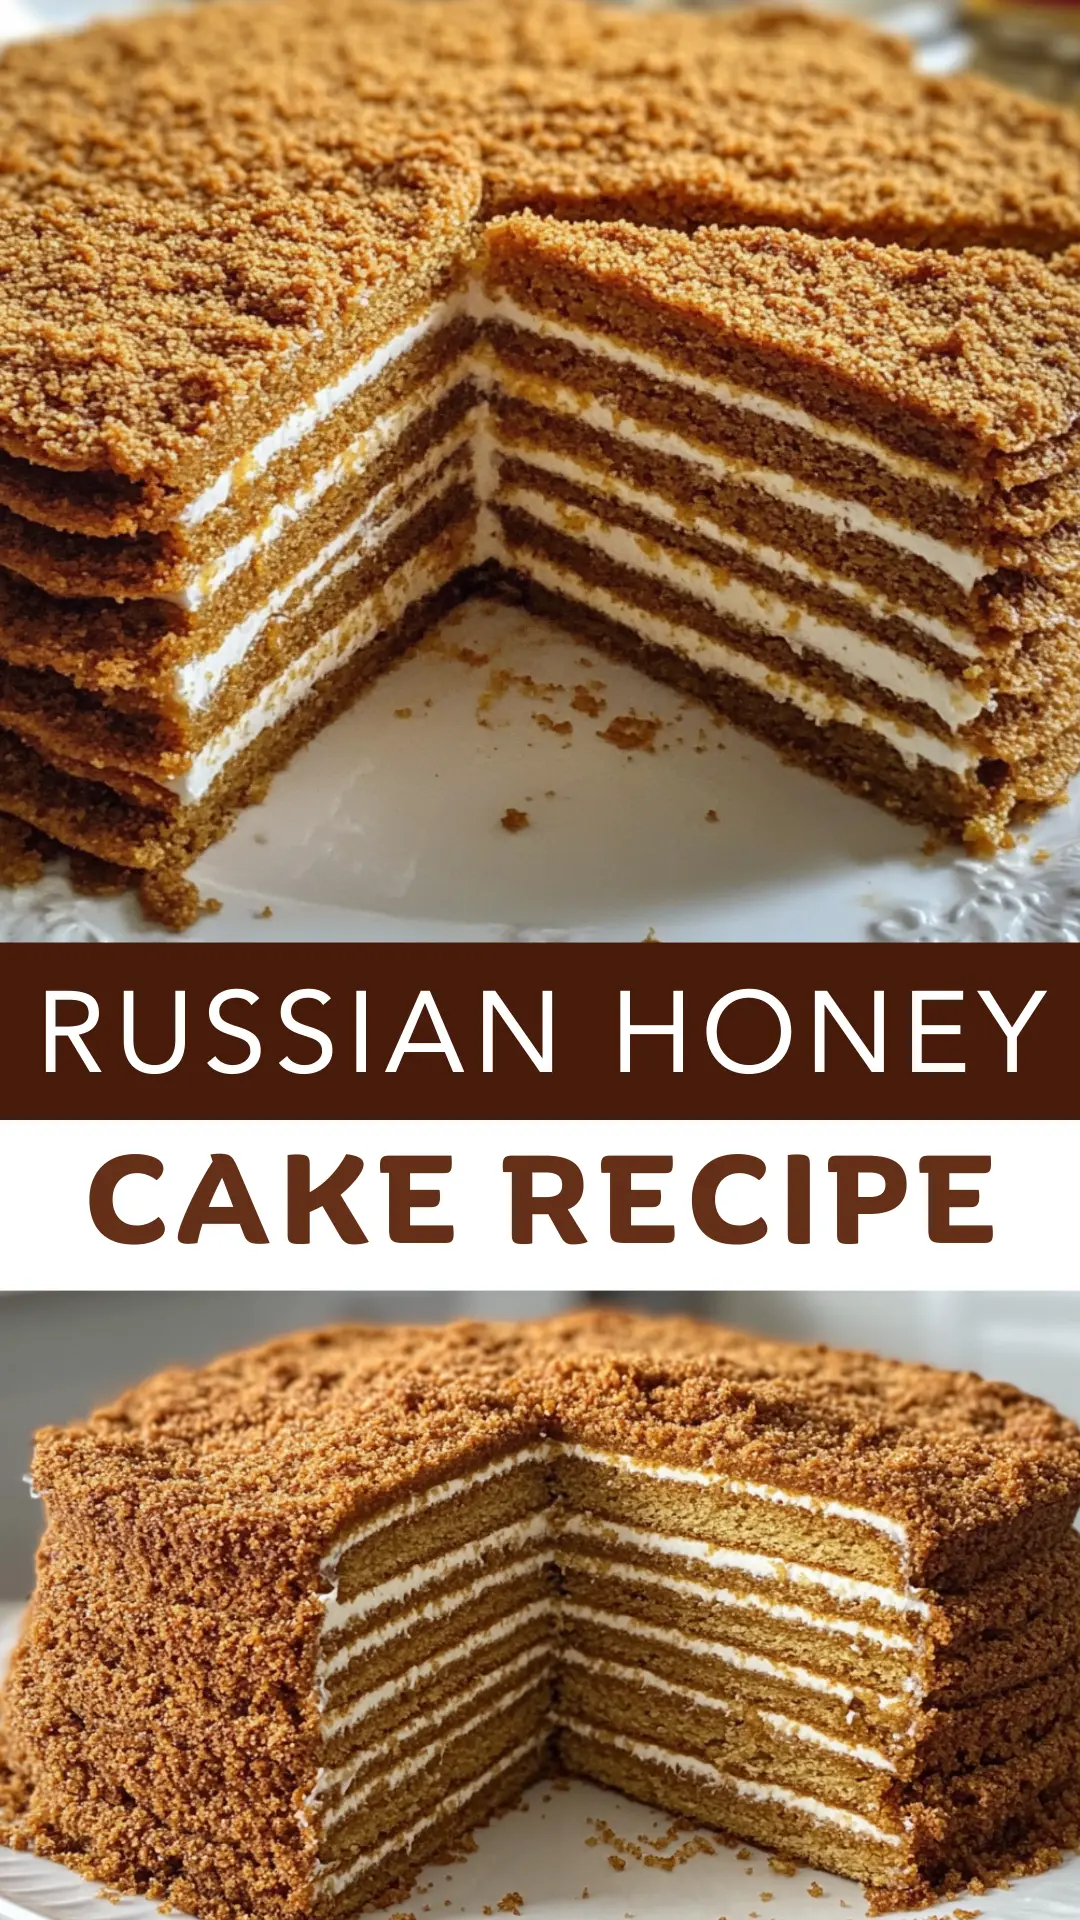
When you’re ready to enjoy, slice it up and serve chilled. Relish the delightful mix of rich honey flavor and creamy texture! Your homemade Russian Honey Cake is now ready to impress!
Can I Substitute the Honey in This Recipe?
Yes, if you’re looking for a different flavor, you can substitute honey with maple syrup or agave nectar in a 1:1 ratio. However, keep in mind that it might slightly alter the flavor and texture of the cake layers.
How Do I Store the Leftover Cake?
Store any leftover Russian Honey Cake in an airtight container in the refrigerator. It can be enjoyed for up to 4-5 days. The flavors actually deepen as it sits, making it even more delicious!
Can I Use a Different Type of Cream for the Filling?
Absolutely! If you prefer a lighter filling, you can use whipped cream cheese mixed with a little sour cream for a tangy flavor. You could also try a Greek yogurt blend for a healthier option. Just ensure that whatever you choose is thick enough to hold the layers together.
What’s the Best Way to Roll Out the Cake Layers?
To make rolling easier, dust your work surface and rolling pin with a little flour to prevent sticking. If the dough is too sticky, let it chill in the fridge for about 30 minutes before rolling it out. This can help it hold its shape better!
