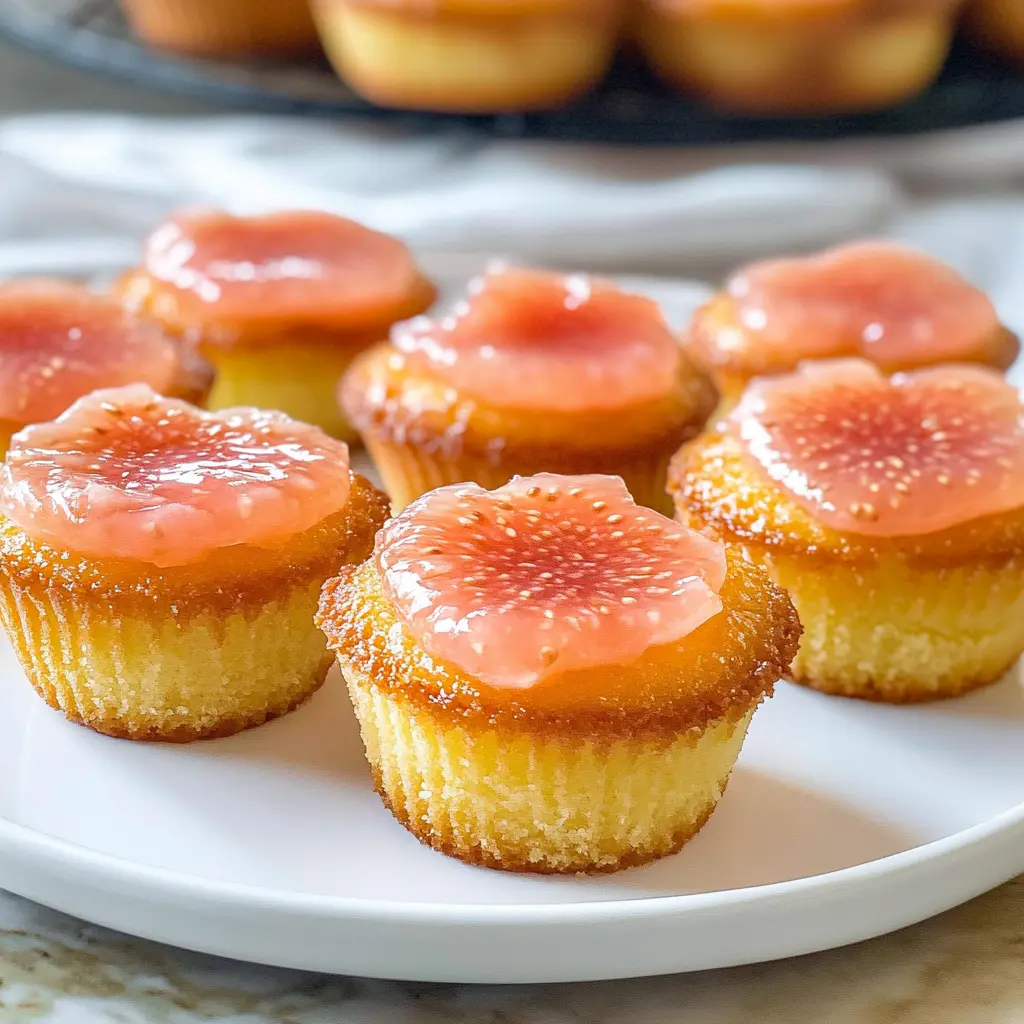
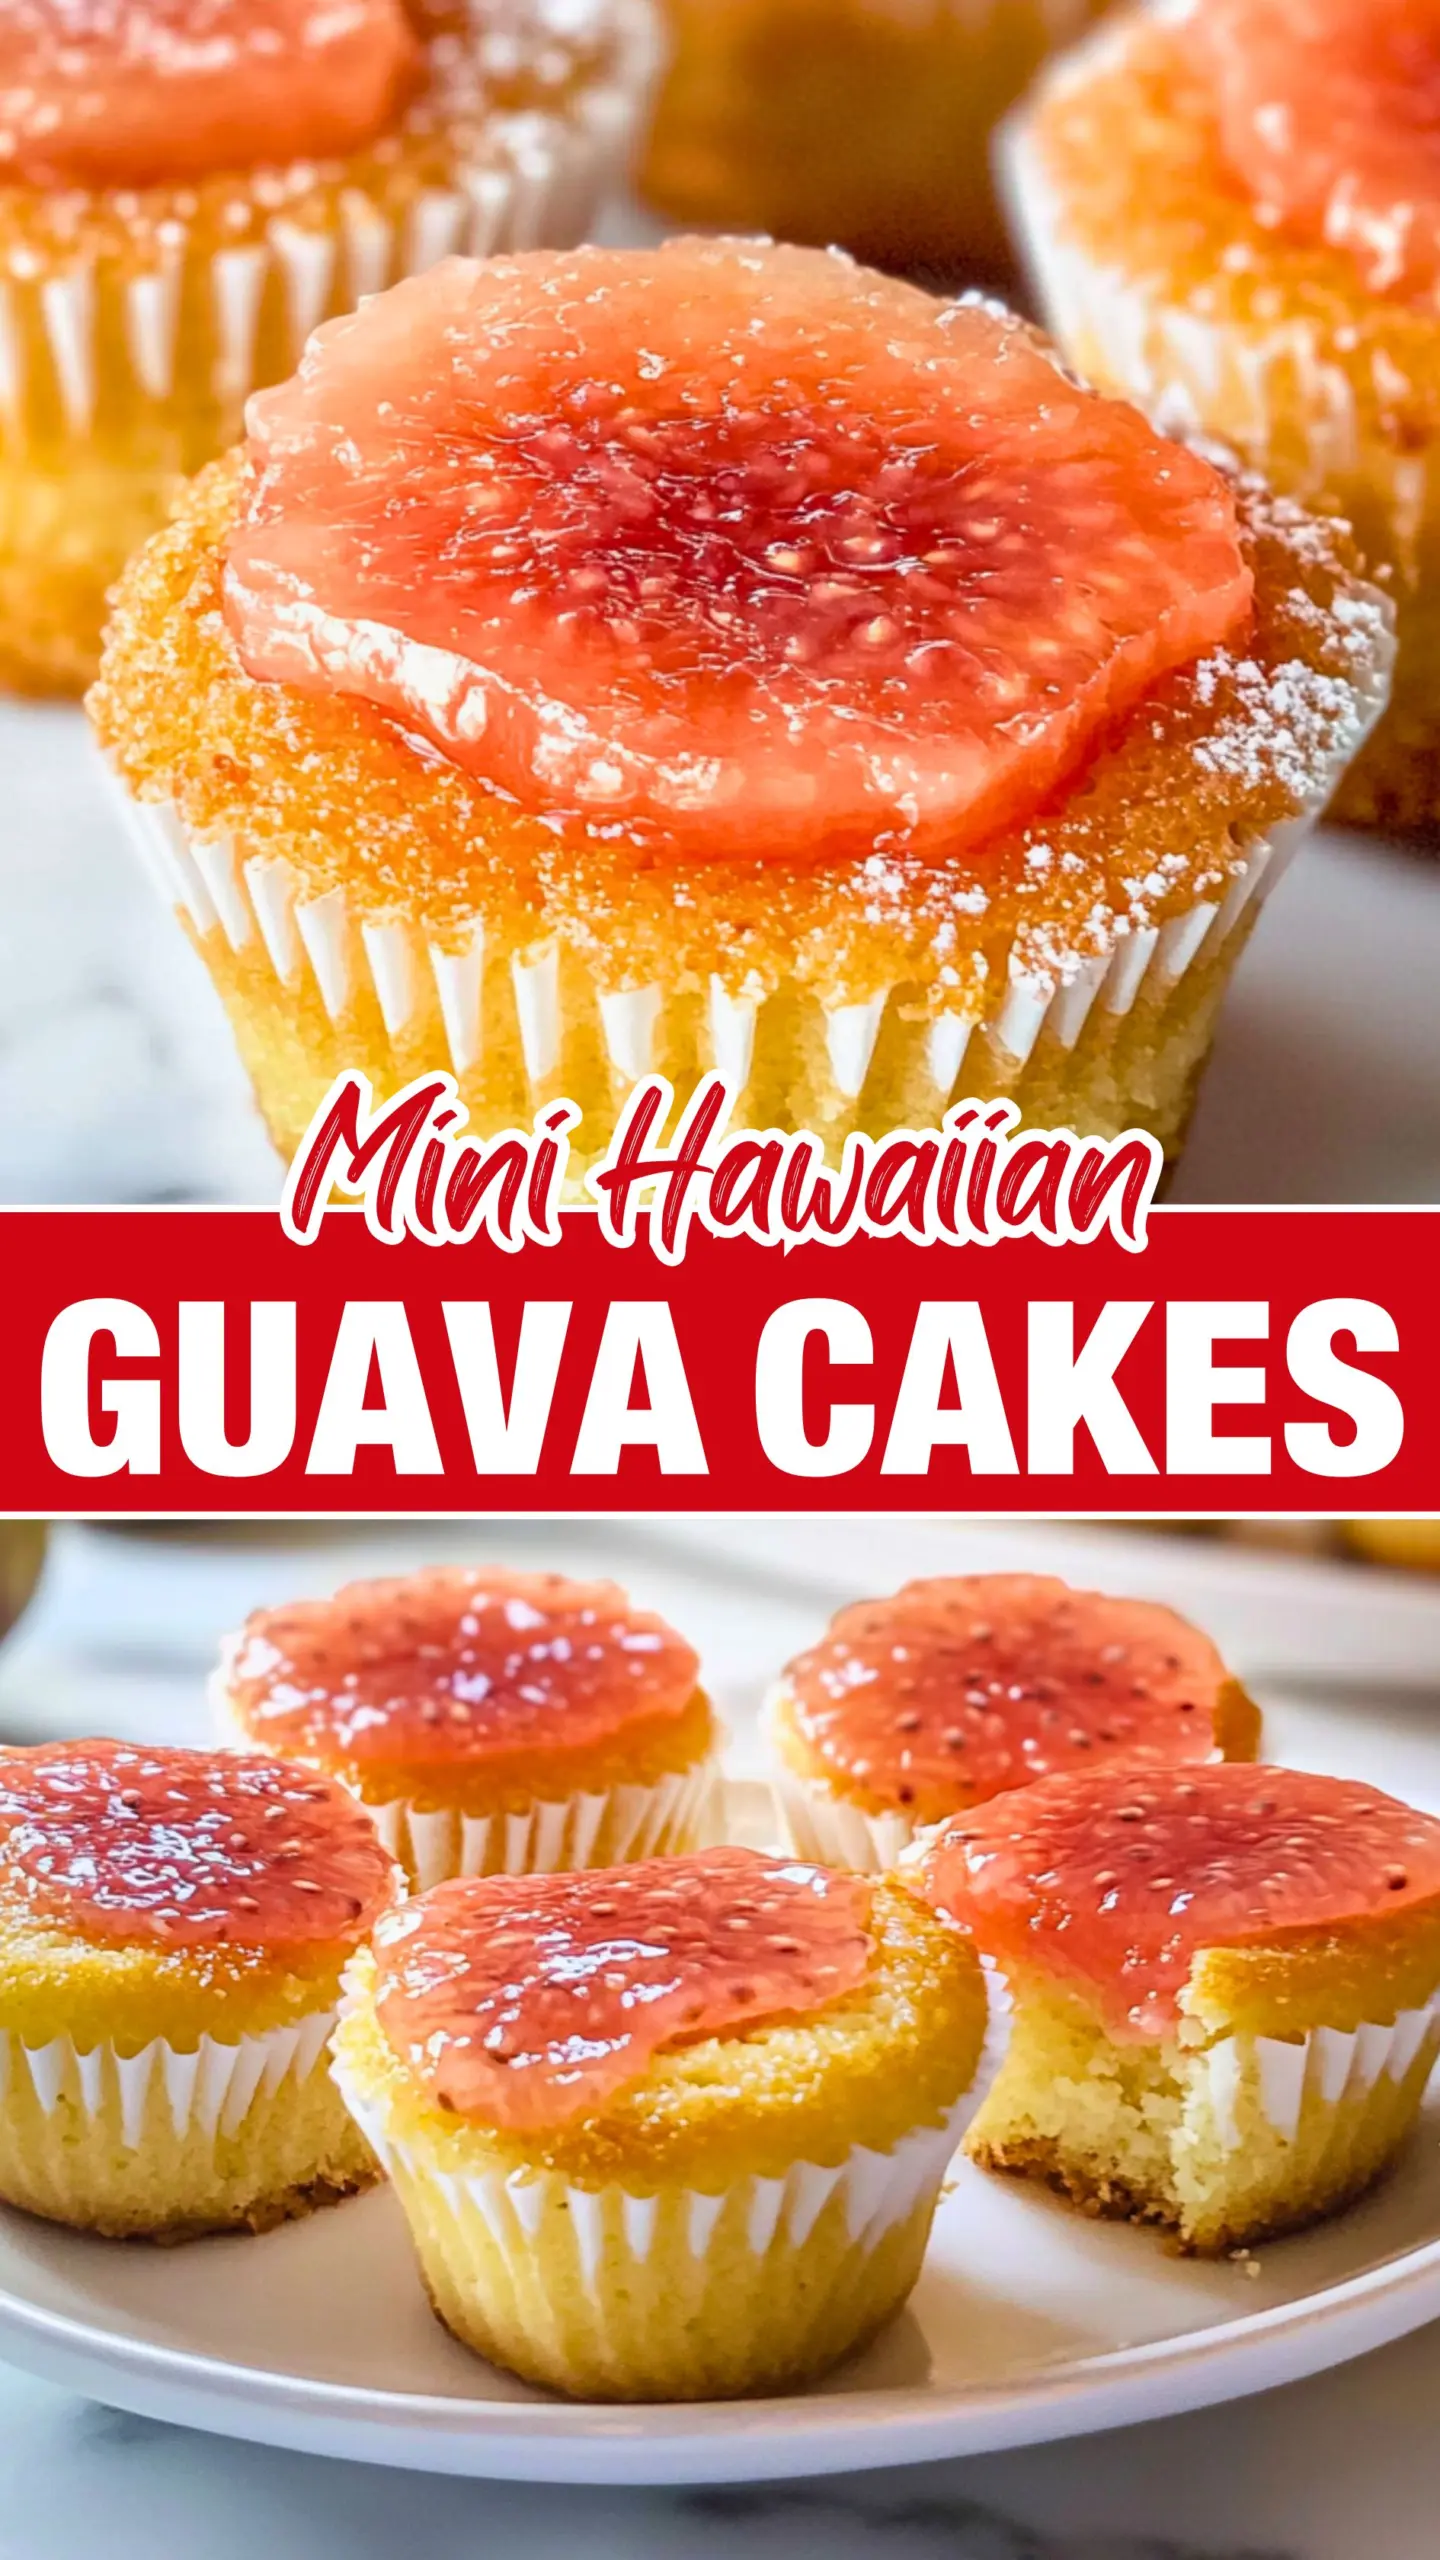
These Mini Hawaiian Guava Cakes are bite-sized pieces of paradise! With soft, fluffy cake and a sweet guava flavor, they bring a taste of the tropics right to your kitchen.
Honestly, they’re like little hugs for your taste buds! I love how easy they are to make, and you can enjoy them at breakfast or as a snack. Perfect for sharing or maybe just keeping all to yourself! 🍰
Key Ingredients & Substitutions
All-Purpose Flour: This is your base for the cakes. If you need a gluten-free option, try using a gluten-free flour blend, but the texture may vary a little.
Guava Puree: Fresh guava is best if you can find it! If not, canned guava puree works just fine. You could also substitute other fruit purees like passionfruit or mango for a different flavor.
Unsalted Butter: Using unsalted butter is important for control over the sweetness. If you’re looking for a dairy-free option, use coconut oil or a dairy-free butter substitute.
Whipped Cream: For a lighter topping, you could use a whipped coconut cream. This also adds a nice tropical flair!
How Do You Avoid Overmixing the Batter?
Mixing the batter just right is key to fluffy cakes. When combining your wet and dry ingredients, use gentle folds and a spatula instead of a mixer. This helps keep air in the batter. Remember, it’s okay to have a few lumps; they’ll bake out!
- Start by adding a third of your dry ingredients to the wet mixture.
- Alternate adding milk, mixing gently each time until just combined.
- Stop mixing when you see no more flour streaks to avoid dense cakes.
With this technique, you’ll create airy mini cakes that are sure to impress! Enjoy your baking!
How to Make Mini Hawaiian Guava Cakes!
Ingredients You’ll Need:
For the Cake Batter:
- 1 cup all-purpose flour
- 1/2 cup granulated sugar
- 1/2 teaspoon baking powder
- 1/4 teaspoon baking soda
- 1/4 teaspoon salt
- 1/3 cup unsalted butter, softened
- 2 large eggs
- 1/2 cup guava puree (fresh or canned)
- 1 teaspoon vanilla extract
- 1/4 cup milk
For the Toppings:
- 1 cup whipped cream
- 1/2 cup guava jelly (or glaze)
How Much Time Will You Need?
This delightful recipe takes about 30 minutes to prepare and another 20 minutes to bake. After baking, allow the cakes to cool completely and chill for 30 minutes to set the toppings, so overall, plan for about 1 hour and 20 minutes to enjoy these mini treats!
Step-by-Step Instructions:
1. Preheat the Oven:
Start off by preheating your oven to 350°F (175°C). While the oven is warming up, line a muffin tin with cupcake liners. This will make sure your guava cakes don’t stick!
2. Mix the Dry Ingredients:
In a mixing bowl, combine the all-purpose flour, granulated sugar, baking powder, baking soda, and salt. Use a whisk to mix everything together until it’s well blended. This helps to ensure that your cakes rise properly!
3. Prepare the Wet Mixture:
In another bowl, mix the softened butter with the eggs using a mixer until you have a smooth mixture. Next, add the guava puree and vanilla extract. Mix until everything is combined well; this will add a lovely flavor to your cakes!
4. Combine Wet and Dry Ingredients:
Gradually add the dry mixture to the wet ingredients, alternating with the milk. Stir gently until just combined. Be careful not to over mix, as this can make your cakes tough—what you want is a light and fluffy texture!
5. Fill the Muffin Tin:
Pour the cake batter evenly into the prepared muffin tin, filling each liner about two-thirds full. This allows room for the cakes to rise without spilling over!
6. Bake the Cakes:
Put the muffin tin in the preheated oven and bake for about 15-20 minutes. To check if they’re done, insert a toothpick into the center of a cake; if it comes out clean, they’re ready! Once baked, remove from the oven and let them cool completely.
7. Add the Whipped Cream:
Once the cakes have cooled, it’s time to top them! Pipe or spread the whipped cream on top of each mini cake. This fluffy topping is what makes them so special!
8. Drizzle with Guava Jelly:
If your guava jelly is a bit thick, gently heat it until it’s pourable. Then, spoon or drizzle it over the whipped cream on each cake. This adds a sweet and fruity finish!
9. Chill Before Serving:
Place the mini guava cakes in the refrigerator for about 30 minutes so the toppings can set. This also helps to keep everything nice and cool.
10. Enjoy Your Treats!
Now it’s time to enjoy these delightful Hawaiian-inspired mini guava cakes! Share with friends or keep them all to yourself—they’re sure to brighten your day!
Can I Substitute Guava Puree with Another Fruit?
Absolutely! You can use other fruit purees like passion fruit, mango, or even banana for a different flavor profile. Just make sure the consistency is similar to guava puree, which helps maintain the batter’s texture.
How Can I Make These Cakes Gluten-Free?
For a gluten-free option, substitute the all-purpose flour with a 1:1 gluten-free baking blend. Be sure to check that the rest of your ingredients, particularly the baking powder, are also gluten-free!
What’s the Best Way to Store Leftover Mini Guava Cakes?
Store any leftovers in an airtight container in the fridge for up to 3 days. If you want to keep them longer, you can freeze the cakes (without toppings) for up to a month. Just thaw them in the fridge before serving and add the toppings fresh!
Can I Use Whipped Topping Instead of Whipped Cream?
Yes, you can definitely use whipped topping for convenience! Just follow the package instructions for preparation if needed. It holds up well and gives a similar taste to traditional whipped cream.