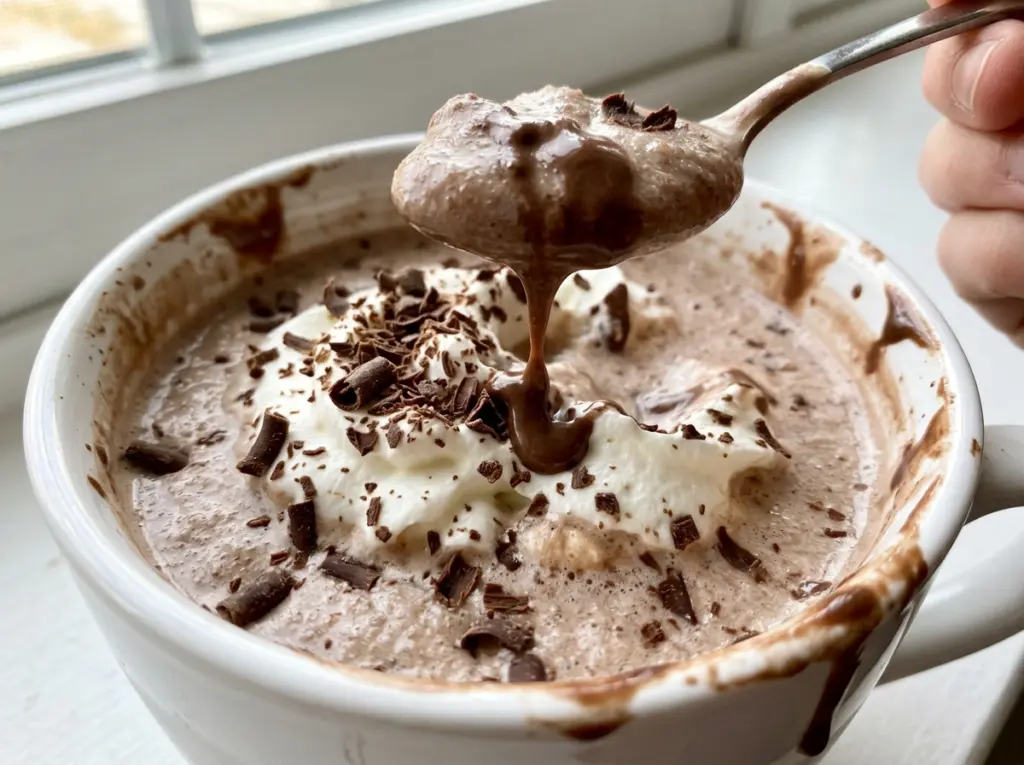
The blender can turn a perfectly good chocolate mixture into a thin, icy drink if the mixture goes in warm. I learned to treat the chilling time as part of the recipe, not a pause I can skip. Once the chocolate base is thoroughly cold, the ice blends into a thick frozen hot chocolate instead of melting on contact.
I start with cocoa, sugar, and water on the stove, then stir in finely chopped semisweet chocolate after the pan comes off the heat. That gives the chocolate time to melt smoothly without scorching. Cold milk goes in next, and the covered mixture heads to the refrigerator while I whip the cream.
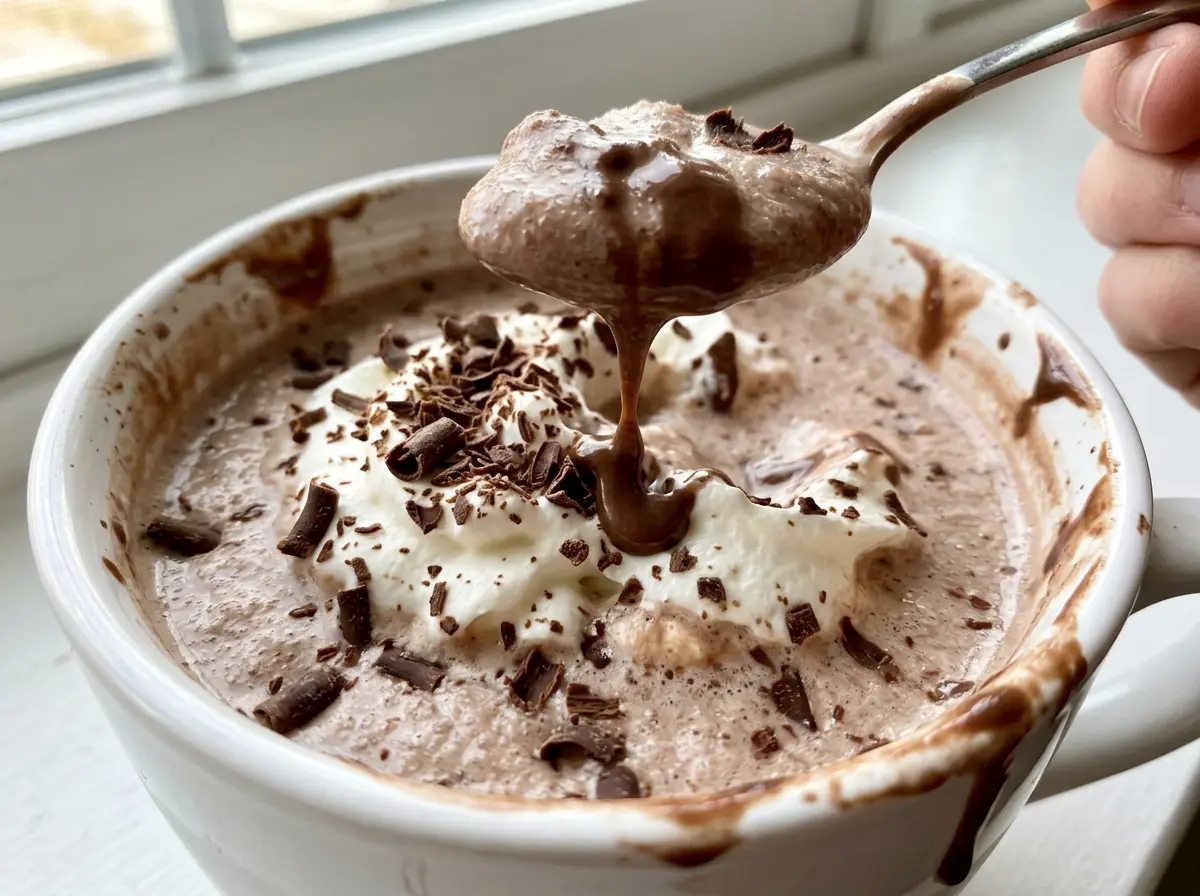
The finished drinks have a deep chocolate taste and a soft, spoonable texture, with a cloud of vanilla whipped cream on top. It’s a small-batch treat for two, and every part of it is better when the chocolate base is properly chilled.
Kitchen Note
Stop beating the cream when the peaks hold their shape but still curl over at the tips. If you take it past that point, it gets stiff and loses the soft, airy feel that makes a good topping for this icy drink.
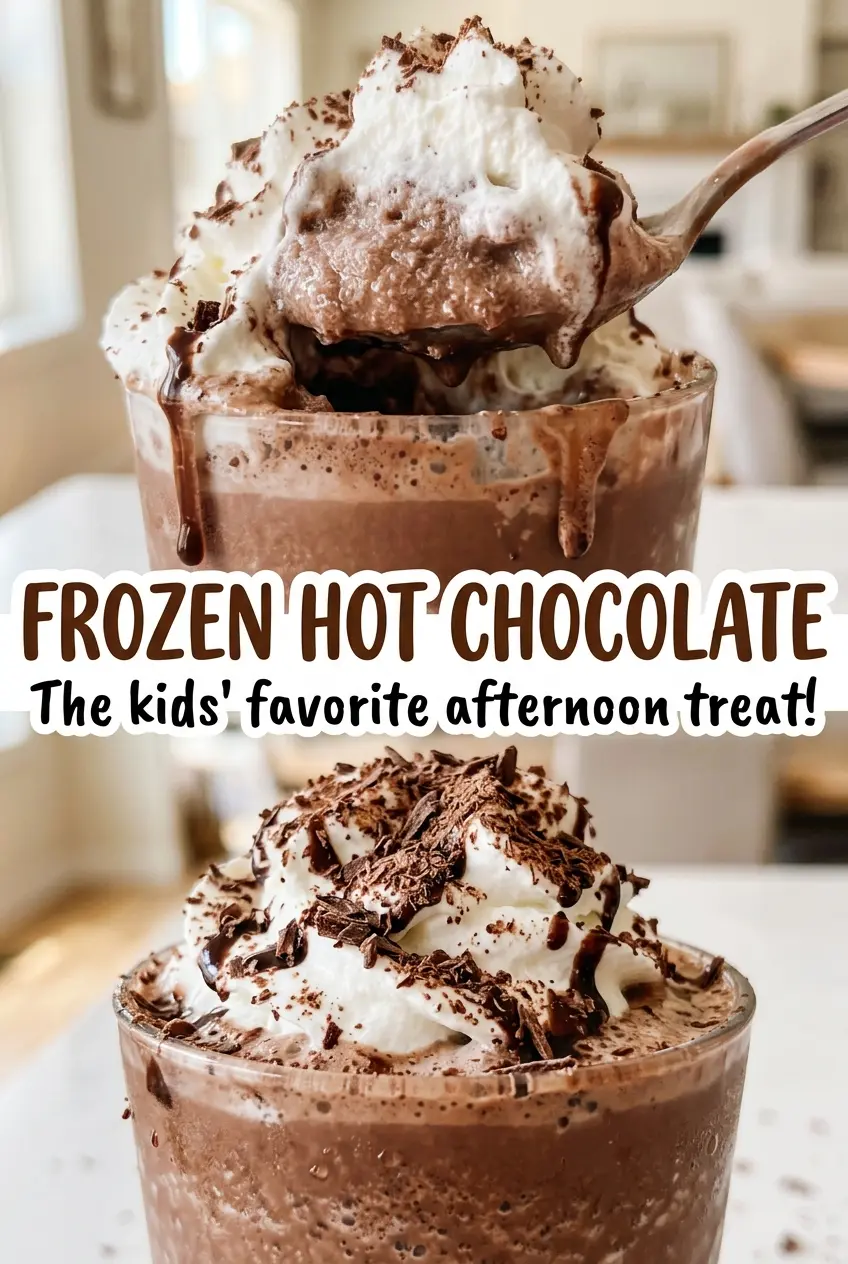
Save this Frozen Hot Chocolate for a thick, icy chocolate treat topped with homemade vanilla whipped cream.
Why the Chocolate Base Needs to Be Cold Before It Hits the Ice
Ice is doing two jobs here: it chills the drink and gives it that thick, frozen texture. If the chocolate-and-milk mixture is still warm, the cubes start melting before the blender can break them down evenly. The result can taste diluted and feel more like a thin chocolate slush than a creamy frozen drink.
Cooling the base first gives the blender a head start. The chocolate mixture is already cold, so the ice can stay solid long enough to create body rather than disappearing into extra liquid. That’s why I don’t rush the refrigerator step, even when the syrup looks ready to drink.
There’s a second payoff: a thoroughly chilled base helps the drink stay thick from the first sip to the last. Blend only when the chocolate mixture is cold, and serve the drinks soon after they’re poured. The contrast between the dense chocolate and the airy cream is what makes this feel like frozen hot chocolate, not just chocolate milk over ice.
Why Semisweet Chocolate and Cocoa Both Belong in the Blender
- Semisweet chocolate — This melts into the warm cocoa mixture and gives the drink its smooth, rounded chocolate taste. Finely chopped pieces melt more evenly than large chunks. A familiar grocery-store bar works well; choose a chocolate you like eating on its own because its flavor carries through the drink.
- Unsweetened cocoa powder — Cocoa brings a more concentrated chocolate note than melted chocolate alone. Unsweetened cocoa matters here because the sugar is measured separately; sweetened cocoa mix would change the balance and can leave the drink overly sweet.
- Granulated sugar and water — Whisking these with the cocoa makes a smooth syrup before the chocolate goes in. The water helps the cocoa blend without dry pockets, while the sugar dissolves over gentle heat.
- Cold whole milk — Milk loosens the melted chocolate into a pourable base and adds a creamy finish. Whole milk gives the drink more body than a lower-fat option, so it’s the closest match for the intended texture.
- Ice cubes — The cubes create the frozen texture in the blender. Use them while they’re still solid; partially melted ice adds liquid before the drink has a chance to thicken.
- Heavy cream, powdered sugar, and vanilla — Cold heavy cream whips into the topping, powdered sugar sweetens it, and vanilla rounds out its flavor. Keep the cream cold so it can build volume while you beat it.
Building the Chocolate Base Without Scorching It
Warm the Cocoa Syrup Gently
Whisk the sugar, cocoa powder, and water together in a 1-quart saucepan over medium-low heat. Keep whisking for 1 to 2 minutes, until the mixture is steaming and the sugar has dissolved. You’re looking for a smooth, glossy syrup, not a bubbling boil. If cocoa clings to the sides, draw the whisk around the pan so it joins the mixture before you take it off the heat.
Melt the Chocolate Off the Burner
Remove the saucepan from the heat before adding the finely chopped semisweet chocolate. Stir until the pieces melt and the mixture looks smooth, using the residual warmth instead of direct heat. Let the base cool for 5 minutes, then whisk in the cold milk. Adding the milk after the chocolate has melted keeps the mixture easy to whisk together.
Chill the Milk-and-Chocolate Mixture
Transfer the mixture to a covered container and refrigerate it until thoroughly cold, about 30 minutes. Don’t judge the temperature from the outside of the container; the center needs time to cool, too. The base should feel cold throughout before it goes into the blender with the ice. This is the point where a little patience makes a noticeable difference in the finished texture.
Whip, Blend, and Pour
Beat the cold heavy cream with the powdered sugar and vanilla in a medium bowl until medium peaks form, 2 to 3 minutes. Add the chilled chocolate mixture and ice to a 6-cup blender, then blend on high for 30 to 60 seconds, until thick and smooth. Stop when the ice is fully incorporated and the mixture has a uniform frozen texture. Divide it between two glasses and finish each with whipped cream.
Two Ways to Change the Chocolate or Make It Dairy-Free
Use Bittersweet Chocolate for a Darker, Less-Sweet Drink
Replace the semisweet chocolate with the same amount of bittersweet chocolate. The drink will taste more intense and less sweet, while keeping the same smooth, chocolate-forward texture. Keep the sugar and cocoa amounts unchanged so the base still has the balance this method is built around.
Make a Dairy-Free Version with Oat Milk and Coconut Cream
Use the same amount of unsweetened oat milk in place of whole milk, dairy-free semisweet chocolate in place of semisweet chocolate, and chilled coconut cream in place of heavy cream. The drink will be a little less buttery, with a light coconut note in the topping. Choose dairy-free chocolate so the melted base stays fully dairy-free.
Make-Ahead and Serving
- Chocolate base: Keep the unblended base covered in the refrigerator and blend it with the ice when you’re ready to serve.
- Finished drink: Serve soon after blending; as the ice melts, the frozen texture thins. Freezing the blended drink for later won’t preserve the same smooth, slushy consistency.
- Whipped cream: Add it after pouring the drinks, so it stays fluffy on top rather than getting mixed into the icy chocolate.
Questions That Come Up When Making Frozen Hot Chocolate
Frozen Hot Chocolate
Ingredients
Equipment
Method
- Whisk the sugar, cocoa powder, and water in a 1-quart saucepan over medium-low heat until steaming and the sugar dissolves, 1 to 2 minutes.
- Remove the saucepan from the heat.
- Stir in the chopped chocolate until smooth.
- Let the mixture cool for 5 minutes.
- Whisk in the cold milk.
- Transfer the mixture to a covered container and refrigerate until thoroughly cold, about 30 minutes.
- Beat the heavy cream, powdered sugar, and vanilla in a medium bowl until medium peaks form, 2 to 3 minutes.
- Blend the cold chocolate mixture and ice in a 6-cup blender on high until thick and smooth, 30 to 60 seconds.
- Divide between two glasses and top with the whipped cream.


