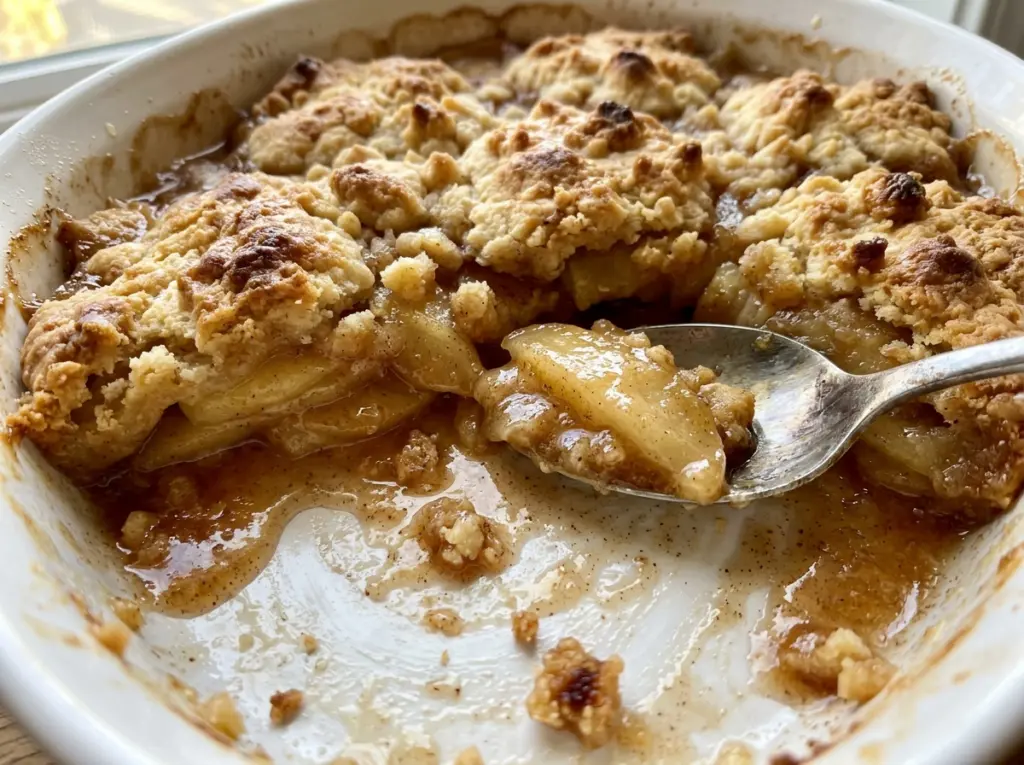
At the 45-minute mark, a cobbler’s biscuit tops can look ready while the apples underneath still resist a knife. I check the fruit, not just the color of the topping, and loosely cover the biscuits with foil if they’re browning too fast. That small adjustment gives the apples time to turn tender without asking the topping to take on more heat. This apple cobbler comes out with cinnamon-scented fruit beneath golden, tender biscuits, and it serves eight from one 9×13-inch dish.
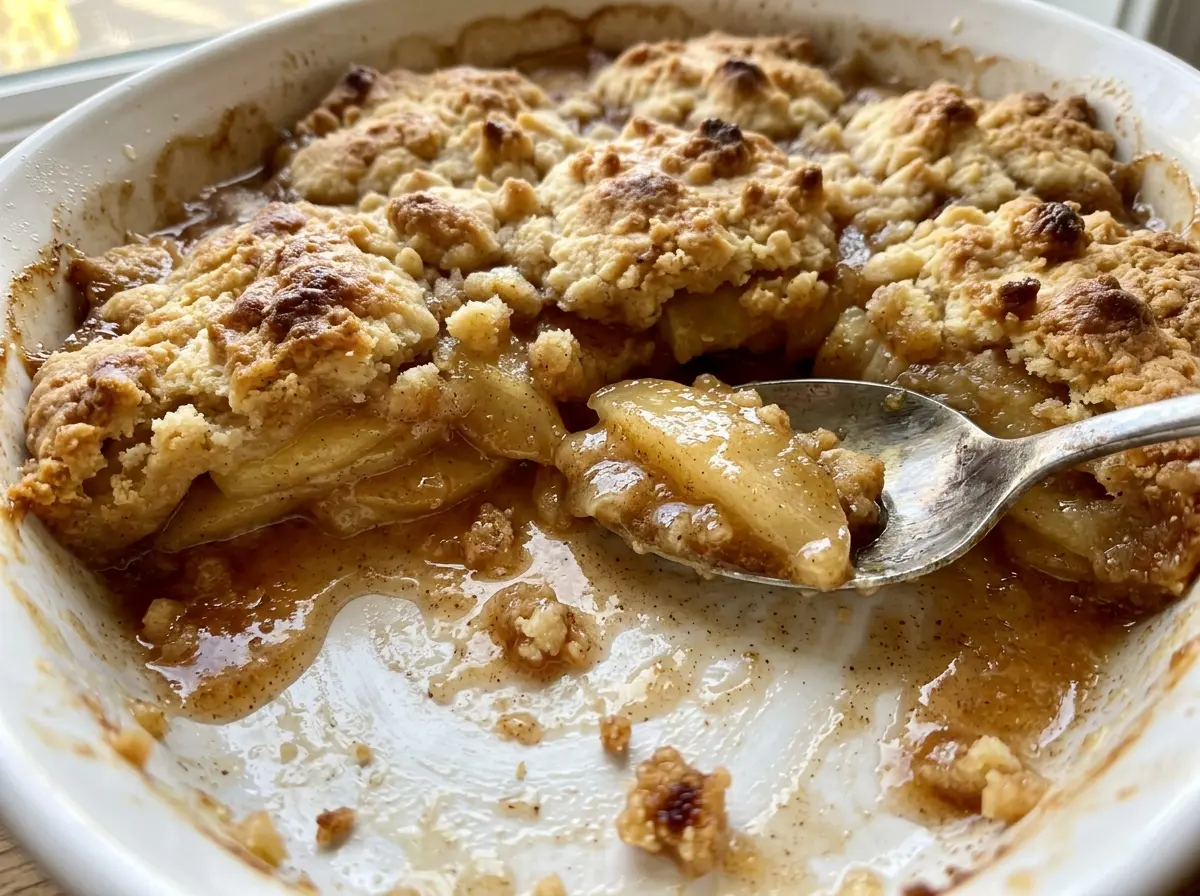
I keep the biscuit dough shaggy rather than stirring it smooth, then drop it over the apples in spoonfuls. The topping bakes into separate little biscuits, with tender centers and browned edges, while the spaces between them let you see the bubbling fruit. After a short rest, the juices settle enough to spoon over each serving, and the warm apples stay soft without disappearing into a purée.
Kitchen Note
Keep the butter cold when you work it into the flour. Stop when you see pea-size pieces; if you blend them away, the biscuits lose the little buttery pockets that make the topping tender.
Save this apple cobbler for its cinnamon-soft fruit and golden biscuit topping, with a simple foil fix if the tops brown early.
Why the Biscuit Topping Needs Openings Between Spoonfuls
A cobbler topping doesn’t need to form a sealed lid over the apples. Dropping the dough in spoonfuls and leaving small gaps keeps the biscuits distinct instead of turning the whole top into one continuous layer. You get more browned edges, and each portion has a little biscuit alongside a little exposed fruit.
Those openings also give the filling room to bubble up around the dough as it bakes. If you spread the dough edge to edge, the underside can stay damp where it sits over the juicy apples, even while the exposed top looks golden. The finished cobbler should look rustic: rounded biscuits with fruit visible between them, not a smooth blanket pressed across the dish.
It’s worth resisting the urge to flatten the spoonfuls after you drop them in. The dough will spread as it bakes, and the gaps help preserve that contrast between browned biscuit and soft apple. That balance is what makes each scoop feel like cobbler rather than a fruit bake with a single heavy crust.
What the Apples, Cornstarch, and Cold Butter Each Bring
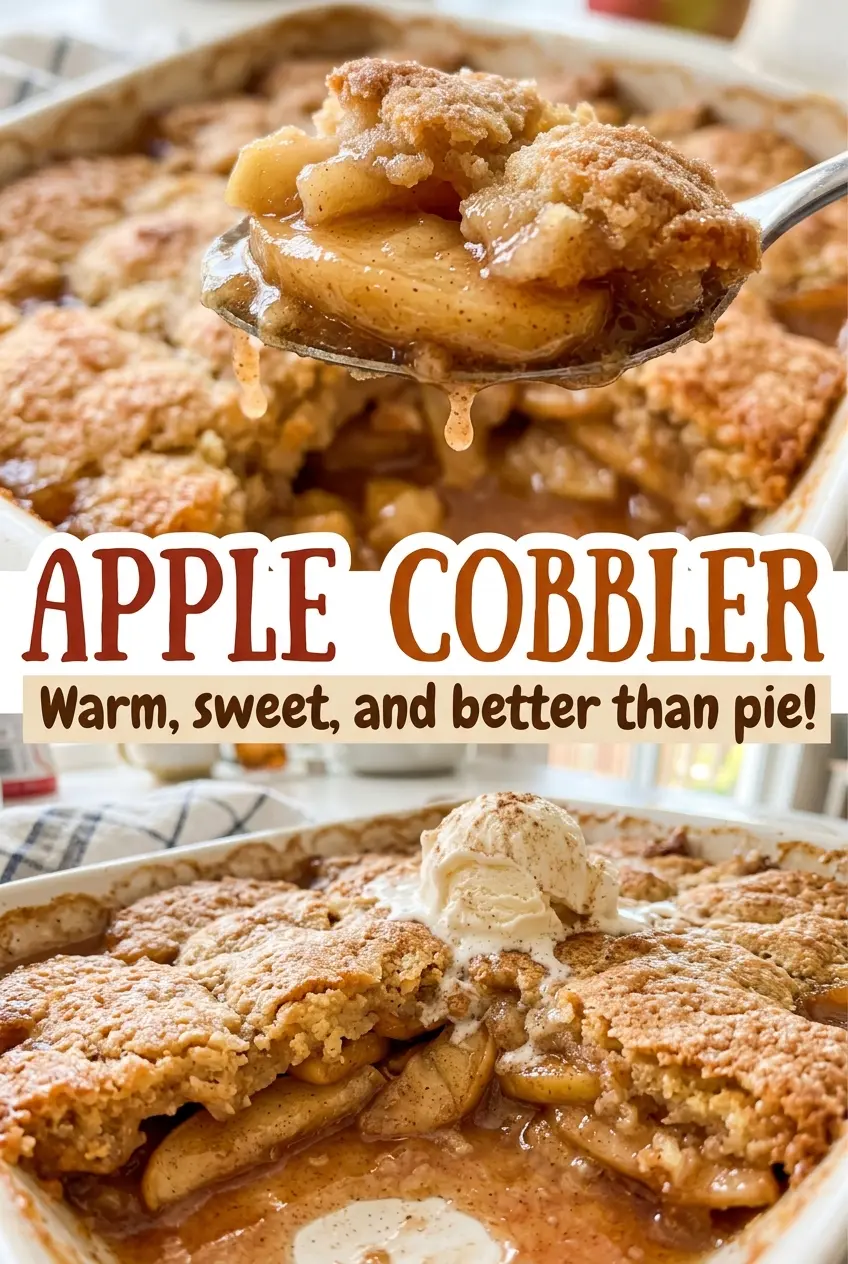
- Apples — Firm baking apples hold their shape better than soft, mealy ones, so the filling stays in tender slices rather than collapsing. A mix of tart and sweet varieties gives you a balanced fruit flavor; a budget bag of firm apples works just as well as pricier specialty fruit. Peel, core, and slice them evenly so they soften at about the same pace.
- Cornstarch — This thickens the juice released by the apples into a spoonable filling. Toss it thoroughly with the fruit so it doesn’t collect in dry pockets. Arrowroot powder is a practical substitute in equal measure, though the filling may look glossier.
- Lemon juice — A little acidity brightens the sweet apples and helps keep the filling from tasting flat. Bottled lemon juice works in equal measure if that’s what you have; fresh juice is useful when you already have a lemon but isn’t essential here.
- Cold unsalted butter — The butter pieces create a tender biscuit texture and let you control the salt in the topping. A standard store-brand stick is fine; premium butter isn’t needed. For a dairy-free cobbler, use firm dairy-free baking butter, not a soft tub spread, so you can still work small pieces into the flour.
- All-purpose flour and milk — All-purpose flour gives the topping enough structure to hold its biscuit shape, while milk brings the dry mixture together. For a gluten-free version, use a cup-for-cup gluten-free baking flour blend; for dairy-free, plain unsweetened oat milk works in the topping. Both swaps change the texture slightly, so handle the dough gently and expect a less classic biscuit crumb.
- Cinnamon and nutmeg — Together they give the apples their familiar warm spice without masking the fruit. Ground spices from an ordinary pantry are fine; use fresh, aromatic spices if yours have been sitting open for years, since stale ones can taste dusty.
Building Tender Apples and Golden Drop Biscuits
Coating the Apple Slices
Heat the oven to 375°F and grease a 9×13-inch baking dish with the butter. Toss the peeled, cored, quarter-inch apple slices with the sugar, lemon juice, cornstarch, cinnamon, nutmeg, and salt in a large bowl. Keep tossing until the slices look evenly coated, with no visible clumps of dry cornstarch. Spread the apples across the prepared dish so they bake in an even layer.
Cutting the Butter into the Dry Mix
Whisk the flour, sugar, baking powder, and salt together in a medium bowl before adding the cold butter. Work the butter in with a pastry blender or your fingertips until the mixture has pea-size pieces throughout. A few uneven bits are fine; a sandy mixture with no visible butter pieces means you’ve worked it too far. This stage sets up the texture of the biscuits, so stop once the pieces are small and distinct.
Making the Shaggy Biscuit Dough
Stir the milk into the flour mixture only until a shaggy dough forms. It shouldn’t look smooth or fully kneaded, and a few rough patches are better than a bowl of overworked dough. If you keep stirring to chase every dry spot, the topping can bake up tougher. Use a light hand and stop as soon as the mixture holds together in loose clumps.
Spacing the Dough Over the Fruit
Drop spoonfuls of dough over the apples, leaving small gaps between them. There’s no need to press the dough down or make the surface perfectly even. Keeping the portions separate lets the biscuit tops brown while the apple filling bubbles in the spaces. Take a quick look around the edges too, where the fruit should still be visible.
Baking Until Both Layers Are Ready
Bake for 45 to 55 minutes, until the topping is golden brown and a knife slides easily into the apples. If the topping browns before the apples are tender, loosely cover the surface with foil and continue baking. The color of the biscuits alone isn’t a reliable sign that the fruit is ready. Let the cobbler rest for 15 minutes before serving so the hot filling can settle.
Easy Ways to Adapt This Apple Cobbler
Use a Tart-and-Sweet Apple Mix
Choose a mix of firm tart apples, such as Granny Smith, and sweeter firm apples, such as Honeycrisp. The filling will have a brighter, more layered apple flavor than it does with one variety, while the slices still hold their shape. Keep the same preparation and slice thickness.
Make the Biscuit Topping Gluten-Free
Replace the all-purpose flour with a cup-for-cup gluten-free baking flour blend intended to replace wheat flour in baking. The biscuits may be a little more delicate, so stir only until the dough comes together and drop it gently over the apples. The fruit filling itself contains no wheat flour.
Give the Filling a Brown-Sugar Note
Replace the granulated sugar in the apple filling with the same amount of packed light brown sugar. Its mild molasses note makes the fruit taste deeper and a little less cleanly sweet; leave the sugar in the biscuit topping unchanged so the biscuits keep their usual flavor.
Storage and Reheating
- Refrigerator: Cover leftovers and refrigerate for up to 4 days. The biscuit topping softens as it absorbs moisture from the apples.
- Freezer: Freeze cooled portions in an airtight, freezer-safe container for up to 3 months. Thaw overnight in the refrigerator; the topping will be softer than when freshly baked.
- Reheating: Warm portions in a 350°F oven until heated through. A microwave works for a quick serving, but it softens the biscuit more; avoid reheating the whole dish uncovered for a long stretch, which can dry the topping.
Questions That Come Up When Baking Apple Cobbler
Apple Cobbler
Ingredients
Equipment
Method
- Heat the oven to 375°F.
- Use the tablespoon of butter to grease a 9x13-inch baking dish.
- In a large bowl, toss the apples with the sugar, lemon juice, cornstarch, cinnamon, nutmeg, and salt.
- Spread the apple mixture in the prepared dish.
- In a medium bowl, whisk together the flour, sugar, baking powder, and salt.
- Cut in the cold butter with a pastry blender or your fingertips until the mixture has pea-size pieces.
- Stir in the milk just until a shaggy dough forms.
- Drop spoonfuls of dough over the apples, leaving small gaps between them.
- Bake for 45 to 55 minutes, until the topping is golden brown and a knife slides easily into the apples; loosely cover the topping with foil if it browns before the apples are tender.
- Let the cobbler rest for 15 minutes before serving.


