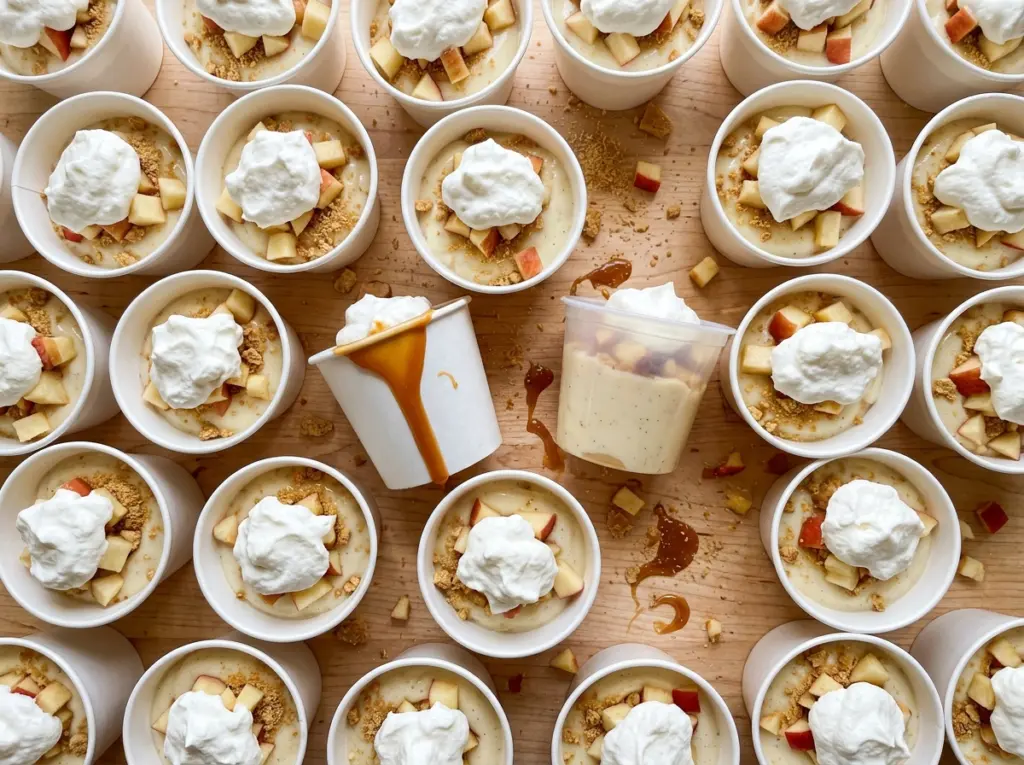
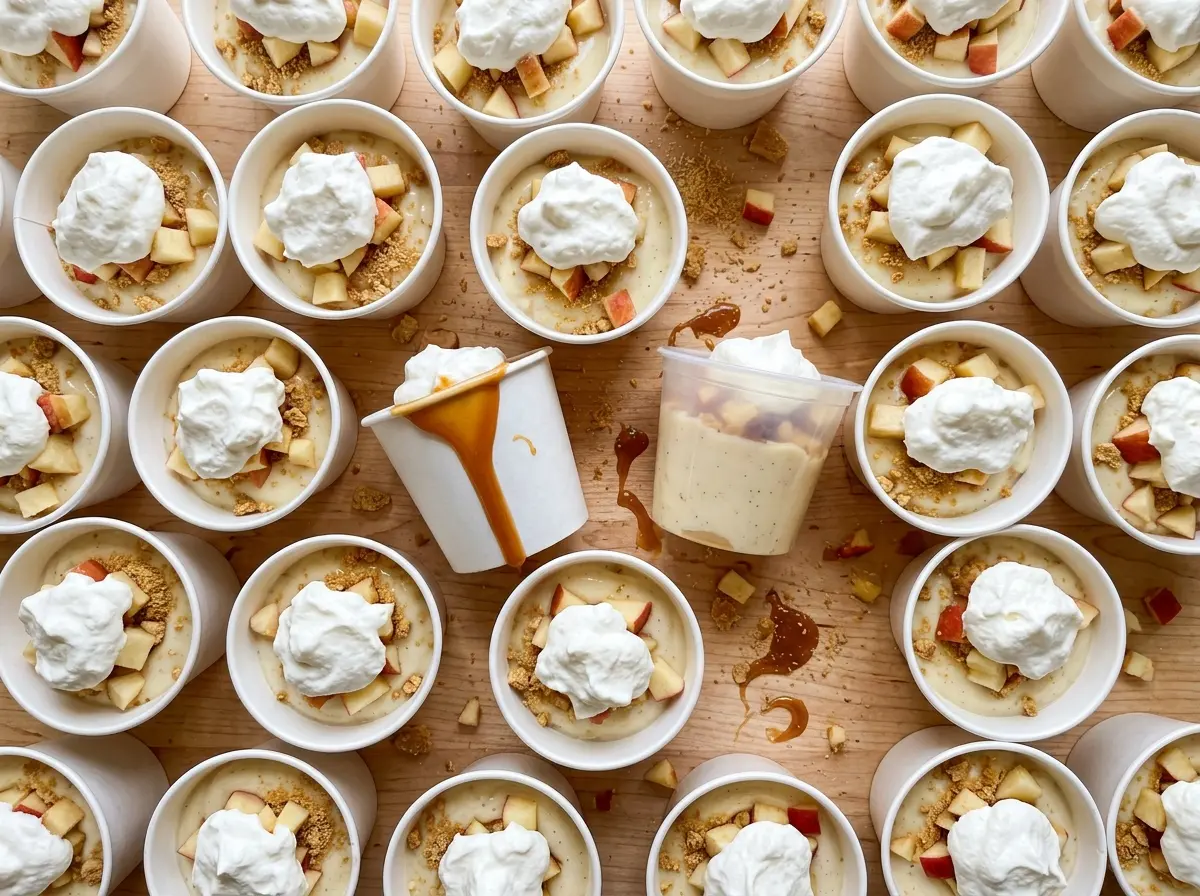
The brown sugar syrup starts bubbling around the apples before they’ve had time to soften, and that’s the moment I keep an eye on the skillet. Give them a few stirs and the cinnamon settles into a glossy coating instead of pooling at the bottom. These caramel apple pudding cups take that warm, spiced fruit and layer it with vanilla pudding and buttery graham crumbs for a chilled dessert that feels like apple pie in a cup.
The order matters more than any fancy technique. The apples need to cool before they go into the cups, and the instant pudding needs its full standing time to thicken before you start layering. I keep the apple pieces chunky enough to hold their shape, then finish each cup with caramel so it runs over the fruit and down into the pudding. After a short chill, every spoonful has a little bit of each layer.
Kitchen Note
Stop cooking when the apple pieces are tender but still hold their shape, and the syrup looks thick. If the apples turn mushy in the skillet, they’ll lose that lovely bite in the finished cups.
Save these Caramel Apple Pudding Cups for a chilled dessert with cinnamon apples, vanilla pudding, and a buttery graham layer.
Why These Apple Cups Need a Cooling Pause Before They’re Layered
Warm apples seem like they’d be a cozy match for vanilla pudding, but they can soften the structure of the dessert before it has a chance to chill. Hot fruit transfers heat into the pudding, loosening its set and making the layers harder to distinguish. Letting the apples cool completely gives the pudding a better chance to stay thick and lets the syrup cling to the fruit instead of running freely through the cup.
The graham layer has its own job. Melted butter coats the crumbs so they pack into a base rather than drifting around as dry crumbs. It won’t stay crisp once it sits beside pudding and fruit, and that’s fine: after chilling, it becomes a tender, buttery layer that gives each spoonful a little contrast. The goal here isn’t a crisp crust. It’s a set of distinct, soft layers that are easy to scoop.
Keep the layers visible as you assemble: crumbs first, pudding next, then the cooled apples and caramel. That arrangement gives you a base of buttery crumbs and a topping of fruit and sauce in every cup. Refrigerating the assembled dessert helps the layers settle together without asking the graham crumbs to behave like a baked crust.
What Each Ingredient Brings to the Apple-and-Pudding Layers

- Apples — Choose fruit that feels firm and holds together when diced; softer apples are more likely to collapse as they cook. Peeling and cutting them into even 1/2-inch pieces helps them soften at roughly the same pace. Firm pears can stand in for the apples if you want a gentler, more floral fruit flavor.
- Light brown sugar and cinnamon — Brown sugar melts into a syrup around the apples, while cinnamon gives that syrup its warm, familiar apple-pie character. Packed light brown sugar keeps the flavor mellow; darker brown sugar would bring a stronger molasses note, so the lighter kind keeps the vanilla pudding in balance.
- Unsalted butter — Butter does two different jobs here: a portion helps the apples cook, and the rest binds the graham crumbs. Unsalted butter lets the small measured amount of kosher salt season the fruit without making the crumb layer unexpectedly salty.
- Graham cracker crumbs — Fine, even crumbs moisten more consistently than large broken pieces and make a neat base in the cups. If you need a gluten-free option, use gluten-free graham cracker crumbs in their place; the flavor stays close, though the crumb texture may be a little different.
- Instant vanilla pudding mix and cold whole milk — Instant mix thickens without cooking, which keeps assembly simple and gives the cups their creamy middle. Cold whole milk is important for the set and the rich texture; cook-and-serve pudding isn’t a direct substitute for this no-cook method.
- Caramel sauce — A smooth sauce drizzles across the apple pieces and adds sweetness without requiring another cooking step. Salted caramel sauce is an easy swap if you prefer a little more contrast against the vanilla pudding.
Build the Cups in Four Stages, Without Soft Apples or Loose Pudding
Cook the apples until the syrup clings
Melt the first portion of butter in a 10-inch skillet over medium heat, then add the diced apples, brown sugar, cinnamon, and kosher salt. Stir often for 8 to 10 minutes so the fruit cooks evenly and the sugar doesn’t catch on the bottom of the pan. Look for tender apple pieces that still keep their shape and a thick syrup that coats them. If the syrup is still thin, give the apples a little more time while stirring; don’t crank up the heat and risk scorching the sugar.
Cool the fruit and butter the crumbs
Transfer the apples and syrup to a shallow bowl and let them cool completely, about 20 minutes. A shallow dish lets the heat escape more readily than leaving them in a deep pile, and the fruit should no longer feel warm before it goes into the cups. While it cools, melt the remaining butter in a small microwave-safe bowl for about 20 to 30 seconds. Stir in the graham cracker crumbs until they look evenly moistened, with no dry patches at the bottom.
Whisk the pudding until it thickens
Pour the cold whole milk into a medium bowl with the instant vanilla pudding mix. Whisk for 2 minutes, scraping around the sides and bottom so no dry mix clings to the bowl. Then let it stand for 5 minutes; the mixture should visibly thicken and hold soft ridges when you lift the whisk. Starting with cold milk and giving it that resting time helps prevent a loose middle layer.
Layer, drizzle, and chill
Divide the buttered crumbs among four 12-ounce dessert cups, then add the pudding and cooled apples. Finish with a drizzle of caramel sauce over the fruit. Refrigerate the cups for at least 30 minutes before serving so the layers have time to settle and chill. Keep the apples and caramel on top rather than stirring them through the pudding; you’ll get a more defined look and a better mix of textures as you scoop.
Three Easy Ways to Change the Flavor Without Losing the Layers
Use firm pears instead of apples
Replace the apples with an equal weight of firm pears, peeled, cored, and cut into the same size pieces. Cook them with the brown sugar, cinnamon, salt, and butter until tender but still holding their shape; pears have a softer, more delicate flavor alongside the vanilla pudding.
Make the graham layer gluten-free
Swap in gluten-free graham cracker crumbs for the regular crumbs, keeping the crumb layer otherwise the same. The cups still have a buttery base, though the exact texture depends on the brand of crumbs you use.
Choose salted caramel for a sharper finish
Use salted caramel sauce in place of regular caramel sauce. Its salty edge cuts through the sweetness of the pudding and brown sugar apples without changing the layered format.
Keeping the Cups Chilled
- Refrigerator: Cover leftover cups and refrigerate them for up to 2 days. The graham layer will soften as it sits beside the pudding.
- Freezer: Freezing isn’t a good fit for these cups; thawed pudding can turn watery and the layers won’t keep their original texture.
- Serving: Serve chilled from the refrigerator. Don’t microwave the assembled cups, since warming will loosen the pudding and soften the crumb layer further.
Questions That Come Up When Making Caramel Apple Pudding Cups
Caramel Apple Pudding Cups
Ingredients
Equipment
Method
- Melt 1 tablespoon of the butter in a 10-inch skillet over medium heat, then add the apples, brown sugar, cinnamon, and salt. Cook, stirring often, for 8 to 10 minutes, until the apples are tender but still hold their shape and the syrup is thick.
- Transfer the apples to a shallow bowl and let cool completely, about 20 minutes.
- Melt the remaining 2 tablespoons butter in a small microwave-safe bowl, about 20 to 30 seconds.
- Stir in the graham cracker crumbs until evenly moistened.
- Whisk the pudding mix and cold milk for 2 minutes.
- Let the pudding stand for 5 minutes until thickened.
- Divide the crumb mixture among four 12-ounce dessert cups, then layer in the pudding and cooled apples and drizzle with the caramel sauce.
- Refrigerate for at least 30 minutes before serving.


