“`
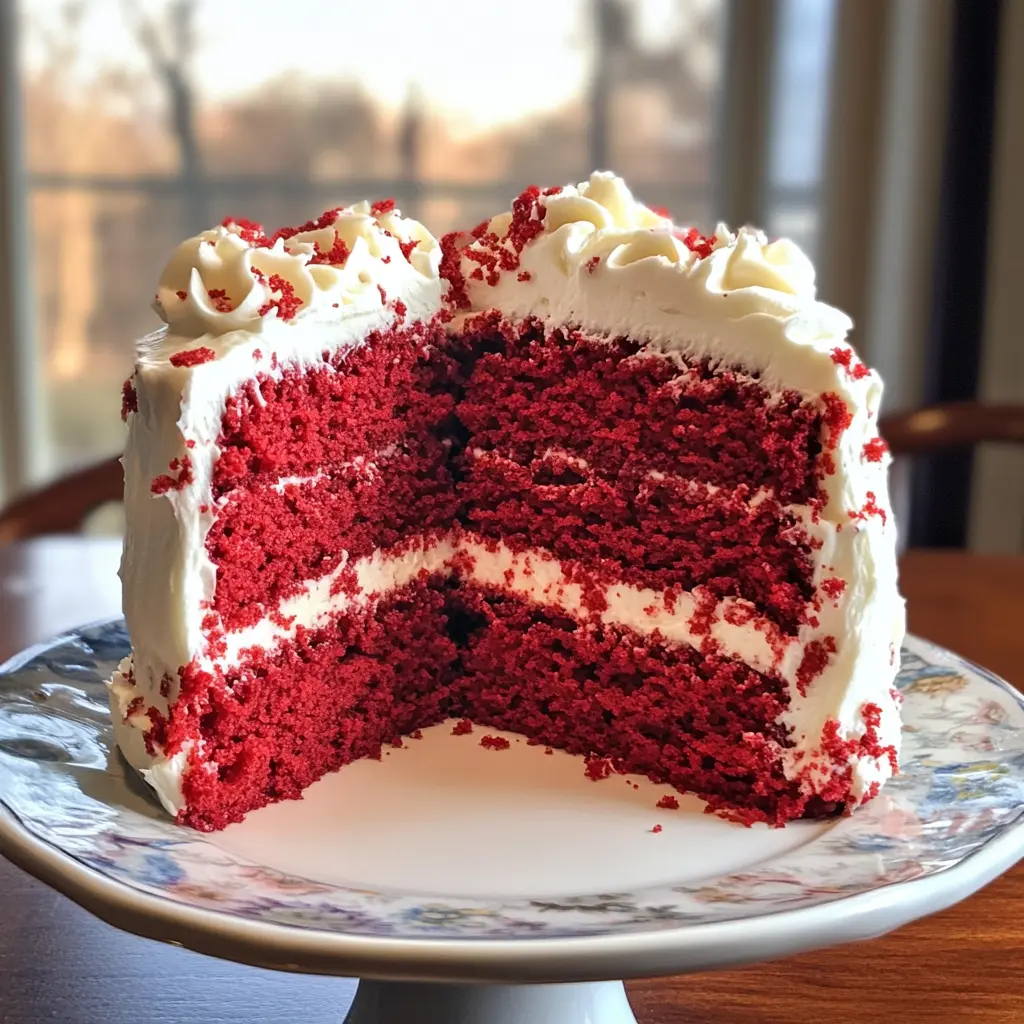
This Sour Cream Red Velvet Cake is a fun treat with its bright color and creamy texture. It’s moist, soft, and perfect for any celebration!
You can’t help but smile when you see this cake on the table. I mean, who doesn’t love a dessert that looks this good and tastes even better? 🎉
I love serving it with a scoop of ice cream or a dollop of whipped cream! It’s an easy cake to make, and you’ll be the star of the party when you bring this one out!
“`
Key Ingredients & Substitutions
All-purpose flour: This is the base of the cake, giving it structure. If you’re gluten-free, you can try a 1:1 gluten-free flour blend, which often works well in cakes.
Sour cream: It adds moisture and a subtle tang. You can substitute Greek yogurt for a similar effect or even cottage cheese blended until smooth.
Buttermilk: Buttermilk keeps the cake tender. If you don’t have any, mix 1 cup of milk with 1 tablespoon of vinegar or lemon juice, let it sit for 10 minutes, and voilà—you’ve got a quick buttermilk substitute!
Red food coloring: This gives the cake its signature color. If you’re looking for a natural option, you can try beet juice, though the color may not be as vibrant.
Unsalted butter: For the frosting, using unsalted butter allows you to control the saltiness. You can also substitute with a dairy-free butter for a vegan option.
How Do You Achieve the Best Cake Texture?
To get a beautiful texture, it’s important not to overmix your batter. Here’s how:
- First, sift your dry ingredients well to prevent any lumps and evenly distribute the baking soda.
- When you combine wet and dry ingredients, mix just until everything is incorporated. A few lumps are okay!
- Be sure to scrape down the sides of the bowl as you mix. This ensures everything is well combined.
This method keeps the cake light and fluffy, allowing it to rise properly while avoiding a tough texture. Happy baking!
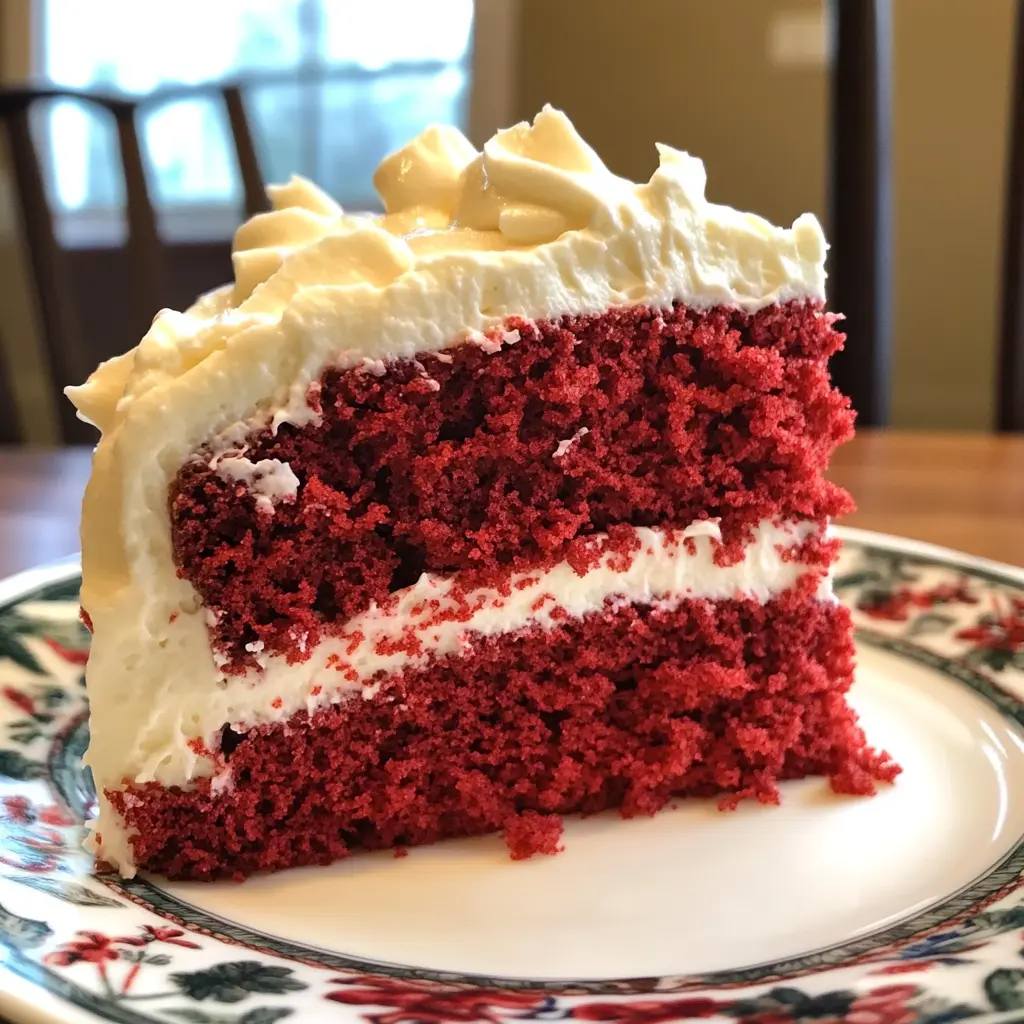
Delicious Sour Cream Red Velvet Cake
What You’ll Need:
For The Cake:
- 2 1/2 cups all-purpose flour
- 1 1/2 cups granulated sugar
- 1 tsp baking soda
- 1 tsp salt
- 1 tsp cocoa powder
- 1 1/2 cups vegetable oil
- 1 cup sour cream
- 1 cup buttermilk
- 3 large eggs
- 2 tbsp red food coloring
- 1 tsp vanilla extract
- 1 tsp white vinegar
For The Frosting:
- 1 cup unsalted butter, softened
- 4 cups powdered sugar
- 1/4 cup sour cream
- 1 tsp vanilla extract
- 1-2 tbsp milk (if needed for consistency)
How Much Time Will You Need?
This lovely cake will take about 15 minutes to prep and around 25-30 minutes to bake. After that, give it a little cooling time—about 10 minutes in the pans and then cool completely on wire racks. This total time is well worth the delicious results!
Instructions:
First things first, let’s get that oven preheating to 350°F (175°C). While that warms up, grease and flour two 9-inch round cake pans. This step is super important to ensure your cakes slide out easily later on!
Now, grab a large bowl and sift together the all-purpose flour, granulated sugar, baking soda, salt, and cocoa powder. Sifting helps to mix everything evenly and gets rid of any lumps, which means a smoother cake!
In another bowl, whisk together the vegetable oil, sour cream, buttermilk, eggs, red food coloring, vanilla extract, and white vinegar until everything is blended and smooth. It’s okay if you see a splash of bright red—the signature color of red velvet!
Next, pour your wet ingredients into the dry ingredients. Gently mix until everything is just combined. Be careful not to overmix; a few lumps are perfectly fine!
Now, let’s divide that beautiful red batter evenly between the two prepared cake pans. Time to bake! Pop them in the oven for 25-30 minutes. To check if they’re done, insert a toothpick in the center—if it comes out clean, they’re ready to come out!
Once baked, let the cakes cool in the pans for about 10 minutes. After that, carefully turn them out onto wire racks to cool completely. This part can be tough—trust me, the aroma will be tempting!
While the cakes are cooling, let’s whip up that tasty frosting. In a large bowl, beat the softened butter until it’s creamy. Gradually add the powdered sugar, mixing well until combined. This might get a little messy, but that’s part of the fun!
Next, mix in the sour cream and vanilla extract until it’s smooth and velvety. If it feels too thick, don’t worry! Just add milk a tablespoon at a time until you reach your desired consistency.
Now that the cakes are cool, place one layer on a serving plate. Spread a generous amount of frosting on top—after all, frosting makes everything better! Then, place the second layer on top and frost the top and sides of the cake with the remaining frosting.
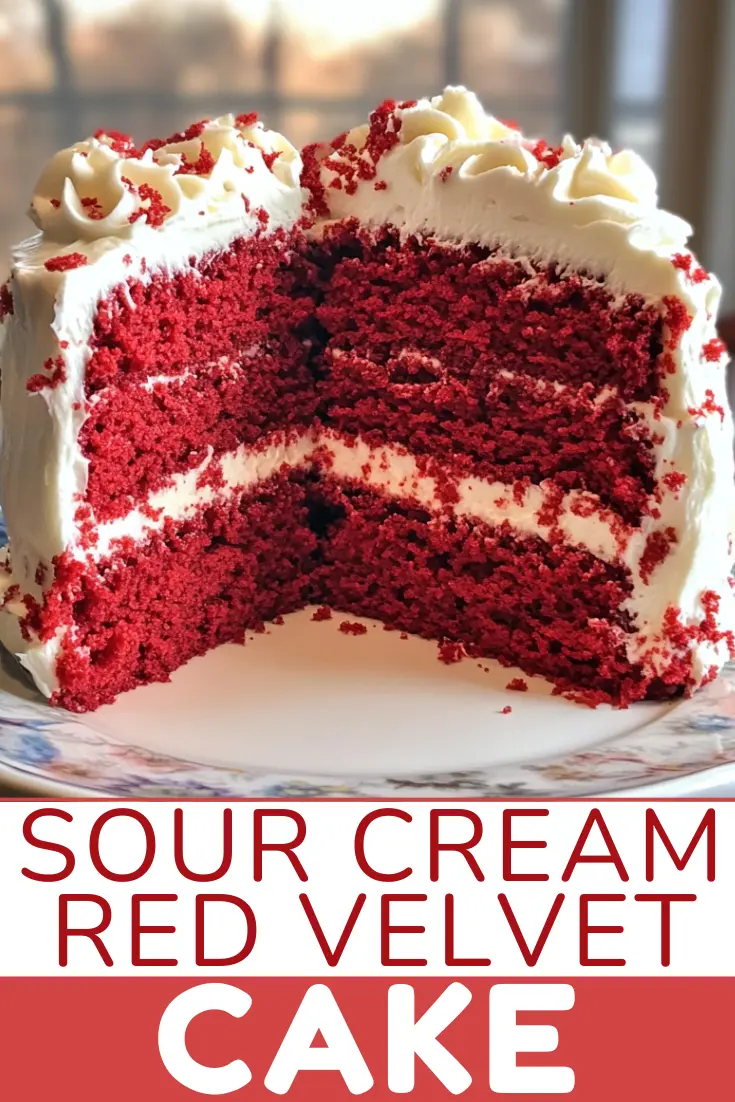
Feel free to decorate your masterpiece however you like—sprinkles, fruits, or even more frosting! And there you have it, your delicious Sour Cream Red Velvet Cake is ready to be enjoyed. Slice, share, and savor the delightful flavors!
Can I Use Greek Yogurt Instead of Sour Cream?
Yes, you can substitute Greek yogurt for sour cream in this recipe! It will keep the cake moist and add a slight tangy flavor. Use the same amount, so just replace the 1 cup of sour cream with 1 cup of Greek yogurt.
Can I Make This Cake Gluten-Free?
Absolutely! To make this cake gluten-free, substitute the all-purpose flour with a gluten-free all-purpose flour blend that contains xanthan gum. This should help maintain the same texture and structure in the cake.
How Should I Store Leftovers?
Store leftover cake in an airtight container in the fridge for up to 5 days. To keep it from drying out, you can cover the cake with plastic wrap. Allow the cake to come to room temperature before serving for the best flavor and texture.
Can I Freeze the Cake Layers?
Yes, you can freeze the cake layers! After they cool completely, wrap each layer tightly in plastic wrap and then in aluminum foil. They’ll last up to 3 months in the freezer. To thaw, simply place them in the fridge overnight before frosting and serving.
