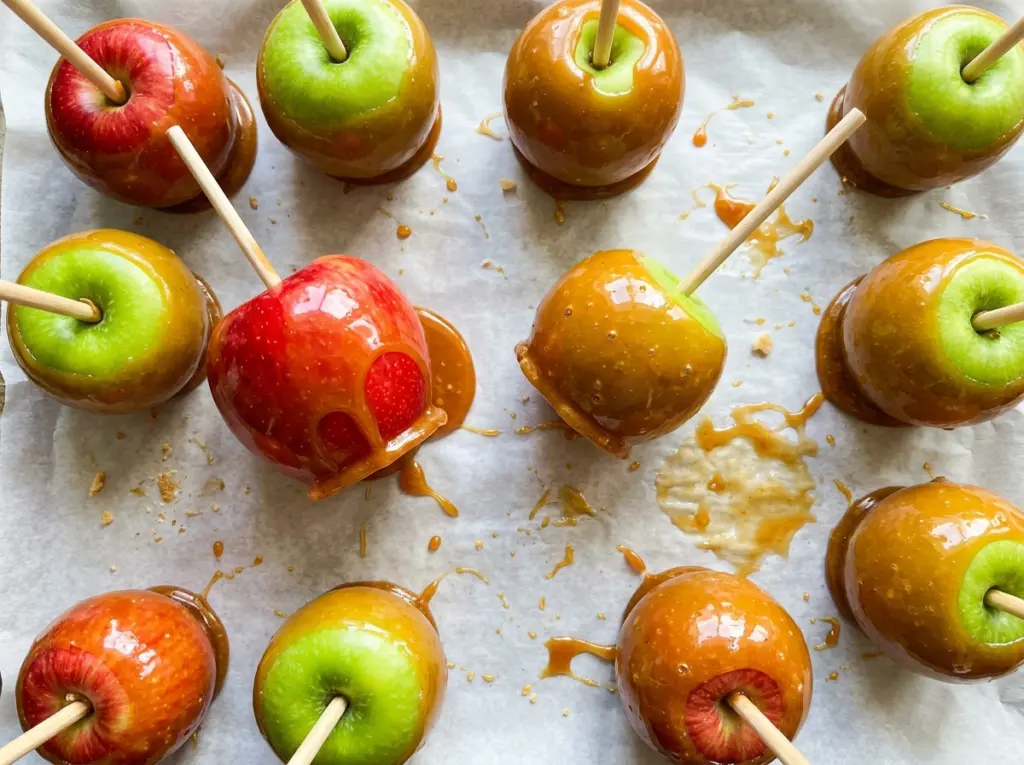
The first dip tells you whether the caramel is ready: it should cling to the apple instead of racing straight back into the pan. Homemade caramel apples take a little patience at the stove, but the payoff is a crisp, tart bite under a smooth layer of buttery caramel. I like medium Granny Smith apples here because their firm flesh gives the sweet coating some welcome contrast.
A heavy-bottomed saucepan helps the caramel heat evenly, which matters when sugar and cream are cooking together. I also set up the apples and baking sheet before I start; once the caramel is ready, dipping is easier when everything is within reach. The finished apples have a glossy coat that sets firm in the refrigerator, with just enough give when you bite through it.
Kitchen Note
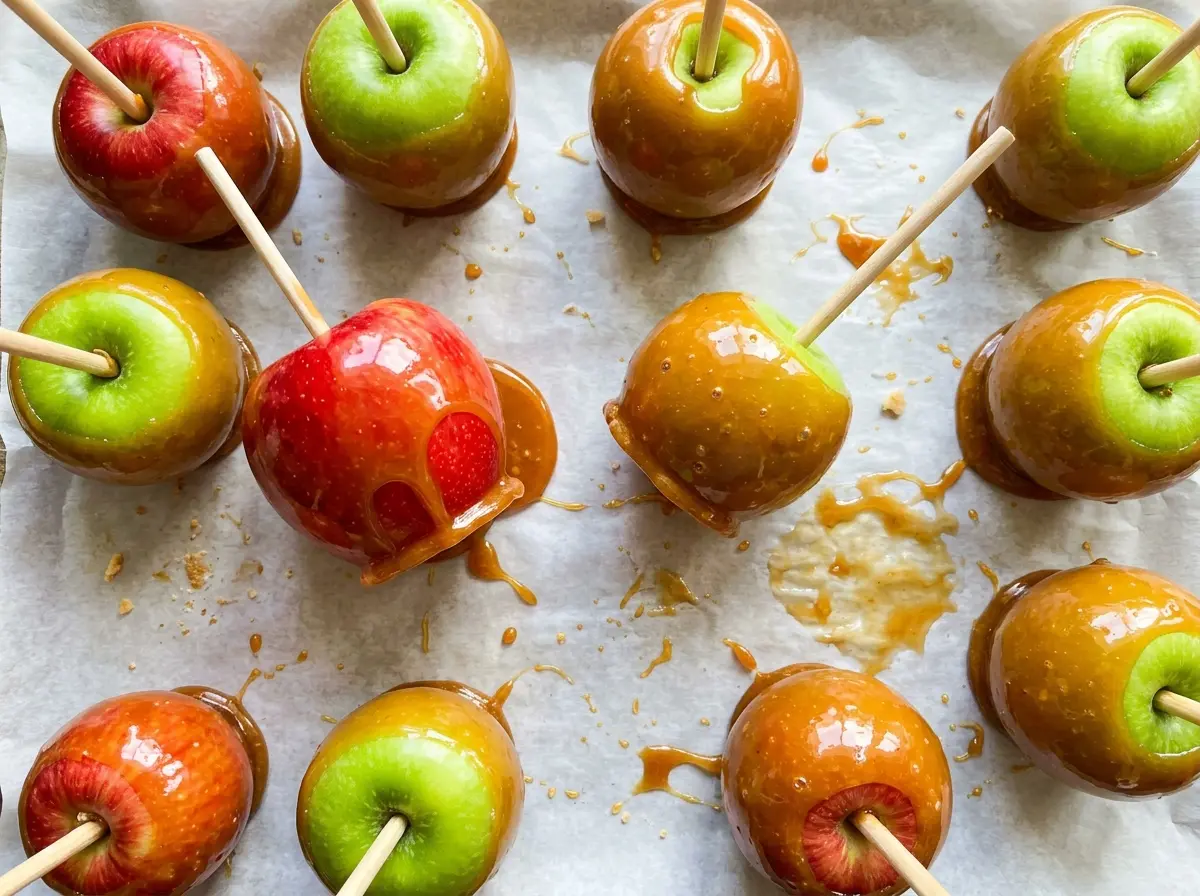
Scrub the apples under very hot water to remove the wax, then dry them completely. Even a little leftover wax or moisture can keep caramel from gripping the skin.
Save these homemade caramel apples for a crisp apple wrapped in buttery, homemade caramel.
Why This Caramel Gets Cooked, Then Cooled Before Dipping
Caramel apples need a coating that’s thick enough to cling but still fluid enough to turn around the fruit. That balance comes from two separate temperature stages. Cooking the sugar mixture concentrates it so the finished coating will set; letting it cool before dipping gives it a little more body. Dip straight from the boil and the caramel runs off quickly, leaving a thin coat and a puddle on the pan.
A candy thermometer takes the guesswork out of both stages. The first target is 245°F, and the caramel should then cool to 200°F to 210°F before you dip. Don’t scrape the sides of the saucepan while the mixture cooks; sugar crystals clinging there can encourage the caramel to turn grainy. Gentle stirring from time to time keeps the bottom from being neglected without dragging those crystals into the mixture. Keep the heat at medium and give the caramel the time it needs to reach its target.
What Gives These Apples Their Crisp Bite and Smooth Caramel

- Firm apples — The apple stays crisp beneath the coating, so choose medium fruit that feels firm rather than soft. Granny Smith brings a tart edge; another firm apple works if you’d prefer a milder contrast. Bring the apples to room temperature before dipping, as listed in the ingredients.
- Granulated sugar and light corn syrup — Sugar builds the caramel, while corn syrup helps keep the cooked mixture smooth instead of grainy. There isn’t a dependable direct swap for the corn syrup in this particular caramel, so I stick with it rather than risk a coating that crystallizes or won’t set properly.
- Heavy cream and unsalted butter — These make the caramel rich and tender once it sets. Use heavy cream and unsalted butter for the intended texture and seasoning; lower-fat cream or a butter swap changes the balance, and there isn’t a simple one-for-one replacement I’d recommend here.
- Kosher salt and vanilla extract — Salt keeps the buttery sweetness from tasting flat, while vanilla rounds out the caramel. Vanilla is optional for a plainer caramel flavor, but keep the salt in the mixture.
- Craft sticks and nonstick spray — The wooden sticks give you a handle for turning each apple through the caramel. A light coating of spray on the parchment helps the finished apples release without tearing the caramel at the base.
From Bubbling Sugar to a Set Caramel Coating
Set Up the Apples and Baking Sheet
Line an 18×13-inch rimmed baking sheet with parchment and lightly coat it with nonstick cooking spray. Scrub the apples under very hot water, remove the wax, and dry them completely; damp skin is a common reason caramel won’t stay put. Remove the stems and push a wooden craft stick into the stem end of each apple. Have the prepared apples close to the stove before you cook the caramel.
Bring the Creamy Sugar Mixture to a Boil
Combine the granulated sugar, light corn syrup, heavy cream, butter, and kosher salt in a 4-quart heavy-bottomed saucepan. Cook over medium heat, stirring until the butter melts and the sugar dissolves, then bring the mixture to a boil. Stir gently rather than vigorously, and don’t scrape the pan’s sides. A heavy-bottomed pan helps the mixture heat more evenly as it boils.
Cook the Caramel to Its Target
Clip a candy thermometer to the saucepan and cook over medium heat until the caramel reaches 245°F, about 12 to 20 minutes. Stir gently from time to time, keeping the spoon away from the sides so sugar crystals don’t fall into the caramel. Once it reaches the target, remove the pan from the heat and carefully stir in the vanilla extract. The caramel will be extremely hot, so take care as you stir.
Cool, Dip, and Let the Coating Set
Let the caramel cool until the thermometer reads 200°F to 210°F, about 5 to 10 minutes. Dip each apple and turn it to coat, then pause over the pan so the excess caramel can drip back in. Set the apples on the prepared baking sheet without letting them touch. Refrigerate until the caramel is firm, about 30 to 45 minutes.
Two Simple Ways to Change the Caramel Apples
Choose a sweeter firm apple
Swap Granny Smith for another medium, firm apple if you want less tartness against the caramel. Keep the fruit firm so it holds up under the coating; a softer apple won’t give you the same crisp bite.
Leave out the vanilla
Skip the vanilla extract for a more straightforward cream-and-caramel taste. Keep the rest of the ingredients and cooking method the same; the coating will still set around the apples.
Storage and Reheating
- Refrigerator: Keep the apples refrigerated once the caramel is firm and enjoy them within 3 days for the best apple texture. The coating may soften slightly as the apples sit.
- Freezer: Freezing isn’t recommended; thawed apples tend to lose their crisp texture and the caramel can turn sticky.
- Reheating: These are served cold, so don’t reheat them. Warming softens the caramel coating and makes the apples harder to handle.
Questions About Making Homemade Caramel Apples
Homemade Caramel Apples
Ingredients
Equipment
Method
- Line an 18x13-inch rimmed baking sheet with parchment paper and lightly coat it with nonstick cooking spray.
- Wash the apples under very hot water, scrubbing to remove any wax, then dry them completely.
- Remove the stems and push a wooden craft stick into the stem end of each apple.
- Combine the granulated sugar, light corn syrup, heavy cream, unsalted butter, and kosher salt in a 4-quart heavy-bottomed saucepan.
- Cook over medium heat, stirring until the butter melts and the sugar dissolves, then bring the mixture to a boil.
- Clip a candy thermometer to the saucepan and cook over medium heat, stirring gently from time to time without scraping the sides, until the caramel reaches 245°F, about 12 to 20 minutes.
- Remove the pan from the heat and carefully stir in the vanilla extract.
- Let the caramel cool until it reaches 200°F to 210°F, about 5 to 10 minutes.
- Dip each apple, turning to coat it, let the excess caramel drip back into the pan, and set it on the prepared baking sheet.
- Refrigerate the apples until the caramel is firm, about 30 to 45 minutes.


