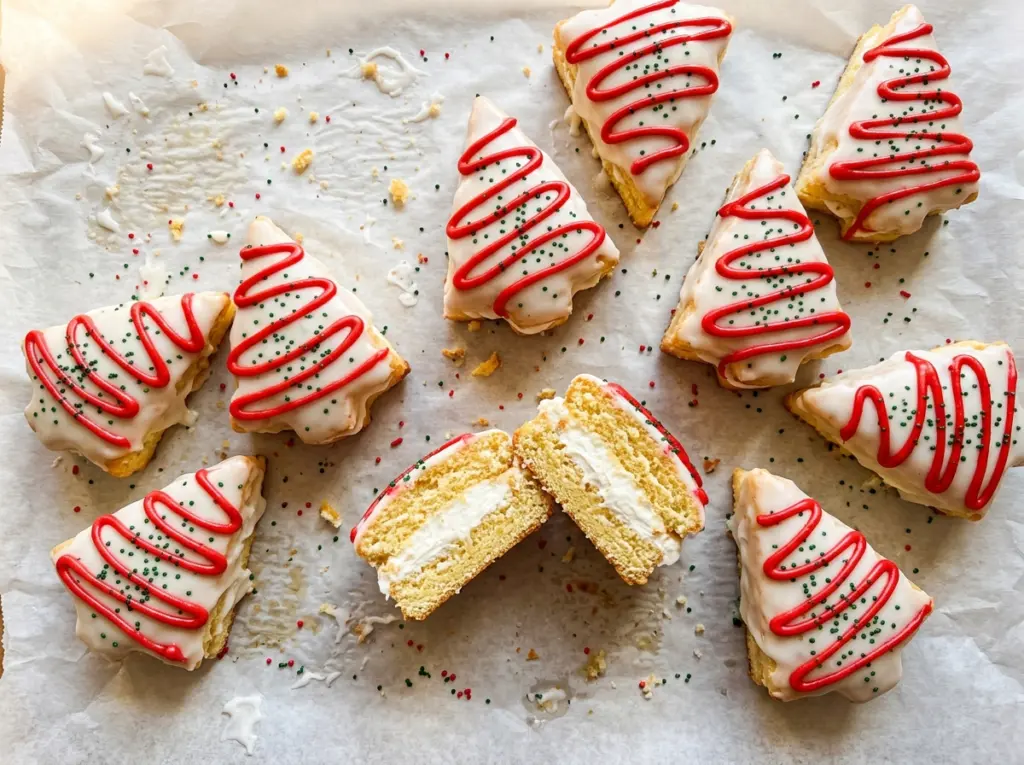
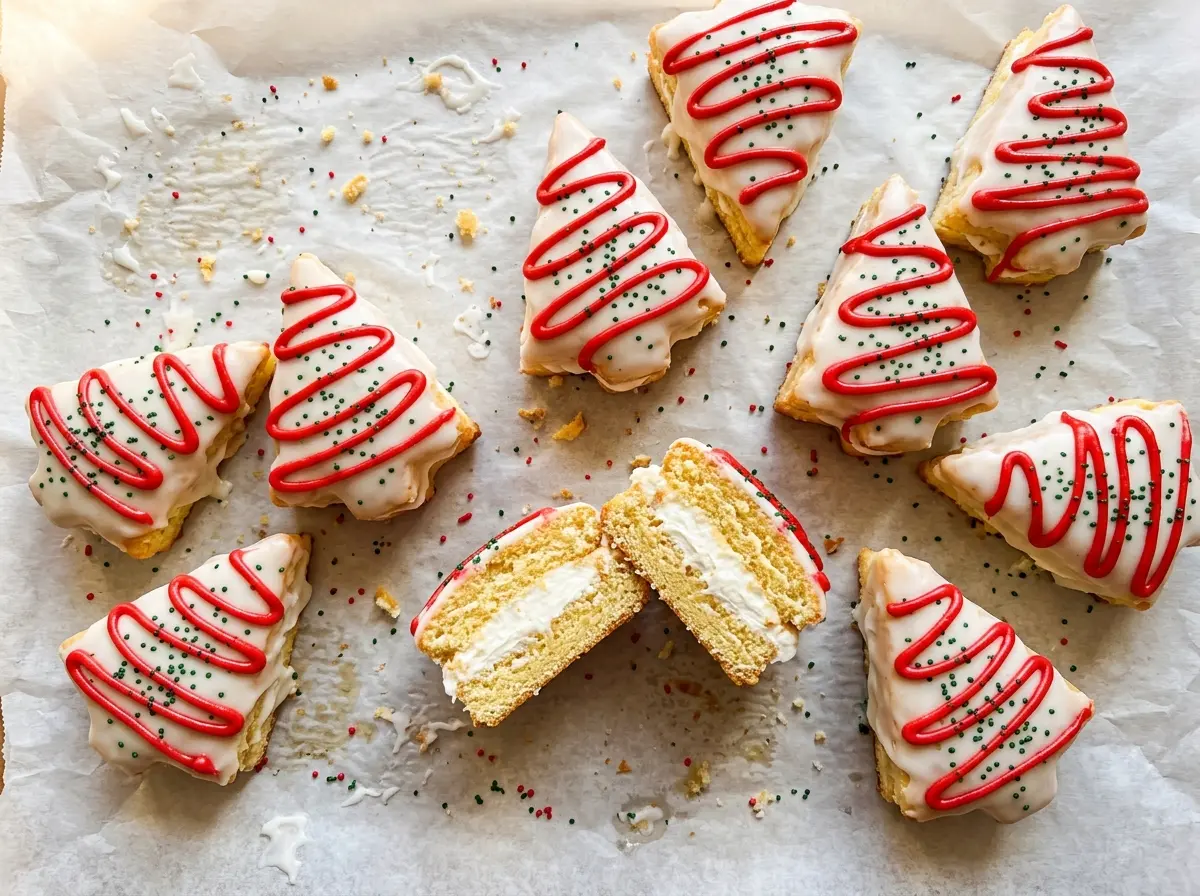
A 9-by-13-inch cake looks like an odd starting point for a little snack cake, until you cut the first tree and see how neatly the shape holds. I bake two thin layers in the same pan, then sandwich the cutouts with a soft marshmallow filling. That gives each homemade Little Debbie Christmas Tree Cake a recognizable cake-and-creme center without having to split a tall cake into delicate layers.
The timing that makes the process feel manageable is letting the layers cool completely before cutting, then chilling them briefly so the cutter leaves cleaner edges. Once the sandwiches are firm from the freezer, the white coating goes on in one smooth dip. A green drizzle and three red candy pearls finish each tree with the familiar look and a soft, sweet center.
Kitchen Note
Use a deep bowl for the white coating, not a shallow one. The extra depth makes it easier to spoon coating over each tree without scraping the cake against the sides.
Save these homemade Christmas Tree Cakes for a bake day when you want soft cake, marshmallow filling, and that white-and-green candy finish.
Why Two Thin Cakes Beat One Layer You Have to Split
It’s natural to think a filled snack cake starts with one tall cake sliced through the middle. Here, two separate bakes are a better fit: each thin cake gets its own even layer in the 9-by-13-inch pan, and the tree cutter makes matching shapes from both. You don’t have to run a knife through a tender cake or try to lift a thin, full-size sheet without tearing it.
There’s also less guesswork when you assemble the trees. Set one cutout over another and the edges line up; the filling stays between the cake layers instead of squeezing out from an uneven cut. The short chill before cutting helps the cooled layers hold their shape under the cookie cutter, while the later freeze firms the filled sandwiches for coating. Those are two different pauses, and each makes its own part of the job easier.
Because the pan is reused, let it cool before lining it with fresh parchment for the second bake. That keeps the next layer on the same schedule and gives you two consistent sheets to cut into matching trees.
What Gives the Cake, Filling, and Coating Their Familiar Texture
- All-purpose flour — It gives the cake enough structure to cut and sandwich without turning dense. Standard all-purpose flour is right for this bake; there’s no need for a specialty brand. Measure it without packing it into the cup so the batter doesn’t become heavier than intended.
- Butter, eggs, and whole milk — Softened butter creams with the sugar, while room-temperature eggs and milk blend into the batter more evenly. Use butter you like the taste of, but an everyday unsalted butter works well here. Bring the eggs and milk to room temperature before mixing rather than pouring them in cold.
- Vegetable shortening and marshmallow creme — Together they make the sweet, fluffy sandwich filling. Shortening gives it a firmer, less buttery texture than a butter-based filling, and the marshmallow creme supplies its distinct soft sweetness. Keep the shortening for the intended texture; swapping in butter changes how soft the filling feels.
- White candy melting wafers — These make the smooth outer shell and are designed to melt into a coating that firms up. Choose wafers labeled for melting rather than assuming any white baking chip will behave the same way. Stirring between short microwave intervals helps them melt evenly.
- Green melting wafers and red candy pearls — The green wafers make the drizzle, and the pearls add the small red details. Their color is part of the familiar tree decoration, so use the specified colors if you want that classic finish. Have the pearls ready before you drizzle; the green coating sets quickly.
Building the Cakes in Four Manageable Stages
Mix Each Layer Without Overworking the Batter
Heat the oven to 350°F and line a 9-by-13-inch pan with parchment, leaving an overhang so you can lift the cake out; spray the parchment. Whisk together the first portion of flour, baking powder, and salt. Beat the butter and sugar until light and fluffy, about 2 minutes, then add the eggs one at a time and the vanilla. Add the flour mixture alternately with the milk, beginning and ending with flour, and stop mixing as soon as it’s combined.
Bake, Cool, and Repeat in the Same Pan
Spread the first batter evenly in the pan and bake at 350°F for 16 to 20 minutes. The top should spring back when lightly touched, and a toothpick inserted into the cake should come out clean. Cool it in the pan for 10 minutes, lift it out by the parchment, and let it cool completely on a wire rack. Once the pan is cool, line it with fresh parchment and spray it, then mix and bake the second layer using the remaining ingredients in the same way.
Cut Matching Trees and Sandwich the Filling
Chill both cooled cake layers for 20 minutes before cutting. Use a 3-inch tree-shaped cookie cutter to cut 12 trees from each layer, keeping the cutouts intact as you lift them. Beat the shortening and powdered sugar until creamy, then beat in the marshmallow creme and reserved vanilla until the filling looks fluffy and smooth. Spread about 1 tablespoon over 12 trees, top with the remaining trees, press gently, and freeze the sandwiches for 20 to 25 minutes until firm.
Coat and Decorate Before the Candy Sets
Melt the white wafers in a deep microwave-safe bowl in 30-second intervals, stirring between each interval until smooth. Lower a chilled cake into the coating with a fork, spoon coating over the top, then lift it and tap off the excess before setting it on parchment. Let the white coating firm for 15 to 20 minutes. Melt the green wafers in a small microwave-safe bowl in 20-second intervals, stirring each time; drizzle over the trees, add three red pearls to each right away, and let them set completely for about 15 minutes.
Small Changes That Keep the Christmas Tree Cake Spirit
Use a different small cookie-cutter shape
The same two cake layers and filling work with another small cutter if you’d rather make rounds or stars. Cut matching shapes from both layers, pair them as sandwiches, and keep the filling tucked inside the edges; the finished cakes will lose the tree silhouette but keep the same cake-and-creme construction.
Make petite sandwiches with a smaller cutter
A smaller cutter turns the same layers into more bite-size cakes. Spread the filling in a thin, even layer so it doesn’t squeeze out when you sandwich the smaller pieces. The extra cutouts take a little more time to coat individually, but each one is easier to serve in a couple of bites.
Change the green drizzle pattern
Use the same green coating for fine parallel lines or a loose zigzag instead of a heavier drizzle. A lighter pattern leaves more of the white shell visible, while a wider zigzag makes the green more prominent. Add the red pearls while the green marks are still wet so they stay in place.
Storage and Serving
- Refrigerator: Keep the cakes in an airtight container for up to 5 days. The cake will firm up when cold, so let a serving sit briefly before eating.
- Freezer: Freeze the set cakes in a single layer, then transfer them to an airtight container with parchment between layers for up to 1 month. Thaw them in the refrigerator to help limit condensation on the candy coating.
- Serving: Serve at room temperature for a softer cake and filling. Don’t microwave them; the candy shell can melt before the center softens.
Questions That Come Up While Making Christmas Tree Cakes
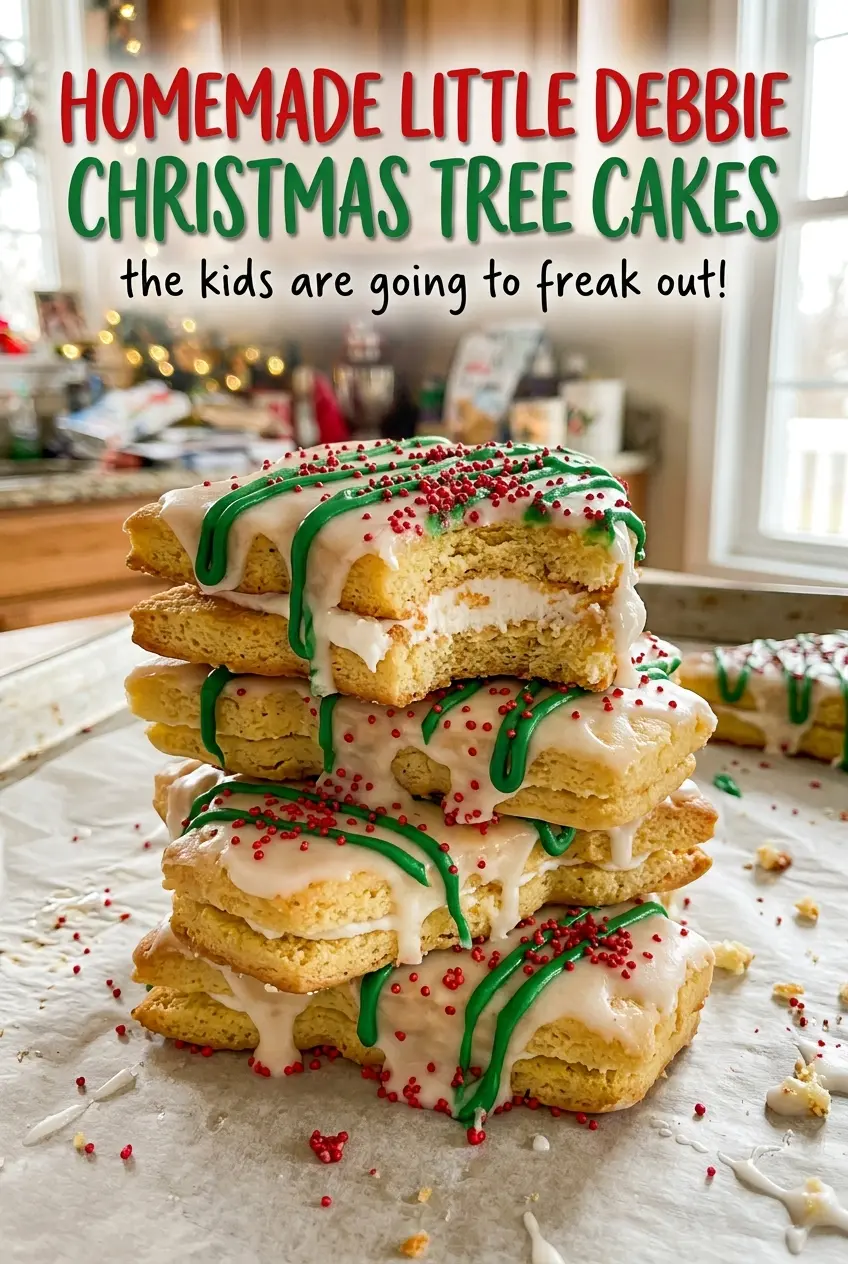
Homemade Little Debbie Christmas Tree Cakes
Ingredients
Equipment
Method
- Heat the oven to 350°F.
- Line a 9x13-inch baking pan with parchment paper, leaving enough overhang to lift the cake out, and coat the parchment with nonstick cooking spray.
- Whisk 1 1/2 cups flour, 1 teaspoon baking powder, and 1/2 teaspoon salt in a medium bowl for the first layer.
- Beat 1/2 cup butter and 1 cup granulated sugar in a large bowl until light and fluffy, about 2 minutes.
- Beat in 2 eggs one at a time and 1 teaspoon vanilla.
- Mix in the flour mixture alternately with 1/2 cup milk, beginning and ending with the flour, just until combined.
- Spread the batter evenly in the prepared pan.
- Bake at 350°F for 16-20 minutes, until the top springs back when lightly touched and a toothpick comes out clean.
- Cool in the pan for 10 minutes, lift out by the parchment, and cool completely on a wire rack.
- Whisk the remaining 1 1/2 cups flour, 1 teaspoon baking powder, and 1/2 teaspoon salt for the second layer.
- Beat the remaining 1/2 cup butter and 1 cup granulated sugar until light and fluffy, about 2 minutes.
- Beat in the remaining 2 eggs one at a time and 1 teaspoon vanilla.
- Mix in the flour mixture alternately with the remaining 1/2 cup milk, beginning and ending with the flour, just until combined.
- Once the pan is cool, line it with fresh parchment and coat the parchment with nonstick cooking spray.
- Spread the batter evenly in the pan.
- Bake at 350°F for 16-20 minutes, until the top springs back when lightly touched and a toothpick comes out clean.
- Cool in the pan for 10 minutes, lift out by the parchment, and cool completely on a wire rack.
- Chill the cooled cake layers for 20 minutes.
- Use a 3-inch tree-shaped cookie cutter to cut 12 trees from each layer.
- Beat the shortening and powdered sugar until creamy.
- Beat in the marshmallow creme and the reserved 1 teaspoon vanilla until fluffy and smooth.
- Spread about 1 tablespoon filling over 12 cake trees.
- Top with the remaining trees and press gently to sandwich.
- Arrange the cakes on a parchment-lined baking sheet and freeze for 20-25 minutes, until firm.
- Melt the white candy wafers in a deep microwave-safe bowl in 30-second intervals, stirring between each, until smooth.
- Lower each chilled cake into the melted coating with a fork, spoon coating over the top to cover it completely, then lift and tap off the excess.
- Set the cakes on the parchment-lined baking sheet and let the coating firm for 15-20 minutes.
- Melt the green candy wafers in a small microwave-safe bowl in 20-second intervals, stirring between each, until smooth.
- Drizzle the green coating over the cakes and immediately add 3 red candy pearls to each.
- Let stand until completely set, about 15 minutes.


