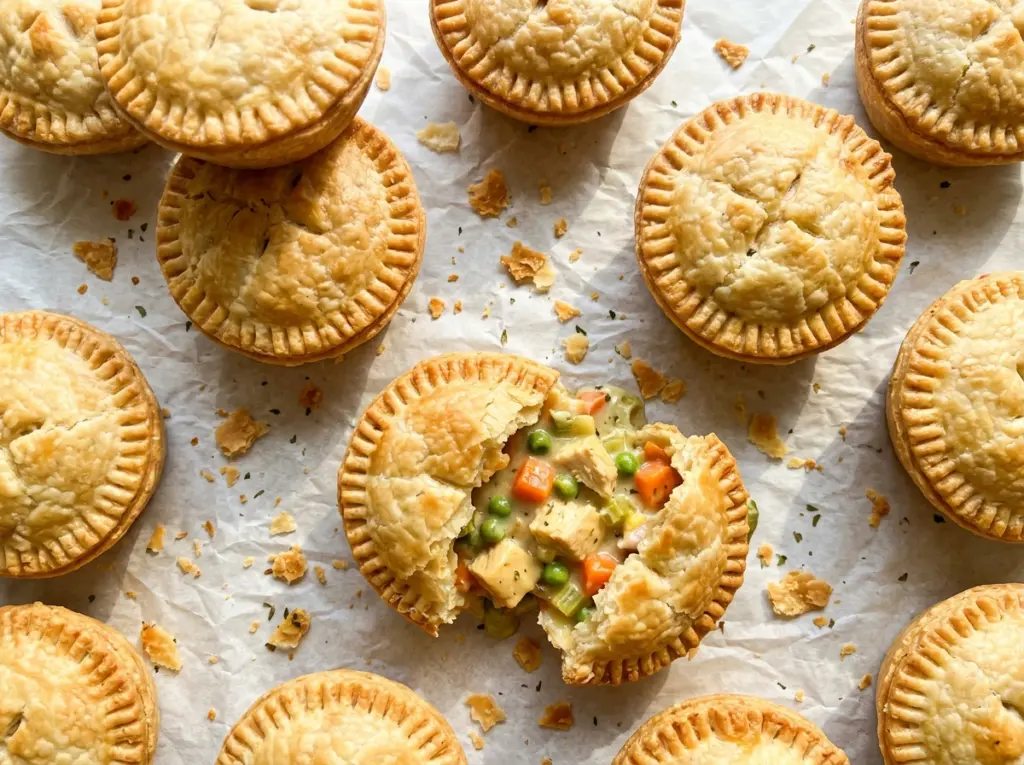
The broth goes into the saucepan thin, then turns into a creamy sauce as it simmers with the flour and cream. I watch for it to thicken before adding the chicken; that gives these mini chicken pot pies a filling that stays tucked under the pastry instead of running over the ramekins.
Each pie gets a square of puff pastry rather than a full bottom crust, so you get a crisp, golden top with a warm chicken-and-vegetable filling underneath. Keeping the pastry thawed but cold helps it bake up in layers, while a small vent gives steam a way out. The result is a tender, savory filling and a flaky lid that crackles when you break into it.
Kitchen Note
Leave a little breathing room at the top of each ramekin. Keeping the filling at least 1/4 inch below the rim gives it space to bubble without pushing over the edge.
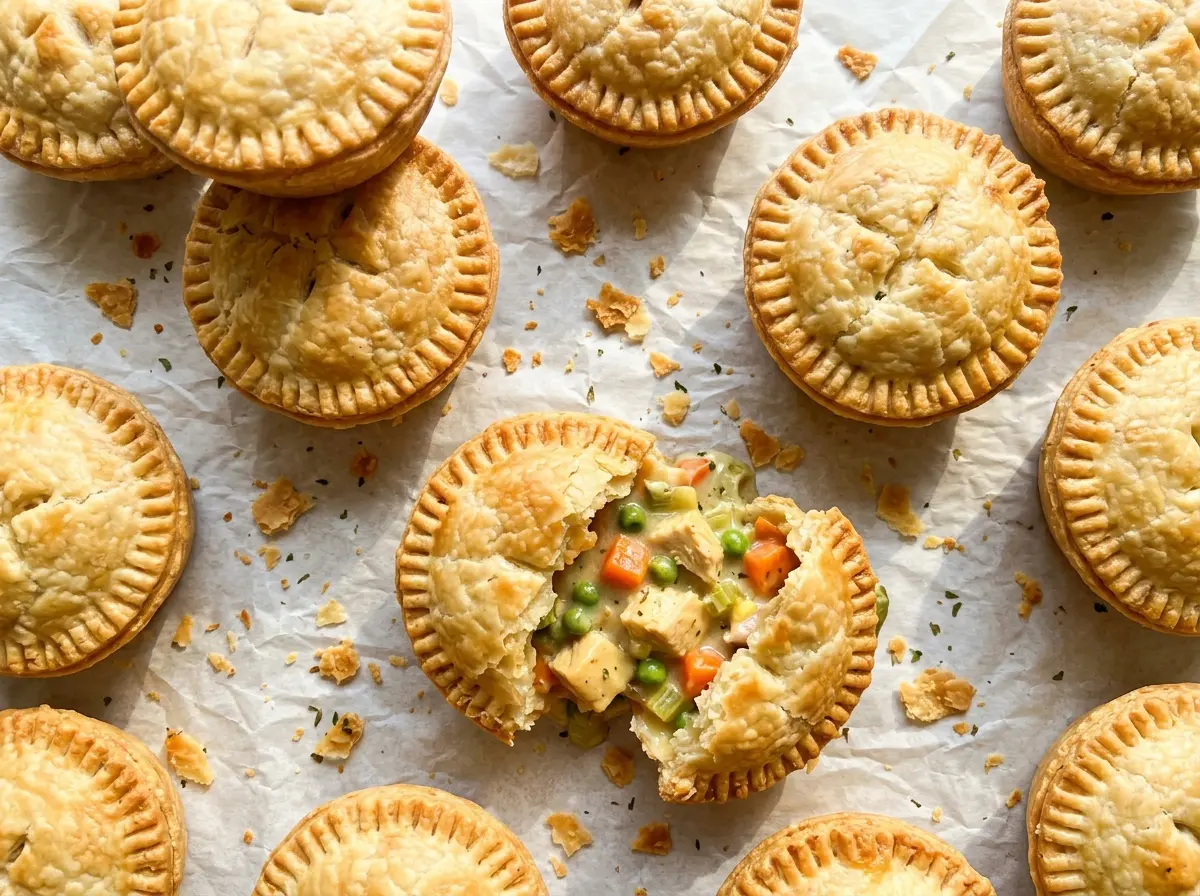
Save these mini chicken pot pies for a cozy dinner with flaky puff pastry and a creamy chicken filling in every ramekin.
Why These Pot Pies Need a Vent, Not a Sealed Pastry Lid
Puff pastry rises as it bakes, and the filling underneath is already hot. If the pastry sits tightly sealed with no opening, steam has nowhere to escape; it can soften the pastry from below and push at the edges. A small cut in each top gives that steam an exit while the pastry puffs and browns.
The pastry squares should sit on the ramekin rims, not be stretched down into the filling. Pressing the edges onto the rims holds each lid in place as it rises, and keeping the pastry cold gives its layers a better chance to puff in the oven. The egg wash adds color, but it doesn’t replace the vent or the rim contact. Watch for a deep-golden top and bubbling filling at the opening; those cues show that the lids have browned and the filling is hot.
These are individual pies, so use ramekins with an opening close to the pastry-square size. That fit gives the pastry a place to rest without requiring you to fold or crimp it into a full crust. The arrangement is simple, but it makes the flaky top the star of each serving.
The Ingredients That Make the Filling Creamy Without Losing Its Shape

- Cooked, shredded chicken — Using cooked chicken keeps the filling preparation brief and gives every bite tender pieces instead of leaving raw meat to cook unevenly inside the pies. Rotisserie chicken works well; pull off the skin and shred the meat before measuring it.
- All-purpose flour, broth, and heavy cream — Flour thickens the liquid into a sauce, while broth brings savory depth and cream rounds it out. Whisk the liquids in gradually so the flour blends smoothly. Heavy cream gives the filling a richer texture than a thinner dairy substitute.
- Frozen peas and carrots — They go straight into the hot filling, which is handy for a small batch and keeps the vegetables distinct. There’s no need to thaw them first.
- Frozen puff pastry — Look for a sheet that’s thawed enough to cut but still cold to the touch. Warm, soft pastry is harder to handle and less likely to keep its layers distinct as you place it on the ramekins.
- Egg — Beating it with water makes a light wash that brushes over the pastry and helps the tops turn a deep golden color. Brush the surface rather than letting extra egg pool around the edges.
- Yellow onion, celery, and dried thyme — The onion and celery soften into the base of the sauce, and thyme gives the filling its familiar savory note. Finely dicing the vegetables helps them soften in the short stovetop cook.
From a Thickened Sauce to Flaky Individual Lids
Soften the onion and celery before adding flour
Heat the oven to 400°F and set six 6-ounce oven-safe ramekins with openings about 3 inches wide on a rimmed baking sheet. In a 2-quart saucepan, melt the butter over medium heat, then add the finely diced onion and celery. Cook for 4 to 5 minutes, until the vegetables have softened; they shouldn’t be browned. Starting with softened vegetables gives the filling a tender texture rather than a crisp bite.
Whisk the sauce until it thickens
Stir the flour and dried thyme into the softened vegetables and cook for 1 minute. Gradually whisk in the chicken broth and heavy cream so the flour disperses instead of forming lumps. Simmer for 2 to 3 minutes, whisking, until the sauce thickens. If you stop while it still looks thin, it won’t cling to the chicken as well in the finished pies.
Warm the chicken and vegetables in the sauce
Stir in the cooked shredded chicken, frozen peas and carrots, kosher salt, and black pepper. Cook for 2 to 3 minutes, until the mixture is heated through, stirring so the sauce coats the filling evenly. The chicken is already cooked, so this stage is about warming everything together rather than cooking raw meat. Take the pan off the heat once the filling is hot.
Top, vent, and bake until deeply golden
Divide the filling among the ramekins. Cut the thawed but still cold puff pastry into six 3 1/4-inch squares, place one over each ramekin, and press the edges onto the rims; cut a small vent in each top. Beat the egg with the water and brush it over the pastry. Bake for 20 to 25 minutes, until the pastry is deep golden and filling bubbles through the vents, then let the pies rest for 10 minutes before serving.
Two Simple Ways to Change These Individual Pot Pies
Make them with leftover turkey
Replace the cooked shredded chicken with the same amount of cooked shredded turkey. The sauce, vegetables, and pastry stay the same, and turkey gives the filling a slightly deeper roasted flavor.
Leave out the peas and carrots
For a plainer, chicken-forward filling, omit the frozen peas and carrots and prepare the rest of the filling the same way. You’ll lose the vegetables’ sweetness and color, but the creamy sauce and flaky tops still make satisfying individual pies.
Storage and Reheating
- Refrigerator: Refrigerate leftovers within 2 hours and keep them covered for 3 to 4 days. The pastry softens in storage.
- Freezer: Freeze baked, cooled pies in airtight freezer-safe containers for up to 2 months. The pastry may lose some crispness after thawing.
- Reheating: Thaw frozen pies in the refrigerator, then reheat in a 350°F oven until the center reaches 165°F. Avoid the microwave if you want to keep the pastry from turning soft.
Questions That Come Up While Making Mini Chicken Pot Pies
Mini Chicken Pot Pies
Ingredients
Equipment
Method
- Heat the oven to 400°F.
- Set six 6-ounce oven-safe ramekins, each with an opening about 3 inches wide, on a rimmed baking sheet.
- Melt the butter in a 2-quart saucepan over medium heat, add the onion and celery, and cook for 4 to 5 minutes until softened.
- Stir in the flour and thyme and cook for 1 minute.
- Gradually whisk in the chicken broth and heavy cream, then simmer for 2 to 3 minutes, whisking, until thickened.
- Stir in the chicken, peas and carrots, salt, and pepper, and cook for 2 to 3 minutes until heated through.
- Divide the filling among the ramekins, leaving at least 1/4 inch of space below each rim.
- Cut the puff pastry into six 3 1/4-inch squares and place one over each ramekin, pressing the edges onto the rims.
- Cut a small vent in each pastry top.
- Beat the egg with the water.
- Brush the egg mixture over the pastry.
- Bake for 20 to 25 minutes until the pastry is deep golden and the filling bubbles through the vents.
- Let the pot pies rest for 10 minutes before serving.


