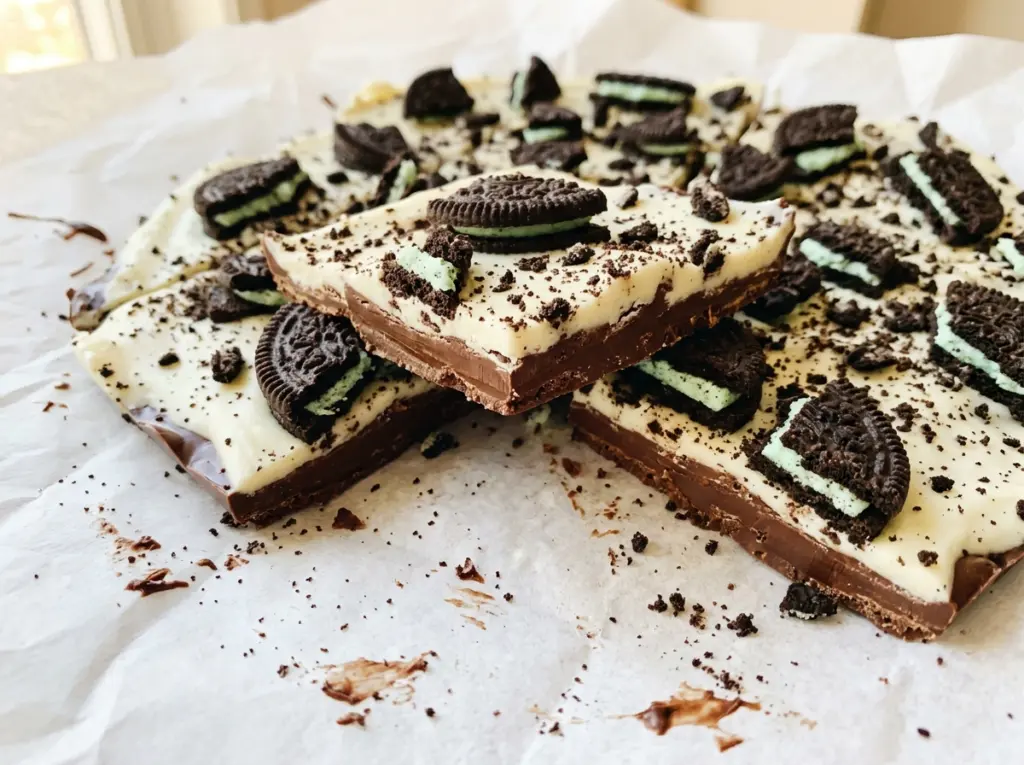
When the white chocolate starts to melt, it can look stubbornly lumpy even though it’s already softening around the edges. I stir between short microwave bursts instead of turning up the heat, and that keeps the base smooth for Mint Oreo Bark without scorching the chocolate.
The peppermint oil goes in after the chocolate is melted, so its cool mint flavor stays clear against the sweet white chocolate. Roughly chopped Oreos give each piece a mix of crunchy cookie and creamy filling, and a gentle press helps them stay put as the bark firms. Break it into pieces once it’s completely set, and you’ve got crisp, minty shards with plenty of cookie in every bite.
Kitchen Note
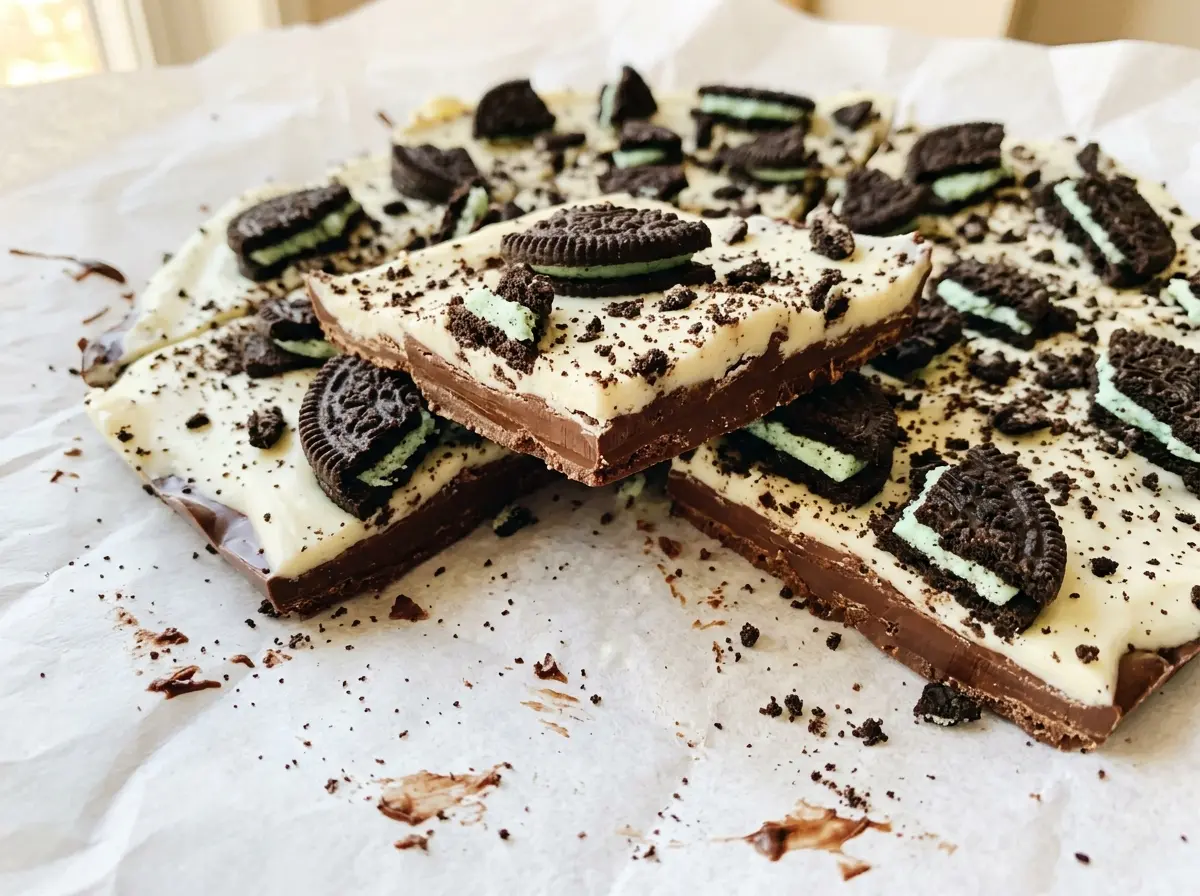
The bowl doesn’t have to come out with every piece fully melted. Stir well, and the residual heat often smooths the last small bits; I stop once the chocolate is glossy instead of adding another microwave round out of habit.
Save Mint Oreo Bark for a make-ahead treat with cool peppermint, creamy white chocolate, and crunchy cookie pieces.
Why This Bark Doesn’t Need Tempering to Set
It’s easy to assume that chocolate bark needs a candy-making step before it can firm up, but this version is designed for a straightforward refrigerator set. Tempering carefully controls the cocoa butter crystals in chocolate; this method doesn’t do that. Instead, the melted white chocolate cools in the pan until it’s firm enough to lift and break.
That difference is useful to know before you judge the finish. Tempered chocolate tends to have a more polished shine and a crisp snap, while refrigerator-set bark is a casual homemade treat that can soften sooner in a warm room. The scattered Oreo pieces also give the top a deliberately bumpy look, not the smooth finish of a candy bar. Keep expectations on the texture where they belong: firm, breakable pieces with a creamy base and crunchy cookie throughout, rather than a perfectly glossy confection.
What the White Chocolate, Mint Oil, and Oreos Each Contribute
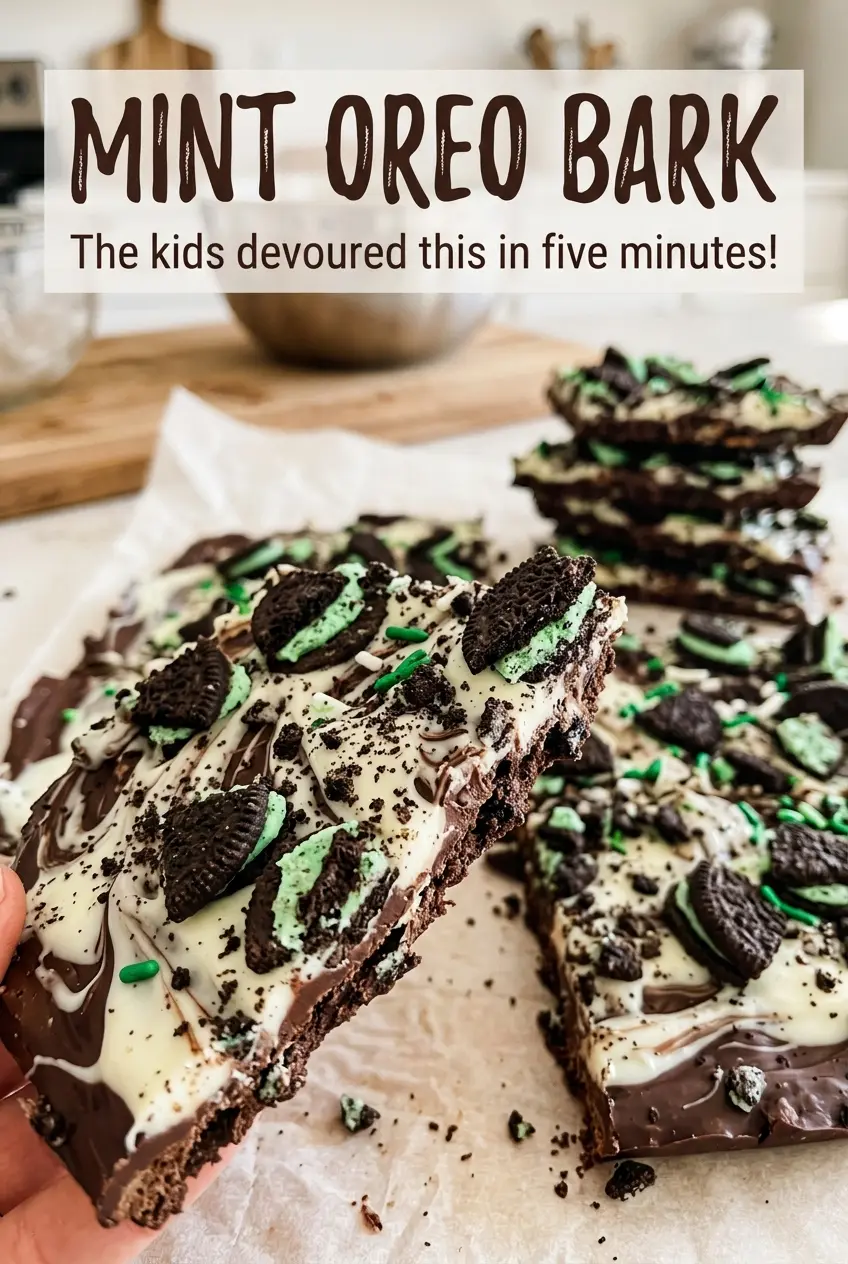
- White chocolate baking bars — These make the creamy base that holds the cookie pieces in place. Choose bars meant for baking and chop them before melting so the pieces soften at a similar pace; a good-quality bar gives the finished bark a fuller cocoa-butter taste.
- Food-grade peppermint oil — A little goes a long way, and this concentrated oil gives the chocolate a clean mint note without adding much liquid. Use only oil labeled for food; fragrance or essential oils not intended for eating don’t belong in candy.
- Oreo cookies — Rough chopping gives you a useful mix of cookie chunks and smaller crumbs. Keep some pieces larger than crumbs so the chocolate has crunchy pockets instead of turning into a uniformly speckled slab.
Getting the Chocolate Base Smooth and the Cookies to Stay Put
Line the Pan Before You Melt
Set parchment in a 9×13-inch baking pan with enough overhang to lift the finished bark out in one piece. Press the paper into the corners so it sits flat rather than bunching under the chocolate. That flat base makes it easier to spread the chocolate evenly. Leave the overhang accessible on two sides for lifting later.
Melt Gently in Short Bursts
Put the chopped white chocolate in a microwave-safe bowl and microwave at 50% power in 30-second increments, stirring after each one. The total time is 2 to 3 minutes, or just until the chocolate is smooth. Stir thoroughly each round, since chocolate near the outside of the bowl may melt faster than the pieces in the middle. If it’s still lumpy, keep using short increments rather than raising the power.
Mix in the Mint and Spread an Even Layer
Stir the peppermint oil into the melted chocolate until it’s evenly distributed. Pour the mixture into the prepared pan and spread it across the parchment in an even layer. Work gently so you don’t pull the parchment out of place or leave a very thick ridge along one edge. A level base gives the bark a more consistent thickness from side to side.
Press in the Oreos and Chill Until Firm
Scatter the roughly chopped Oreos over the chocolate, then press them in gently while the surface is still soft. Press just enough for the pieces to settle into the chocolate; crushing them into fine crumbs changes the texture. Refrigerate for 30 to 45 minutes, until the bark is completely firm. Lift it from the pan using the parchment overhang, then break it into pieces.
Three Ways to Change the Cookie Texture or Shape
Make a gluten-free version
Swap in gluten-free chocolate sandwich cookies and gluten-free white chocolate baking bars. Roughly chop the cookies as you would the Oreos; the crumb and sweetness vary a little by brand, but the same bark format works.
Use finer cookie pieces for more even bites
Chop the Oreos a little smaller than a rough chop to spread the cookie flavor more evenly through each piece. You’ll get fewer big crunchy pockets and more small bits scattered across the bark.
Cut neat pieces instead of breaking shards
Once the bark is firm, use a large, sharp knife to cut it into squares rather than snapping it by hand. The pieces look tidier, though the uneven cookie bits may still make a few edges crack.
Storage and Reheating
- Refrigerator: Keep the pieces in an airtight container for up to 2 weeks. They’ll be firmer straight from the fridge, and repeated temperature changes can leave moisture on the surface.
- Freezer: Freeze in an airtight container, separating layers with parchment, for up to 2 months. Thaw the closed container in the refrigerator to limit condensation on the chocolate.
- Reheating: No reheating is needed. If a piece feels too firm to bite straight from the fridge, let it sit at room temperature briefly; microwaving can melt the chocolate unevenly.
The Questions That Come Up When White Chocolate Bark Misbehaves
Mint Oreo Bark
Ingredients
Equipment
Method
- Line a 9x13-inch baking pan with parchment paper, leaving enough overhang to lift out the bark.
- Place the chopped white chocolate in a microwave-safe bowl and microwave at 50% power in 30-second increments, stirring after each, for 2 to 3 minutes total or until smooth.
- Stir the peppermint oil into the melted chocolate.
- Spread the chocolate evenly in the prepared pan.
- Scatter the chopped Oreos over the chocolate and gently press them in.
- Refrigerate for 30 to 45 minutes, until completely firm.
- Lift the bark from the pan.
- Break the bark into pieces.


