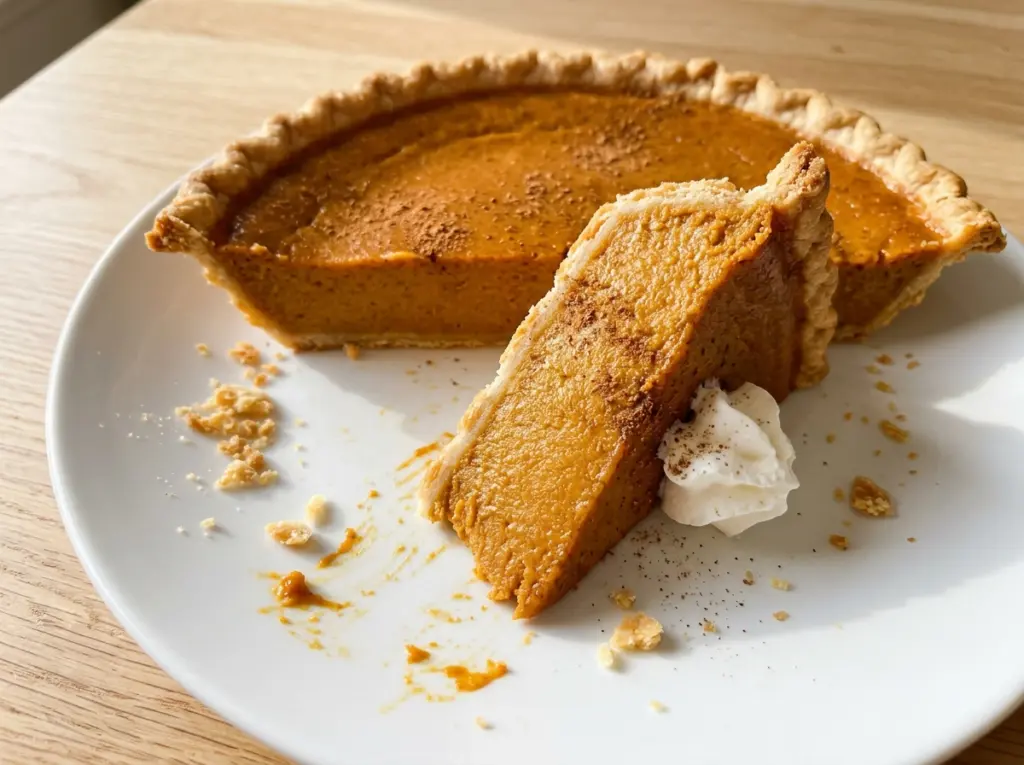
Cold butter leaves little pea-size pieces in the flour, and those flecks are what give a homemade pie crust its tender, flaky bite. A smooth, evenly mixed dough isn’t the goal here; a few visible bits of butter are a good sign. Old Fashioned Pumpkin Pie brings that simple butter crust together with a smooth pumpkin custard scented with cinnamon, ginger, and cloves.
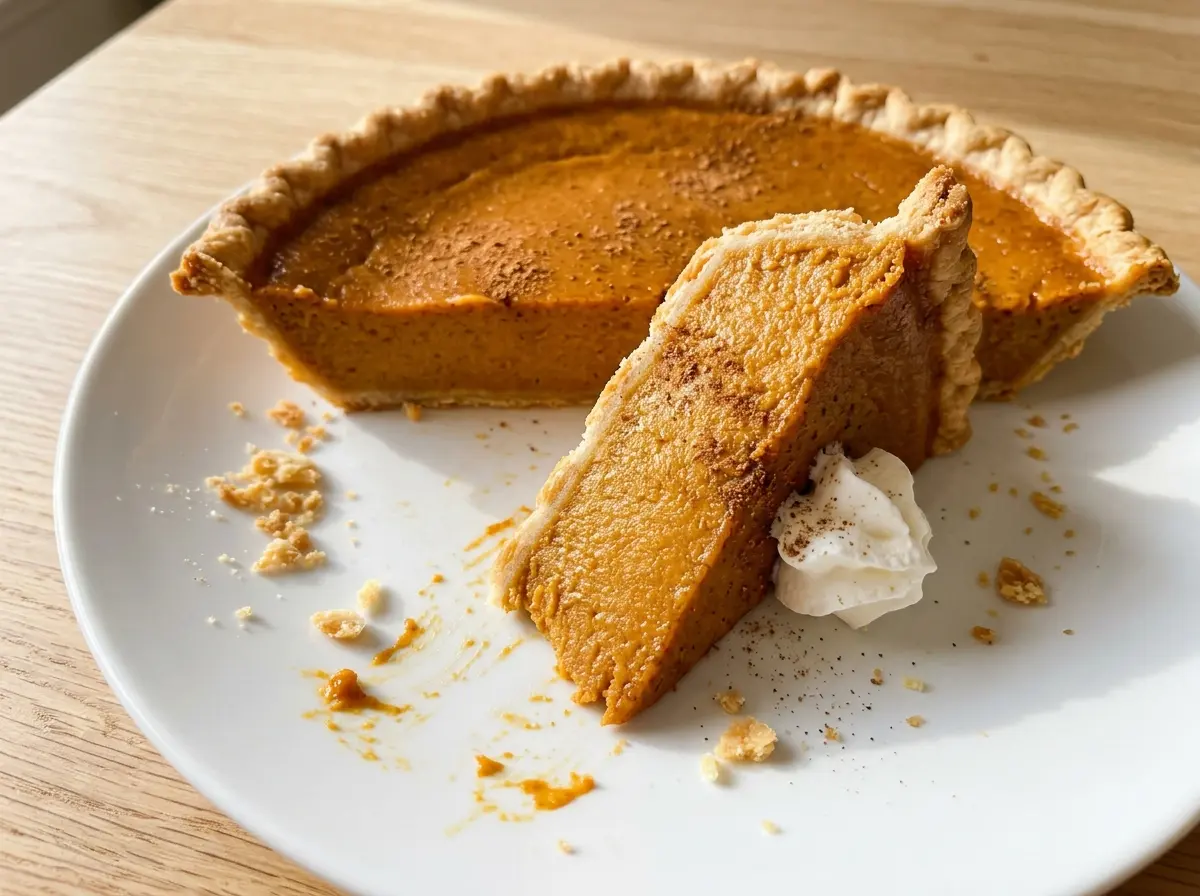
I whisk the sugar and spices together first, then add the eggs and pumpkin before gradually stirring in the evaporated milk. That order helps the spices spread through the filling before the mixture gets thinner, and it gives me a clear cue: the filling should look smooth before it goes into the crust. After the two-temperature bake, the pie comes out with a gently wobbly center that firms as it cools. Each slice has a crisp-edged crust and a soft, warmly spiced center.
Kitchen Note
This crust goes into the oven unbaked, so don’t blind-bake it first. Fill the chilled crust and bake the pie as one; pre-baking changes the timing and can leave the crust edge overdone.
Save this Old Fashioned Pumpkin Pie for its buttery crust and gently spiced pumpkin custard, with a center that sets as it cools.
Why Pumpkin Pie Should Still Jiggle When It Leaves the Oven
Pumpkin pie filling is a custard, not a cake batter that needs to look firm all the way through before it leaves the oven. Eggs give the filling its structure, but the hot pie continues to settle as it cools. A slight wobble in the middle is a doneness cue; waiting until the center looks completely firm can push the edges past their best texture.
That contrast between a set outer ring and a softly moving center is useful because the pie will spend two hours cooling before it goes into the refrigerator. The filling firms during that rest, then becomes easier to slice once chilled. Think of the center as a gentle jiggle, not a liquid ripple across the whole pie. This is also why pumpkin pie rewards a thermometer check instead of relying on color alone: the filling is orange from the start, so browning doesn’t tell you much about how the custard has set.
Which Pumpkin, Milk, and Spices Give This Pie Its Old-Fashioned Flavor

- Pumpkin puree — Canned puree is consistent and ready to whisk into the custard. Choose plain pumpkin, not pumpkin pie filling, which is already sweetened and seasoned. Homemade puree works too if it’s smooth and thick; watery puree can leave the filling softer.
- Evaporated milk — It gives the filling a concentrated dairy richness without adding sweetness. If you need a substitute, an equal volume of half-and-half works, though the custard will be a little less rich. Don’t mistake it for sweetened condensed milk.
- Eggs — They set the pumpkin filling as it bakes, so large eggs matter to the custard’s balance. There isn’t a dependable egg-free swap for this particular filling; egg replacers won’t set it the same way.
- Cinnamon, ginger, and cloves — The separate ground spices give the pie its familiar layered warmth. A pumpkin pie spice blend can replace them using the same combined measure, though its flavor may lean more toward the blend’s other spices. Fresh-smelling spices matter more than an expensive brand.
- All-purpose flour and unsalted butter — The flour gives the crust structure, while cold butter creates the flaky texture. An everyday all-purpose flour works well, and unsalted butter lets the salt in the dough stay controlled. For a gluten-free or dairy-free crust, use the specific swaps in the variations below.
The Crust-to-Custard Sequence That Keeps This Pie on Track
Cut the Butter Until the Pieces Look Pea-Size
In a medium bowl, use a pastry blender to cut the cold butter into the flour. Stop when the butter pieces are about the size of peas; the mixture shouldn’t become a uniform paste. Drizzle in three tablespoons of ice water and toss with a fork until the dough starts to come together. Add up to one tablespoon more only if needed, then gather the dough into a disk, wrap it, and refrigerate for at least 30 minutes.
Roll and Chill the Crust in Its Pie Plate
Roll the dough between two sheets of parchment into a 12-inch round. Peel away the parchment and fit the dough into a 9-inch pie plate, then trim and crimp the edge. If the dough tears while you move it, press it back together rather than stretching it to fit. Refrigerate the shaped crust while you prepare the filling.
Whisk the Filling Until Smooth
Heat the oven to 425°F. In a large bowl, whisk together the sugar, cinnamon, ginger, cloves, and salt, then whisk in the eggs. Add the pumpkin and gradually whisk in the evaporated milk. Keep whisking until the mixture is smooth, with no streaks of egg or pockets of spice left around the bowl.
Use Both Oven Temperatures and Check the Custard
Pour the filling into the chilled crust and bake at 425°F for 15 minutes. Reduce the oven temperature to 350°F and continue baking for 40 to 50 minutes. Look for set edges and a center that still jiggles slightly; the pie is ready when a thermometer inserted halfway between the center and edge reads at least 160°F. Don’t wait for the entire surface to look firm.
Cool Completely Before Refrigerating
Set the pie on a rack and let it cool for two hours. The filling will continue to settle during this time, so don’t cut into it while it’s still warm. After cooling, refrigerate the pie so the custard can finish firming and the slices hold their shape.
How to Change the Pie Without Losing Its Custard Set
Make the Crust Gluten-Free
Replace the all-purpose flour with the same amount of a cup-for-cup gluten-free flour blend made for baking. The dough can be more delicate, so roll it between parchment and handle it gently when fitting it into the pie plate. The filling stays the same.
Make It Dairy-Free, Not Egg-Free
Use an equal amount of firm dairy-free baking sticks in place of the butter, and full-fat canned coconut milk in place of the evaporated milk. The eggs still set the custard, so this is a dairy-free adaptation rather than a vegan pie. Coconut adds a light flavor of its own and the filling may be a little softer.
Use Homemade Pumpkin Puree
Swap in 15 ounces of smooth homemade pumpkin puree for the can. If the puree looks loose, drain it until it’s thick; extra water can make the baked custard softer. Homemade puree often tastes a little fresher and less concentrated than canned, so the pumpkin flavor may be milder.
Storage and Reheating
- Refrigerator: Keep the pie covered for 3 to 4 days; the crust gradually softens under the filling. Return it to the refrigerator within 2 hours of serving.
- Freezer: It freezes well. Once completely cool, wrap it tightly and freeze for up to 1 month; thaw it in the refrigerator before serving. The crust may soften slightly after thawing.
- Reheating: This custard pie is best served chilled, so I don’t reheat it. Warming the filling can make its texture soft and the crust less crisp.
Questions That Come Up Before the First Slice
Old Fashioned Pumpkin Pie
Ingredients
Equipment
Method
- In a medium bowl, cut the cold unsalted butter into the all-purpose flour with a pastry blender until the pieces are about pea-size.
- Drizzle in 3 tablespoons ice water and toss with a fork until the dough starts to come together, adding up to 1 tablespoon more as needed.
- Gather the dough into a disk, wrap it, and refrigerate for at least 30 minutes.
- Roll the dough between two sheets of parchment into a 12-inch round.
- Fit the dough into a 9-inch pie plate, trim the edges, and crimp.
- Refrigerate the crust while you make the filling.
- Preheat the oven to 425°F.
- In a large bowl, whisk the granulated sugar, ground cinnamon, ground ginger, ground cloves, and salt.
- Whisk in the large eggs, then the pumpkin puree.
- Gradually whisk in the evaporated milk until smooth.
- Pour the filling into the chilled crust.
- Bake at 425°F for 15 minutes, then reduce the oven to 350°F and bake for 40 to 50 minutes, until the edges are set, the center still jiggles slightly, and a thermometer inserted halfway between the center and edge reads at least 160°F.
- Cool the pie on a rack for 2 hours, then refrigerate.


