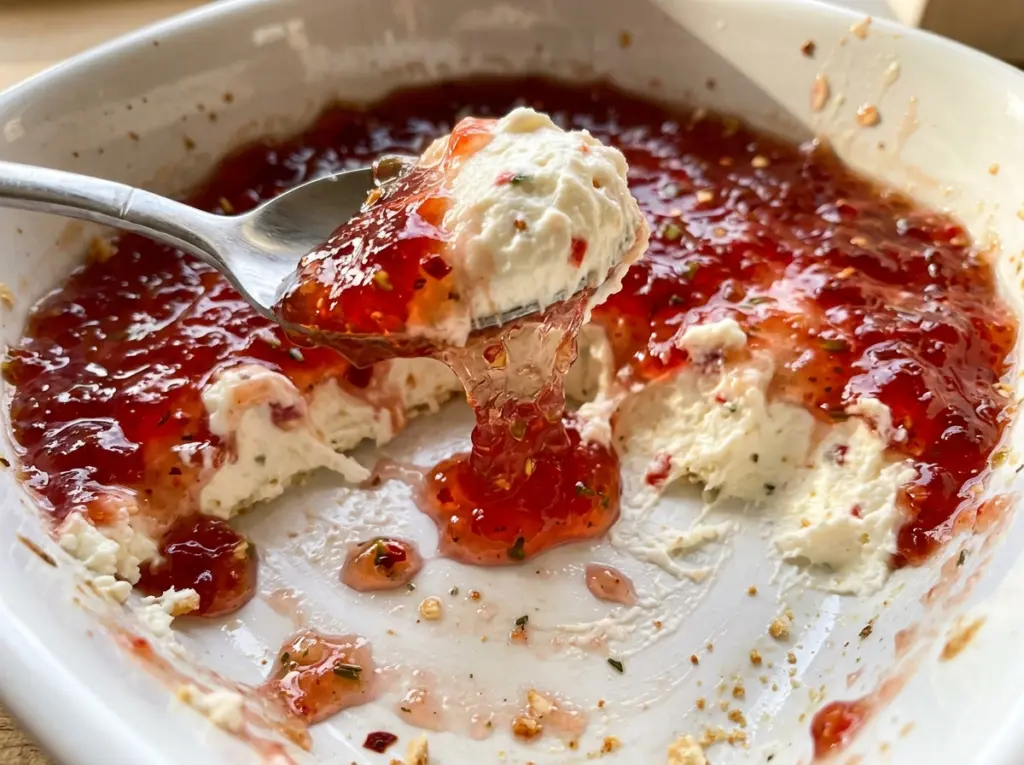
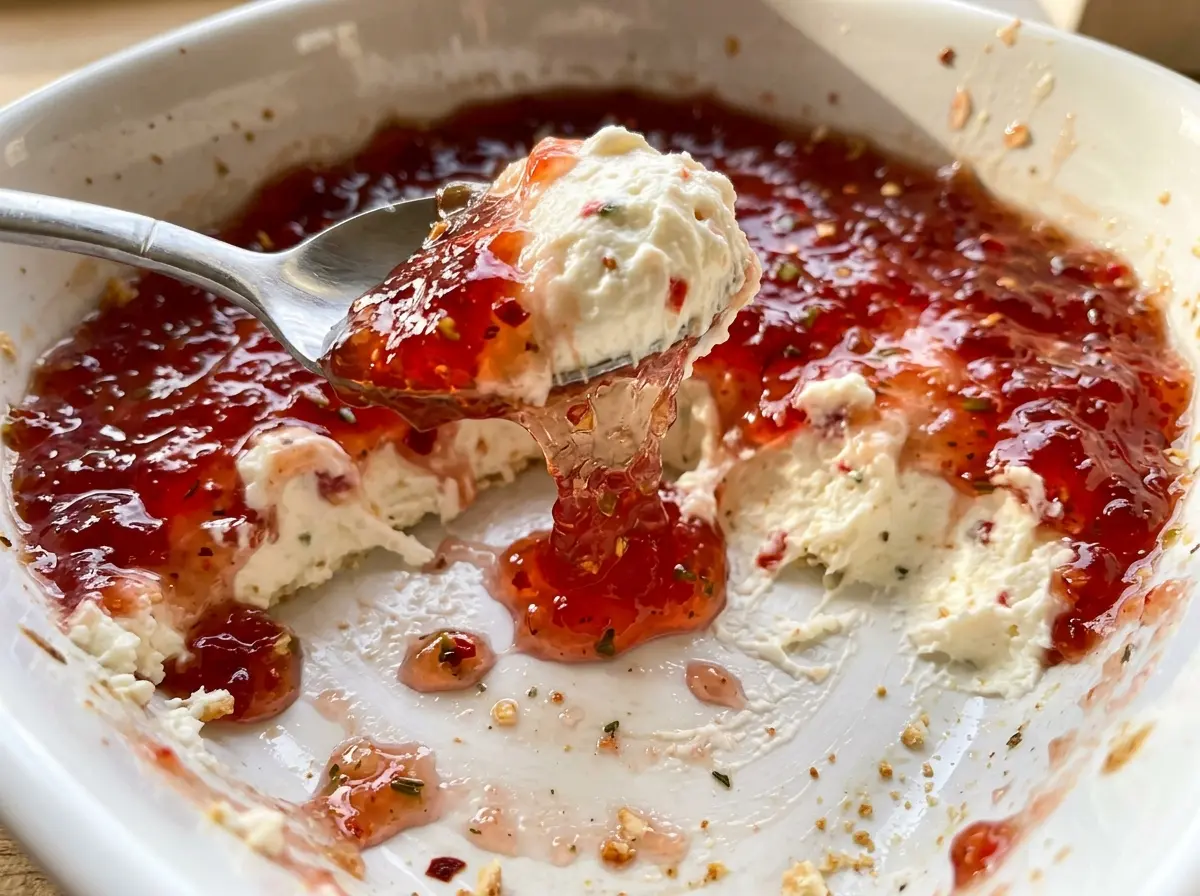
The first bubbles at the edge are the cue I watch for with this dip: the cheese is hot, but the top hasn’t dried out or browned. Once it comes out of the oven, the pepper jelly goes over the top instead of getting stirred into the cheese. That gives each scoop a creamy, savory base with a bright, sweet-and-peppery finish. Pepper Jelly Cheese Dip serves eight from a 1-quart baking dish, so it’s easy to set out with crackers or other dippers.
I mix the softened cream cheese with sour cream and sharp cheddar before spreading it into the dish. That combination bakes into a thick, scoopable layer, while a quick warm-up makes the jelly smooth enough to pour. Letting the finished dip rest for five minutes gives the topping a moment to settle without asking you to wait until the dip goes cold. The contrast of warm cheese and glossy pepper jelly is what makes every bite work.
Kitchen Note
Start with properly softened cream cheese, not a cold block straight from the refrigerator. It blends into the sour cream much more evenly, so you don’t have to chase little firm pieces around the bowl.
Save Pepper Jelly Cheese Dip for a gathering when you want a creamy, bubbling cheese layer under a glossy sweet-and-peppery topping.
Why the Pepper Jelly Belongs on Top, Not in the Cheese
It’s easy to think of the jelly as one more ingredient to stir into the bowl, but keeping it separate gives this dip its character. The cheese layer is rich, salty, and gently sharp; the jelly brings sweetness and pepper in a concentrated layer. If you blend the two together before baking, those distinct flavors become less noticeable, and you lose the colorful finish that makes this dip inviting on the table.
Adding the jelly after baking also lets you control the topping’s texture. A short warm-up loosens it until it spreads easily, while the hot cheese underneath helps it settle into an even coat. The result isn’t a baked-on glaze or a marbled dip. It’s a smooth, glossy layer over a warm, creamy base, with both parts still easy to taste in a single scoop.
That separation is especially useful when choosing dippers. A plain cracker lets the pepper jelly stand out, while a sturdy chip picks up a generous bite of the cheese underneath. Keep the topping on the surface as you serve; there’s no need to stir the dip together in the baking dish.
What the Creamy Base Needs From Its Cheese and Jelly
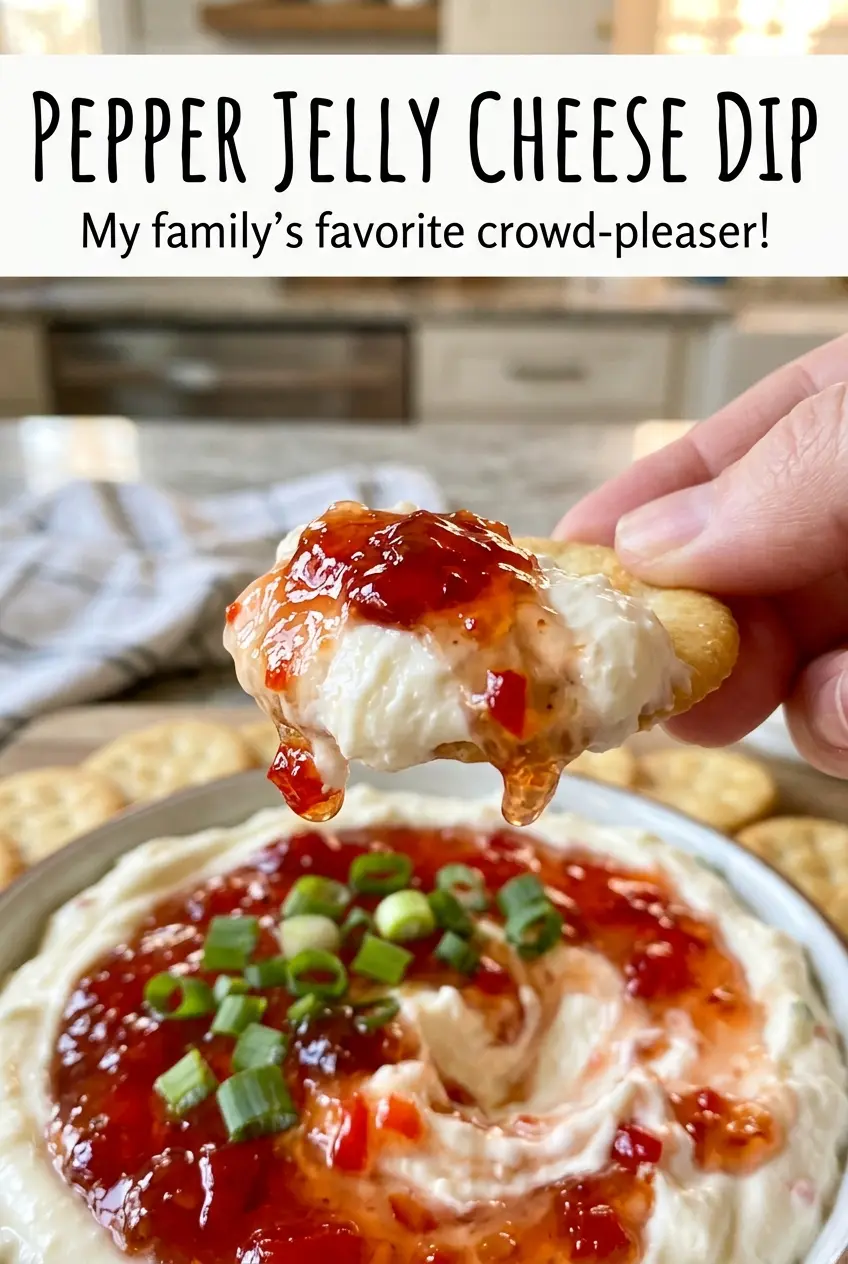
- Cream cheese — A block gives the dip its dense, creamy body. Use it softened so it blends smoothly; whipped cream cheese has a different, airier texture and isn’t a direct stand-in here.
- Sour cream — Its tang keeps the rich cheese mixture from tasting flat. Plain, unsweetened Greek yogurt can replace it in the same amount, though the dip will taste a little tangier and may feel slightly thicker.
- Sharp cheddar — The sharper flavor keeps the cheese layer noticeable beneath the sweet topping. Bagged shredded cheddar is convenient; freshly shredded cheddar usually melts more smoothly. For a milder dip, swap in the same amount of Monterey Jack, knowing the cheese flavor will be softer.
- Pepper jelly — This is both the sweet finish and the source of peppery heat, so choose the kind you enjoy eating on its own. Red or green pepper jelly works; the color and heat level vary by jar. Warming it briefly makes it spreadable without changing the cheese mixture.
- Garlic powder — It adds savory flavor throughout the base without adding pieces that compete with the smooth texture. Powder disperses more evenly here than fresh chopped garlic.
From Smooth Cheese Mixture to Glossy Jelly Finish
Coat the Baking Dish
Heat the oven to 350°F and lightly coat a 1-quart baking dish with nonstick cooking spray. A thin coating helps the baked cheese mixture release from the sides when you scoop it. Use the 1-quart dish so the dip sits at a suitable depth for heating through. Set the prepared dish aside while you mix the base.
Blend and Spread the Cheese Base
In a medium bowl, stir together the softened cream cheese, sour cream, shredded sharp cheddar, garlic powder, and salt. Keep stirring until the ingredients look evenly combined, with no obvious streaks of plain cream cheese. Scrape the mixture into the prepared dish and spread it into an even layer. An even surface helps the dip heat consistently from edge to center.
Bake Until the Edges Bubble
Bake for 20 to 25 minutes, watching for the dip to become hot and bubble around the edges. The visible bubbling is more useful than waiting for browning; this dip is meant to stay creamy rather than develop a crust. If the edges are bubbling, the cheese mixture is ready for its topping. Avoid extending the bake just to make the top look toasted.
Warm the Jelly and Finish
While the dip bakes, put the pepper jelly in a microwave-safe bowl and warm it for 20 to 30 seconds. Stir until it looks smooth and pourable; warming time can vary slightly from one microwave to another. Spread the jelly over the hot dip, covering the surface in an even layer. Let it rest for five minutes before serving so the topping can settle over the cheese.
Easy Ways to Change the Cheese or Peppery Finish
Turn Up the Peppery Heat
Use hot pepper jelly in place of the regular pepper jelly, keeping the same amount. The topping keeps its glossy sweet finish but brings more heat to each bite, so pair it with plain crackers if you want the pepper to be the main accent.
Make the Cheese Layer Milder
Replace the sharp cheddar with the same amount of Monterey Jack. It melts into a mild, creamy base that lets the pepper jelly stand out more, but you give up some of the cheddar’s pronounced savory edge.
Make a Dairy-Free Version
Replace the cream cheese with 8 ounces of dairy-free cream cheese, the sour cream with 1/2 cup plain unsweetened dairy-free sour cream, and the cheddar with 1 cup dairy-free cheddar shreds; choose pepper jelly made without dairy. The dip will still have a creamy base and sweet topping, though dairy-free shreds may melt less smoothly than cheddar.
Storage and Reheating
- Refrigerator: Cover and refrigerate leftovers within 2 hours; they keep for 3 to 4 days. The cheese base will firm up when cold, and the jelly may lose some of its glossy, pourable look.
- Freezer: Freezing isn’t recommended. Cream cheese and sour cream can turn grainy or separate after thawing, so the dip won’t have the same smooth texture.
- Reheating: Reheat a portion in the microwave, stirring gently as it warms, until it reaches 165°F. The jelly may blend into the cheese as you stir; overheating can make the dairy base oily, so stop once it’s hot throughout.
Questions That Come Up When Making Pepper Jelly Cheese Dip
Pepper Jelly Cheese Dip
Ingredients
Equipment
Method
- Heat the oven to 350°F and lightly coat a 1-quart baking dish with nonstick cooking spray.
- Stir the cream cheese, sour cream, cheddar, garlic powder, and salt together in a medium bowl until evenly combined, then spread the mixture in the dish.
- Bake for 20 to 25 minutes, until hot and bubbling around the edges.
- Warm the pepper jelly in a microwave-safe bowl for 20 to 30 seconds, then stir until smooth and pourable.
- Spread the jelly over the hot dip and let it rest for 5 minutes before serving.


