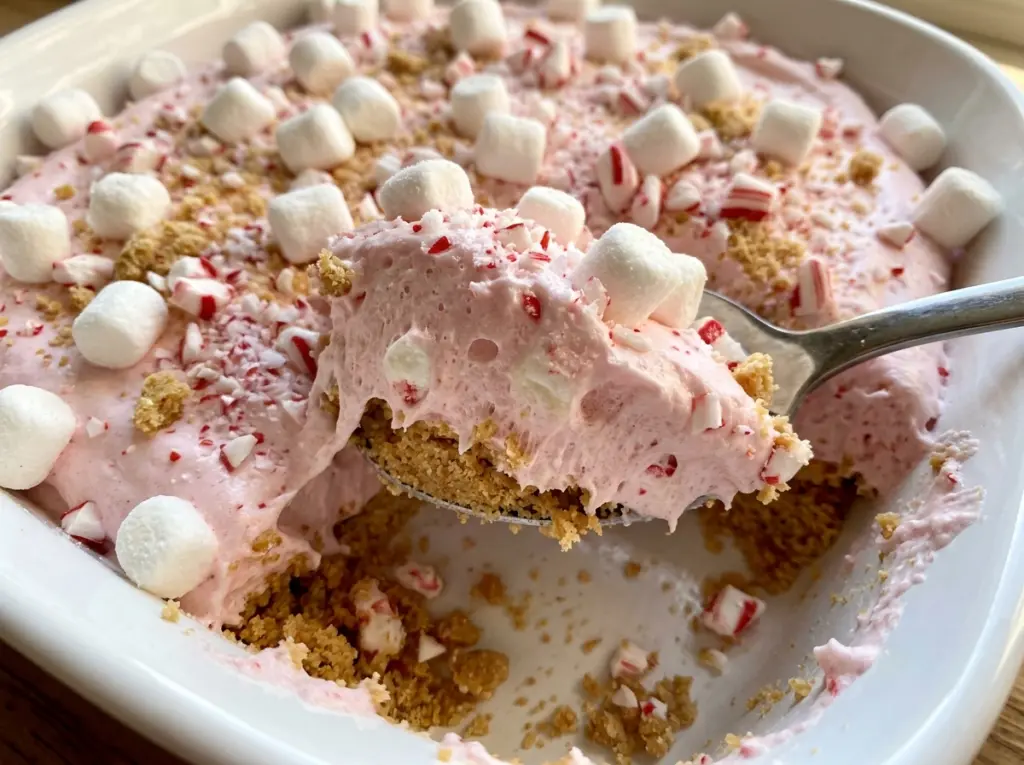
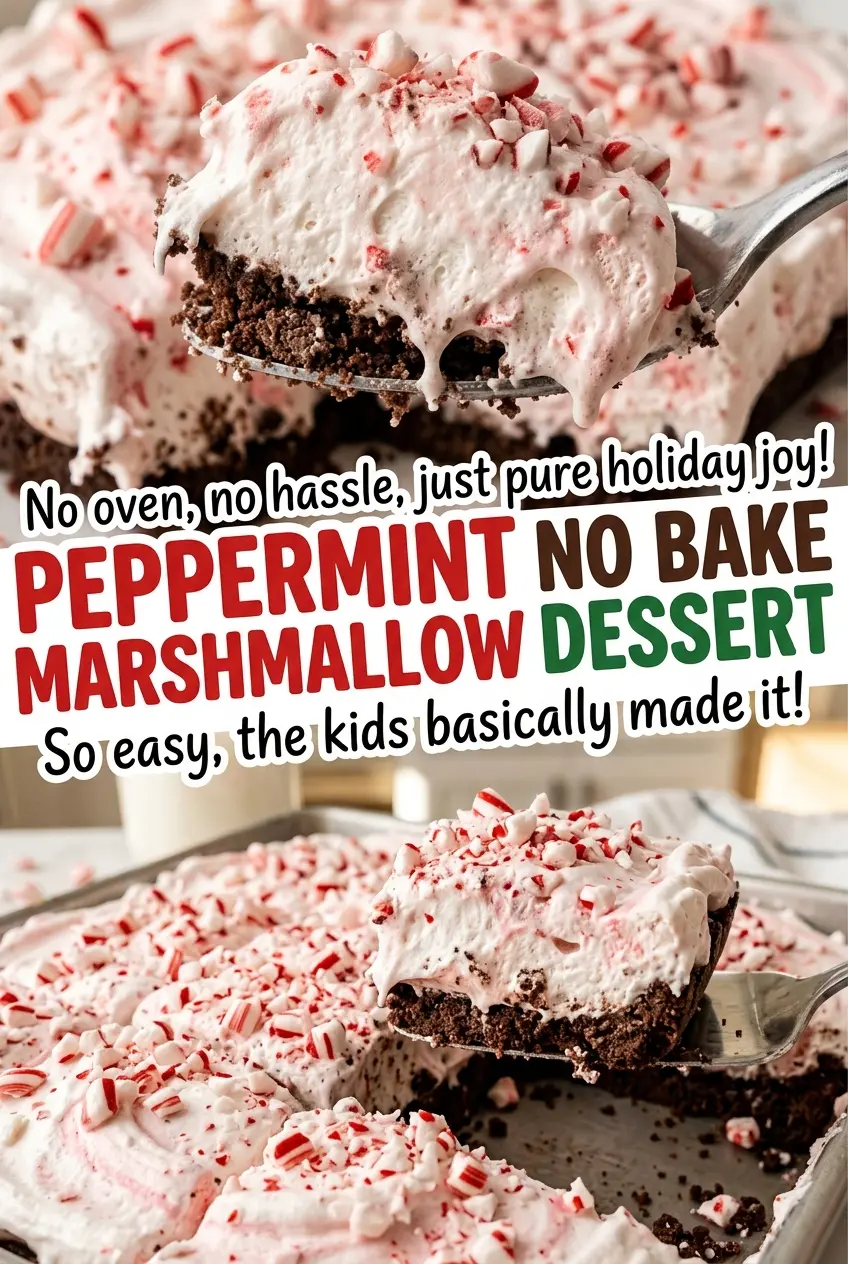
The cookie crumbs should look evenly damp before they go into the pan, not dry and dusty or slick with butter. I press them into the dish firmly, then give the crust time to chill on its own; that short pause makes a big difference when the filling goes on. This peppermint marshmallow no bake dessert has a chocolate cookie base and a soft, minty cream cheese layer that cuts into neat portions once it’s cold.
The filling gets its lift from heavy cream whipped separately and folded into the cream cheese mixture in three additions. That keeps the texture light without losing the creamy body from the marshmallow creme. I fold gently and stop when the white streaks disappear, rather than stirring until the mixture looks dense.
Crushed candy canes bring a crisp peppermint finish against the smooth filling and chocolate crust. Keep the dessert chilled until serving, and each forkful has a little crunch, a cool mint note, and plenty of chocolate.
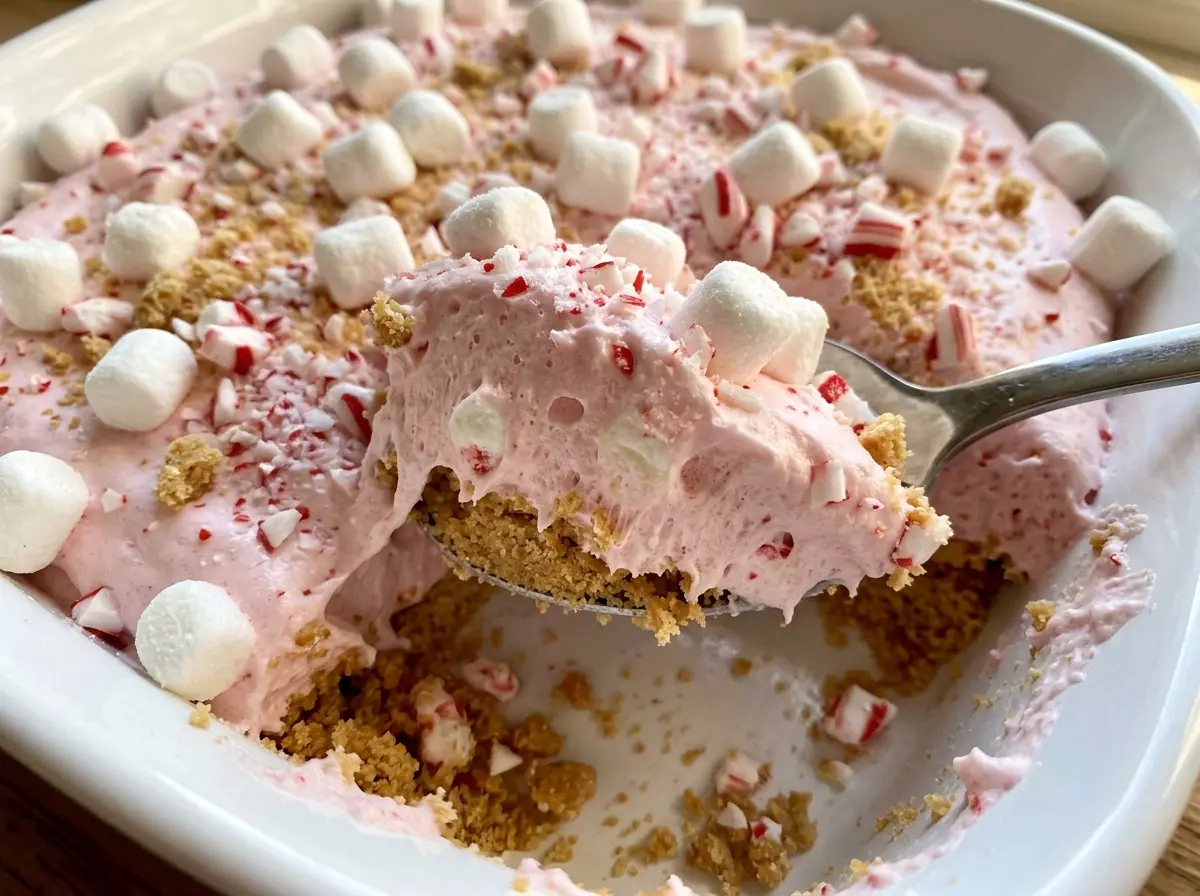
Kitchen Note
Peppermint extract is concentrated, so measure it rather than pouring by eye. I blend it into the cream cheese and marshmallow creme before the whipped cream goes in, which gives the mint an even flavor throughout the filling.
Save this peppermint marshmallow dessert for a no-bake treat with a chocolate cookie crust, airy mint filling, and candy cane crunch.
Why the Cookie Crust Needs Its Own Chill Before the Filling
A no-bake cookie crust relies on melted butter to hold the crumbs together. As the dish chills, that butter firms up and helps the base stay in place when you spread the filling over it. If the crumbs are still loose, the filling can pull them up as you smooth the top, leaving chocolate flecks scattered through the pale layer instead of a distinct crust.
That separate chill also protects the contrast that makes each serving work: a compact, chocolatey base under a soft, airy filling. Press the crumbs firmly enough to make an even layer, but don’t keep packing them down after they’re already holding together. The goal is a cohesive crust that slices cleanly, not a hard slab that fights the fork. Once it has firmed, the filling spreads over it without disturbing the crumb layer.
What Gives This Peppermint Filling Its Airy, Sliceable Texture
- Chocolate sandwich cookies and butter — The cookies supply both chocolate flavor and the crumb for the base; their filling stays in the mix when you crush them. A store-brand chocolate sandwich cookie works just as well as a name brand. Melted unsalted butter coats the crumbs and binds them as they chill.
- Cream cheese and marshmallow creme — Cream cheese gives the filling its tang and body, while marshmallow creme makes it sweet and smooth. Softened regular cream cheese beats more easily than a cold package; whipped or spreadable cream cheese can make the filling looser. Marshmallows aren’t a direct substitute for marshmallow creme because they need a different method to melt and blend.
- Heavy cream — Cold heavy cream whips to stiff peaks and gives the filling its lighter texture. Half-and-half and milk don’t whip into the same structure, so they won’t replace it reliably here. Keep the cream cold until you’re ready to beat it.
- Peppermint extract — This is what gives the filling its clear mint flavor. Extract varies by brand, so stick to the measured amount rather than adjusting by taste after the filling is assembled.
- Crushed candy canes — They add a crisp, sweet finish and make the peppermint flavor more pronounced. Finely crushed pieces scatter more evenly than large shards, and there’s no need to buy a premium brand for the topping.
Building a Firm Cookie Base and a Light Peppermint Filling
Moisten and chill the cookie crumbs
Stir the finely crushed chocolate sandwich cookies with the melted butter until the crumbs look evenly moistened. Press the mixture firmly over the bottom of a 9×13-inch baking dish, paying attention to the corners so the base stays an even thickness. Refrigerate it for 20 minutes before adding the filling. If dry crumbs are still visible, keep stirring until the butter is distributed instead of pressing an uneven mixture into the dish.
Beat the cream cheese base until smooth
Beat the softened cream cheese in a large bowl until no lumps remain. Add the marshmallow creme and peppermint extract, then beat until the mixture looks uniform from edge to edge. Starting with softened cream cheese helps prevent small lumps that are hard to smooth out later. Scrape the sides of the bowl as needed so no plain cream cheese is left behind.
Whip and fold without deflating
In a separate bowl, beat the cold heavy cream to stiff peaks; when you lift the beaters, the peaks should stand rather than droop. Add the whipped cream to the cream cheese mixture in three additions, folding gently after each one. Stop once no white streaks remain. Vigorous stirring can knock out the air you’ve just whipped in, leaving a heavier filling.
Chill the layers, then finish with candy cane
Spread the filling evenly over the chilled crust, cover the dish, and refrigerate it for at least 6 hours and up to 24 hours. The center should feel set enough to portion rather than loose when you cut into it. Sprinkle the crushed candy canes over the top just before serving, then cut the dessert into 12 portions. Adding the topping at the end keeps its crisp texture.
Two Easy Ways to Adjust the Mint and Cookie Layers
Make the dessert gluten-free
Replace the chocolate sandwich cookies with a gluten-free chocolate sandwich cookie. Choose cookies close in size to the ones used here and use the same count; the finished crust may vary a little by brand, but the cookie-and-butter base keeps the same chocolate crunch.
Leave out the peppermint
Omit the peppermint extract for a cream cheese and marshmallow filling without the mint. The chocolate crust still gives every bite plenty of flavor, and the candy cane topping can also be left off if you want the whole dessert free of peppermint.
Storage and Reheating
- Refrigerator: Cover leftovers and refrigerate for up to 3 days. The cookie crust softens gradually, and any candy cane topping will lose some crunch.
- Freezer: Freeze portions without the candy cane topping in an airtight container for up to 1 month. Thaw overnight in the refrigerator; the filling may be a little less airy afterward.
- Reheating: This dessert is served cold, so don’t microwave it. Heat softens the filling and can make it lose its shape.
Questions That Come Up Before You Chill and Serve It
Peppermint Marshmallow No Bake Dessert
Ingredients
Equipment
Method
- Stir the crushed cookies and melted butter together in a bowl until evenly moistened.
- Press the mixture firmly into the bottom of a 9x13-inch baking dish.
- Refrigerate the crust for 20 minutes.
- Beat the cream cheese in a large bowl until smooth.
- Beat in the marshmallow creme and peppermint extract until fully combined.
- In a separate bowl, beat the heavy cream to stiff peaks.
- Gently fold the whipped cream into the cream cheese mixture in 3 additions until no white streaks remain.
- Spread the filling evenly over the chilled crust.
- Cover and refrigerate for at least 6 hours and up to 24 hours.
- Sprinkle with the crushed candy canes just before serving.
- Cut into 12 portions.


