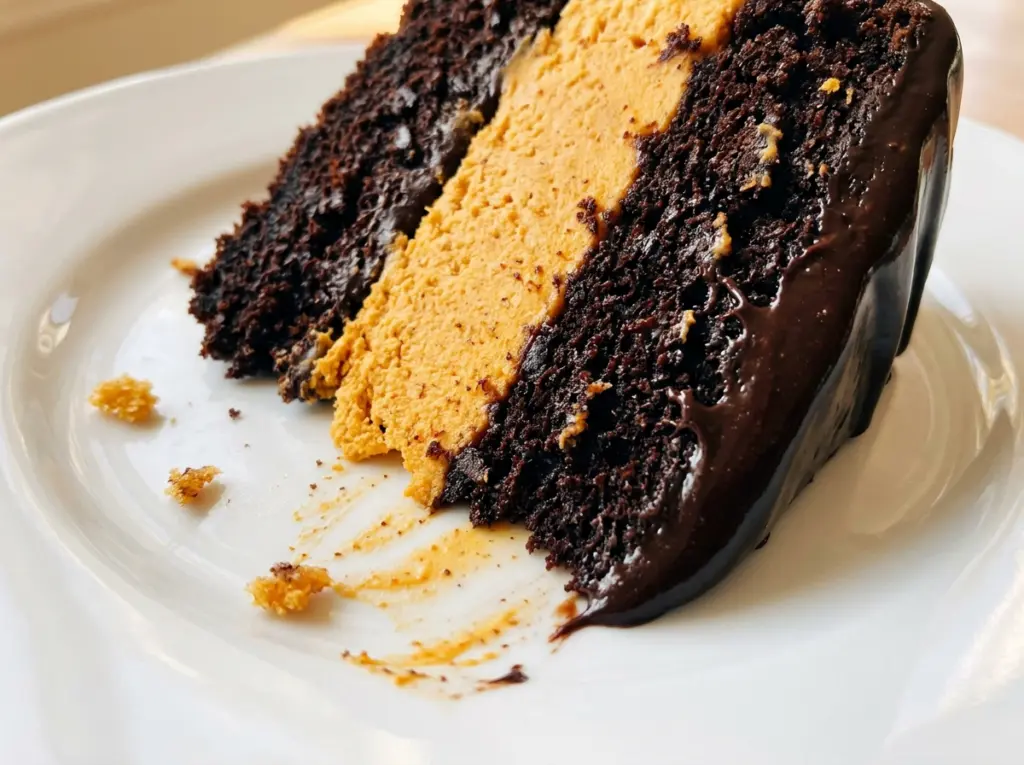
The cake batter looks surprisingly thin when the boiling water goes in, but that’s exactly what gives this chocolate layer its soft, tender crumb. I watch the baking time closely: a toothpick should come out with a few moist crumbs, not completely clean. That little window keeps the base from turning dry beneath the pumpkin mousse.
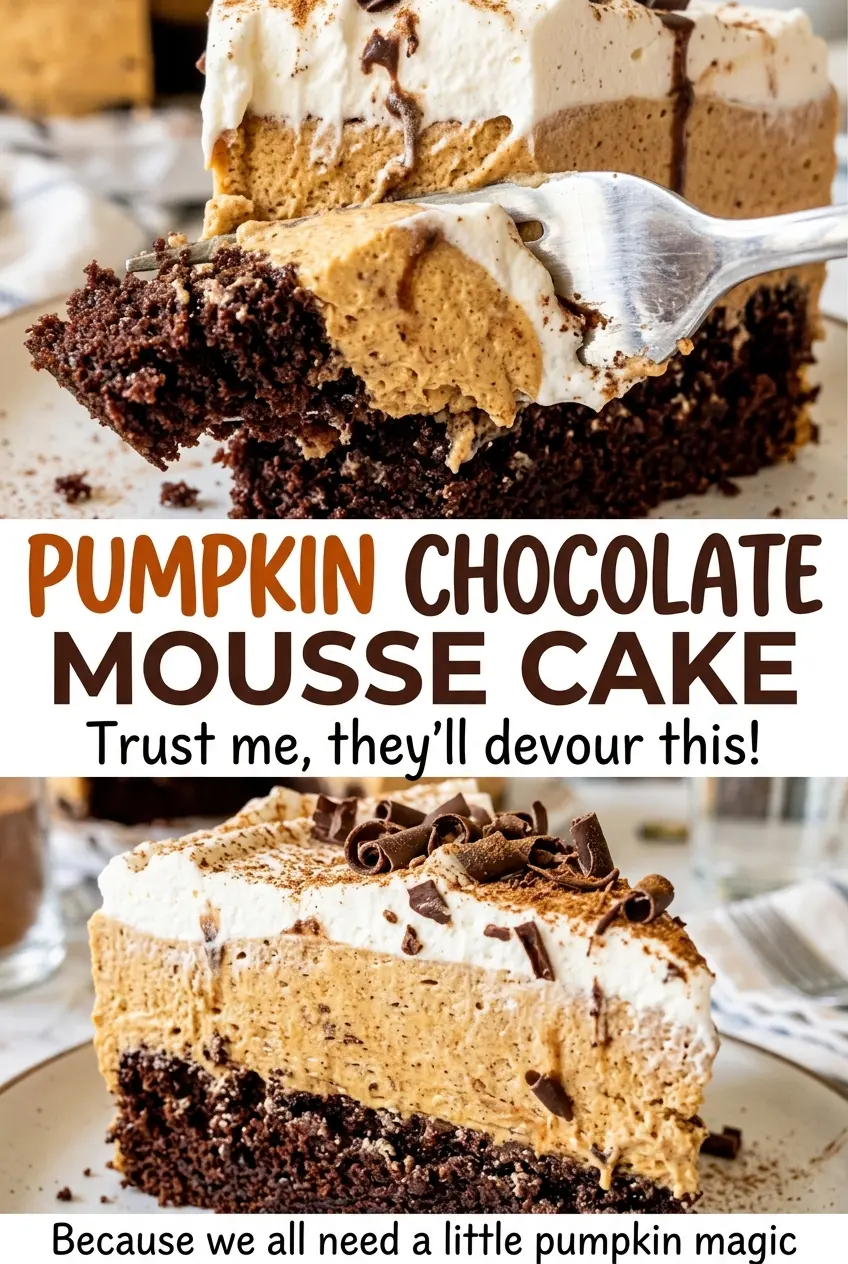
For this Pumpkin Chocolate Mousse Cake, the mousse gets its structure from bloomed gelatin, while whipped cream keeps it light instead of dense. Bringing the gelatin to a liquid state and blending in a little pumpkin mixture before adding it to the bowl helps it distribute smoothly. After a long chill, the pumpkin layer cuts cleanly against the chocolate cake, with warm spices and maple tying the two together.
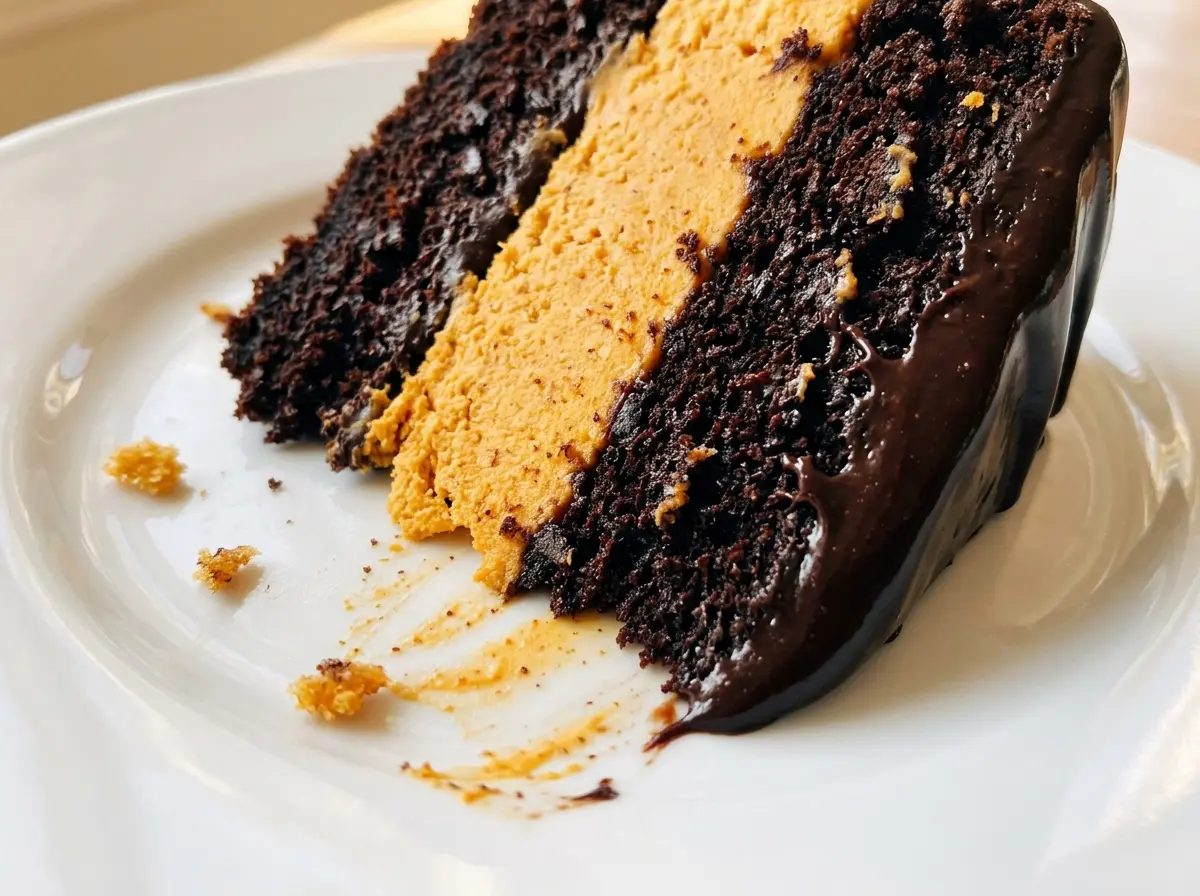
Kitchen Note
Don’t pour warm gelatin straight into the full pumpkin mixture. Whisk a little pumpkin mixture into it first, then drizzle it in while beating so the gelatin blends in rather than setting up in little strands.
Save this Pumpkin Chocolate Mousse Cake for a dessert with a soft chocolate base and a chilled, maple-sweetened pumpkin mousse.
Why This Chocolate Cake Layer Needs to Look a Little Underdone
A mousse cake depends on contrast: a base sturdy enough to support the topping, but tender enough to cut without crumbling. This chocolate cake is deliberately thin in the 9-inch pan, so a few extra minutes in the oven can dry it out quickly. The toothpick cue matters more than waiting for a perfectly clean pick. A few moist crumbs mean the cake is baked while still holding on to a little softness.
The batter may look looser than a typical cake batter after the boiling water is stirred in. Don’t add extra flour to thicken it; that would change the texture of the base. Once baked, let the cake cool completely in the pan before adding the mousse. A warm base can soften the cream mixture before it has a chance to set, and a fully cooled cake gives you a more distinct chocolate-and-pumpkin slice.
That gentle chocolate layer also keeps the pumpkin from feeling heavy. The cocoa brings enough bitterness to balance the maple syrup, while the mousse stays the main event. The result should slice as two clear layers, not crumble into a warm cake-and-cream pile.
What Gives the Chocolate Base and Pumpkin Mousse Their Different Textures
- Unsweetened cocoa powder — It gives the base its chocolate flavor without adding extra sweetness. Use unsweetened cocoa rather than a sweetened drink mix, which would alter the balance of the cake.
- Buttermilk — Its acidity works with the baking soda and contributes to a soft crumb. There isn’t a direct substitute in the listed ingredients, so use buttermilk for the texture this cake is built around.
- Boiling water — It loosens the cocoa batter and helps the finished layer stay tender. The batter is meant to be thin; don’t compensate by adding flour.
- Pumpkin puree — Use plain pumpkin puree, not pumpkin pie filling, which already contains sweeteners and spices. Bringing the puree to room temperature also helps it blend evenly with the softened cream cheese.
- Pure maple syrup — Maple brings sweetness and a distinct flavor to the mousse. Pancake syrup isn’t the same ingredient, so stick with pure maple syrup for the intended result.
- Unflavored gelatin — Gelatin helps the pumpkin layer hold its shape after chilling. Flavored gelatin would add sweetness and a competing flavor, and leaving gelatin out means the mousse won’t set into the same sliceable layer.
- Cream cheese and heavy cream — Cream cheese gives the pumpkin mixture body; cold heavy cream whips to medium peaks and lightens it. Use softened cream cheese so it beats smooth, and keep the heavy cream cold for whipping.
- Cinnamon, ginger, and nutmeg — Together, these ground spices give the pumpkin its familiar warm character. Freshness matters more than choosing an expensive brand; old spices can taste muted.
Build the Mousse Cake in Four Calm Stages
Prepare the Pan and Mix the Cake
Heat the oven to 350°F, grease the bottom and sides of a 9-inch springform pan, and line the bottom with parchment paper. Whisk the flour, sugar, cocoa, baking soda, and salt in one bowl. In another, whisk the room-temperature egg with the buttermilk, oil, and vanilla, then stir that mixture into the dry ingredients just until combined. Stop mixing once no dry streaks remain; working the batter hard can make the cake tougher.
Thin the Batter and Bake Until Moist Crumbs
Stir in the boiling water until the batter is smooth; it will be thin. Pour it into the prepared pan and bake for 16 to 20 minutes. Start checking at the early end of that range, inserting a toothpick in the center. Pull the cake when a few moist crumbs cling to it, then cool it completely in the pan on a wire rack.
Bloom the Gelatin and Smooth the Pumpkin
Sprinkle the gelatin over the cold water in a small microwave-safe bowl and let it stand for 5 minutes. Meanwhile, beat the softened cream cheese until smooth, then beat in the room-temperature pumpkin puree, maple syrup, cinnamon, ginger, and nutmeg. Microwave the bloomed gelatin in 5- to 10-second bursts, stirring between intervals, until it’s fully liquid. Whisk in 2 tablespoons of the pumpkin mixture before drizzling the gelatin into the rest while beating.
Fold, Chill, and Release the Ring
In a separate bowl, beat the cold heavy cream to medium peaks. Fold it gently into the pumpkin mixture in two additions, stopping when no streaks remain rather than stirring vigorously. Spread the mousse evenly over the completely cooled cake, cover the pan, and refrigerate for at least 6 hours, until set. Run a thin knife around the inside edge before releasing the springform ring, then serve the cake chilled.
Two Flavor and Flour Tweaks That Keep the Cake’s Character
Use a Cup-for-Cup Gluten-Free Flour Blend
For a gluten-free version, replace the all-purpose flour with the same volume of a cup-for-cup gluten-free baking blend intended to replace wheat flour. The cake crumb may be a little more delicate, so cool it completely in the pan before spreading on the mousse and releasing the ring.
Make the Mousse Cinnamon-Forward
For a simpler, cinnamon-led pumpkin layer, leave out the ginger and nutmeg and keep the cinnamon. The pumpkin and maple come through more clearly, and the mousse still sets the same way because the spice adjustment doesn’t change its structure.
Storage and Reheating
- Refrigerator: Keep the cake covered and refrigerated for up to 3 days. The cake layer may firm up a little as it chills, while the mousse stays sliceable.
- Freezer: I don’t recommend freezing the assembled cake; thawing can leave the gelatin-set mousse watery or grainy.
- Reheating: No reheating needed; serve it chilled. Warming the cake can soften the mousse and make the layers slump.
Questions That Come Up Before the First Slice
Pumpkin Chocolate Mousse Cake
Ingredients
Equipment
Method
- Heat the oven to 350°F.
- Grease the bottom and sides of a 9-inch springform pan, then line the bottom with parchment paper.
- Whisk the flour, sugar, cocoa powder, baking soda, and salt in a medium bowl.
- Whisk the egg, buttermilk, vegetable oil, and vanilla in a separate bowl.
- Stir the wet ingredients into the dry ingredients until just combined.
- Stir in the boiling water until the batter is smooth; it will be thin.
- Pour the batter into the prepared pan.
- Bake for 16 to 20 minutes, until a toothpick inserted in the center comes out with a few moist crumbs.
- Cool the cake completely in the pan on a wire rack.
- Sprinkle the gelatin over the cold water in a small microwave-safe bowl and let it stand for 5 minutes.
- Beat the cream cheese in a large bowl until smooth.
- Beat in the pumpkin, maple syrup, cinnamon, ginger, and nutmeg.
- Microwave the bloomed gelatin for 5 to 10 seconds at a time, stirring between intervals, until fully liquid.
- Whisk 2 tablespoons of the pumpkin mixture into the liquid gelatin.
- Drizzle the gelatin mixture into the remaining pumpkin mixture while beating.
- Beat the heavy cream in a separate bowl to medium peaks.
- Gently fold the whipped cream into the pumpkin mixture in two additions.
- Spread the mousse evenly over the cooled cake.
- Cover the pan and refrigerate for at least 6 hours, until set.
- Run a thin knife around the inside edge of the pan.
- Release the springform ring and serve the cake chilled.


