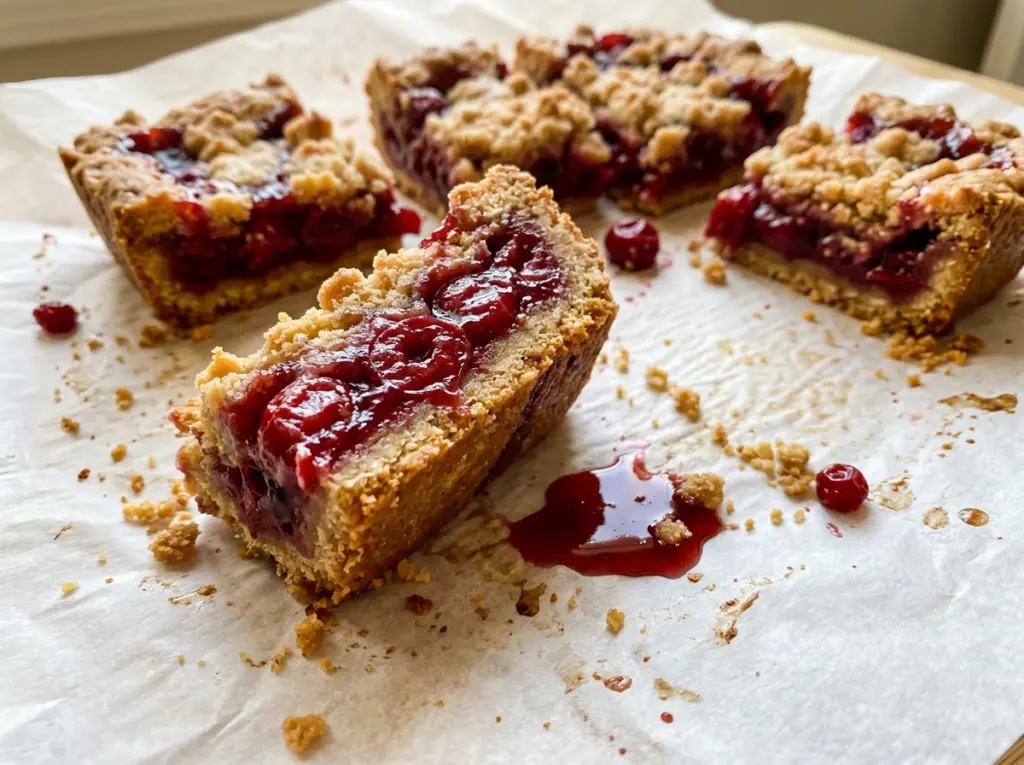
When the cherries thaw in the saucepan, they release more juice than you might expect. The first time I made these bars, that ruby-colored liquid looked thin enough to soak the crust, but a smooth cornstarch slurry turned it into a glossy filling that stayed in place once the bars cooled. That’s the balance I want in Ruby Red Cherry Bars: a tender shortbread base, a generous layer of cherries, and buttery crumbs on top.
The crust and topping come from one soft dough, which keeps the prep simple without making the top feel like a second crust. I press most of it into the pan, then keep the remaining dough chilled so I can scatter it over the filling in loose pieces. With dark sweet cherries and a little almond extract, each square has a bright, fragrant center under a golden crumble.
Kitchen Note
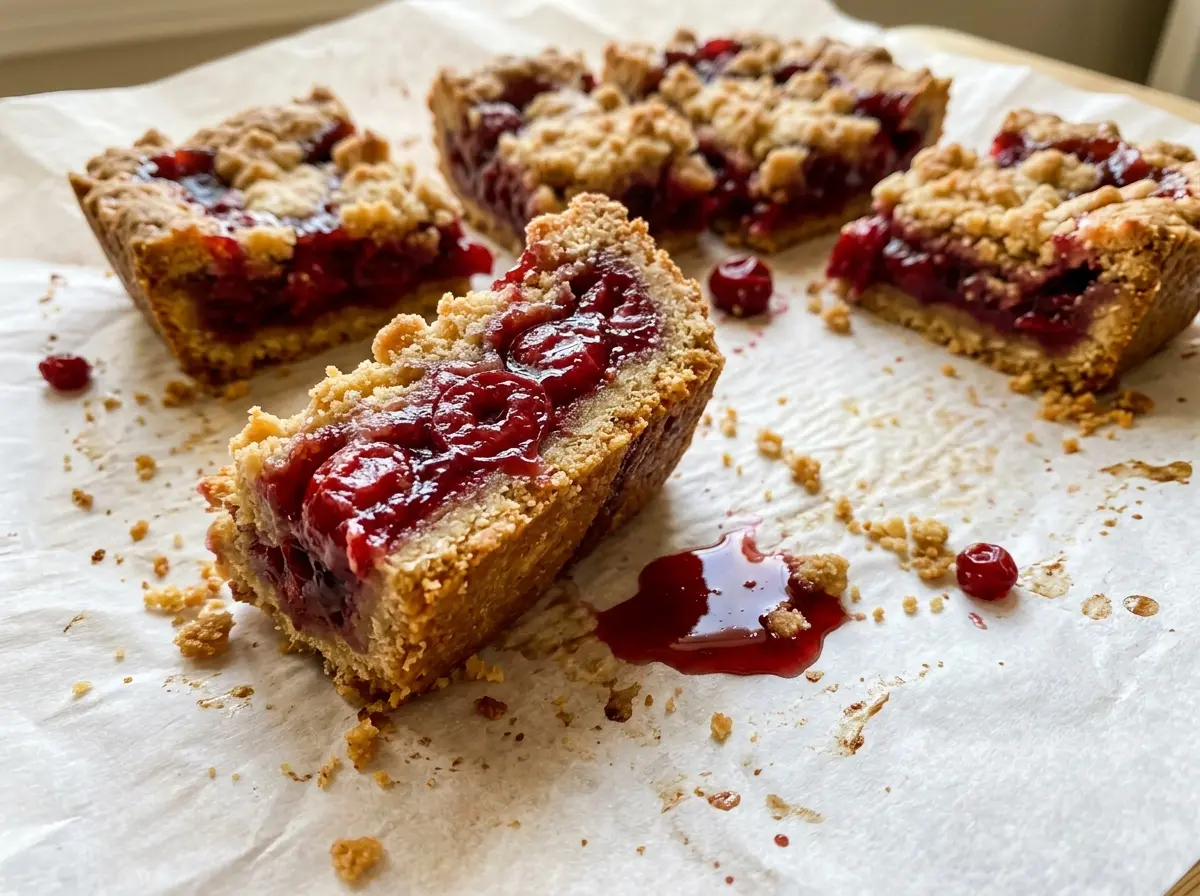
Give these bars the full cooling time before you lift them from the pan. The cherry layer needs those hours to settle, and cutting early can leave you with soft, messy edges.
Save these Ruby Red Cherry Bars for a bake-ahead treat with a crisp shortbread base and a thick, glossy cherry center.
Why Frozen Cherries Need a Starch Slurry, Not a Sprinkle
Frozen cherries release their juices as they thaw, and that liquid is what gives the filling its deep color and fruit-forward taste. It also means the filling starts out loose. Cornstarch thickens the juice, but it needs to be mixed with water first; scattered directly into the saucepan, it can form stubborn little lumps before it has a chance to disperse.
Whisking the cornstarch and water together makes a smooth slurry that blends evenly through the fruit. Once it cooks, the filling turns glossy and thick rather than watery. That matters here because the cherries sit on a warm shortbread crust, not in a deep pie shell that can hold a loose filling. You want the fruit to spread easily over the base, then stay distinct between the crust and crumb topping after baking. Lemon juice keeps the sweet cherries from tasting flat, while almond extract gives the filling a gentle cherry-almond note without taking over.
What the Cherries, Cornstarch, and Almond Extract Each Bring
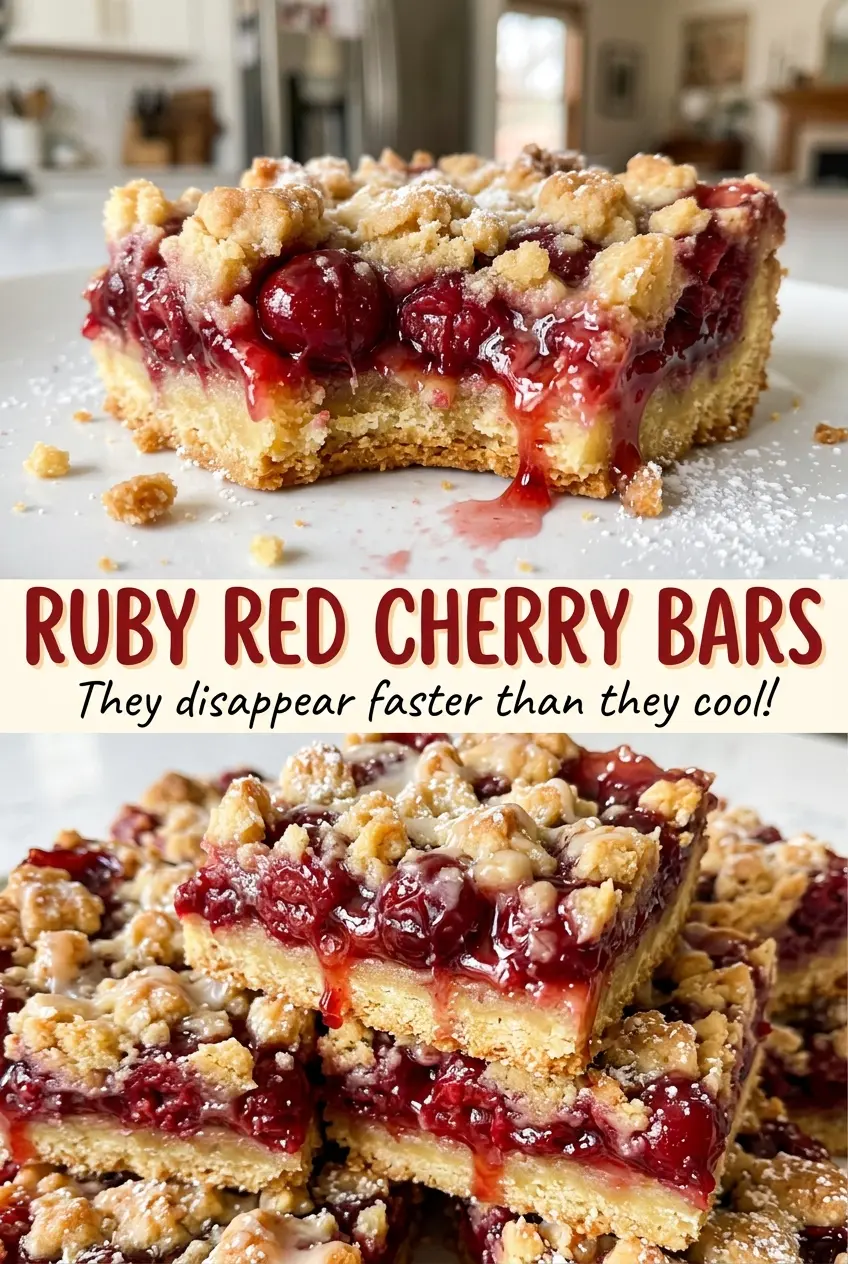
- Frozen dark sweet cherries — Pitted fruit keeps prep straightforward, and frozen cherries give you their juices as they thaw in the pan. Choose plain frozen cherries rather than fruit packed in syrup, since syrup would change the sweetness and liquid balance. You don’t need premium fruit here; intact, unsweetened cherries are the useful part.
- Butter and powdered sugar — Softened unsalted butter makes a dough that blends smoothly and presses into the pan without a rolling pin. Powdered sugar gives the shortbread a fine, tender texture; granulated sugar won’t make the same delicate base. Standard stick butter works well, while spreadable tub butter is too soft for this dough.
- All-purpose flour — It gives the crust enough structure to support the fruit while still crumbling tenderly on top. Measure it without packing it into the cup; too much flour can leave the dough dry and difficult to press evenly.
- Cornstarch — This is what sets the cherry juices into a sliceable layer. Keep it in the filling rather than trying to rely on extra baking time to cook off the liquid; prolonged baking can overbrown the topping before the fruit thickens properly.
- Lemon juice and almond extract — Lemon juice sharpens the sweetness, and almond extract brings out the cherry aroma. The extract is potent, so a small amount is plenty. The bars still set without it, though the cherry flavor won’t have the same almond accent.
Building the Bars Without a Soggy Base
Mix a soft dough and divide it before baking
Heat the oven to 350°F, line a 9×13-inch pan with parchment with overhang on two sides, and lightly grease the parchment. Beat the softened butter and powdered sugar until smooth, then mix in the flour and salt until a soft dough forms. Press about two-thirds evenly into the pan; keep the remaining dough in small loose crumbles and refrigerate it while the crust bakes. If the base is thicker in the middle than at the edges, the crust will bake unevenly, so take a moment to level it.
Bake the crust until the edges just turn golden
Bake the crust for 18–20 minutes, until it looks set and the edges are just beginning to turn golden. The middle won’t be deeply browned at this point, and it doesn’t need to be. Pulling it when the edge color is still light leaves room for the crust to bake again under the filling without becoming too dark. Set the pan aside while you cook the cherries.
Thicken the cherry juices before they meet the crust
Put the frozen cherries and granulated sugar in a medium saucepan over medium heat, stirring occasionally for 8–10 minutes as the cherries thaw and release their juices. Whisk the water and cornstarch until no dry pockets remain, then stir the slurry into the fruit. Cook for 1–2 minutes, stirring, until the liquid turns thick and glossy; if you still see a thin, watery pool, keep stirring through the cooking time until the mixture thickens. Take the pan off the heat and stir in the lemon juice and almond extract.
Top the warm crust and bake until the fruit bubbles
Spread the cherry filling over the warm crust, then scatter the chilled dough crumbs across the top without pressing them into a solid layer. Bake for 30–35 minutes, until the topping is golden and the filling bubbles at the edges. Let the pan cool completely, about 3 hours, before using the parchment overhang to lift out the slab. Cut it into 24 pieces with a sharp knife.
Three Simple Ways to Adapt the Cherry Bars
Use vanilla instead of almond
Swap the almond extract for the same amount of vanilla extract. The cherry filling keeps its bright fruit flavor, with a softer, more familiar aroma and no almond note.
Make the bars gluten-free
Replace the all-purpose flour with an equal amount of a measure-for-measure gluten-free baking flour that includes a binder. The crust may be a little more delicate, so press it evenly and let the bars cool fully before lifting them out.
Make a dairy-free shortbread
Use stick-style dairy-free baking butter in place of the unsalted butter. Choose a firm baking stick, not a soft tub spread; the crust and crumbs need a fat that holds its shape as the dough bakes.
Storage and Reheating
- Refrigerator: Store the cooled bars in an airtight container for up to 4 days. The shortbread softens slightly as it sits beside the fruit.
- Freezer: Freeze cut bars in a single layer until firm, then wrap them well and place them in an airtight container for up to 2 months. Thaw in the refrigerator.
- Reheating: These bars don’t need reheating. Let a chilled bar sit briefly before serving; microwaving can soften the shortbread and make the filling runny.
Questions That Come Up When Baking Cherry Bars
Ruby Red Cherry Bars
Ingredients
Equipment
Method
- Heat the oven to 350°F.
- Line a 9x13-inch baking pan with parchment paper, leaving overhang on two sides, and lightly grease the parchment.
- Beat the softened unsalted butter and powdered sugar until smooth.
- Mix in the all-purpose flour and salt until a soft dough forms.
- Press about two-thirds of the dough evenly into the prepared pan.
- Crumble the remaining dough into small pieces and refrigerate it while the crust bakes.
- Bake the crust for 18–20 minutes, until set and just beginning to turn golden at the edges.
- Combine the frozen pitted dark sweet cherries and granulated sugar in a medium saucepan over medium heat.
- Stir occasionally for 8–10 minutes, until the cherries thaw and release their juices.
- Whisk the water and cornstarch together until smooth.
- Stir the cornstarch mixture into the cherries and cook for 1–2 minutes, stirring, until thick and glossy.
- Remove the filling from the heat and stir in the lemon juice and almond extract.
- Spread the cherry filling over the warm crust.
- Scatter the reserved dough crumbs over the top.
- Bake for 30–35 minutes, until the topping is golden and the filling bubbles at the edges.
- Cool completely in the pan, about 3 hours.
- Use the parchment overhang to lift out the bars and cut into 24 pieces.


