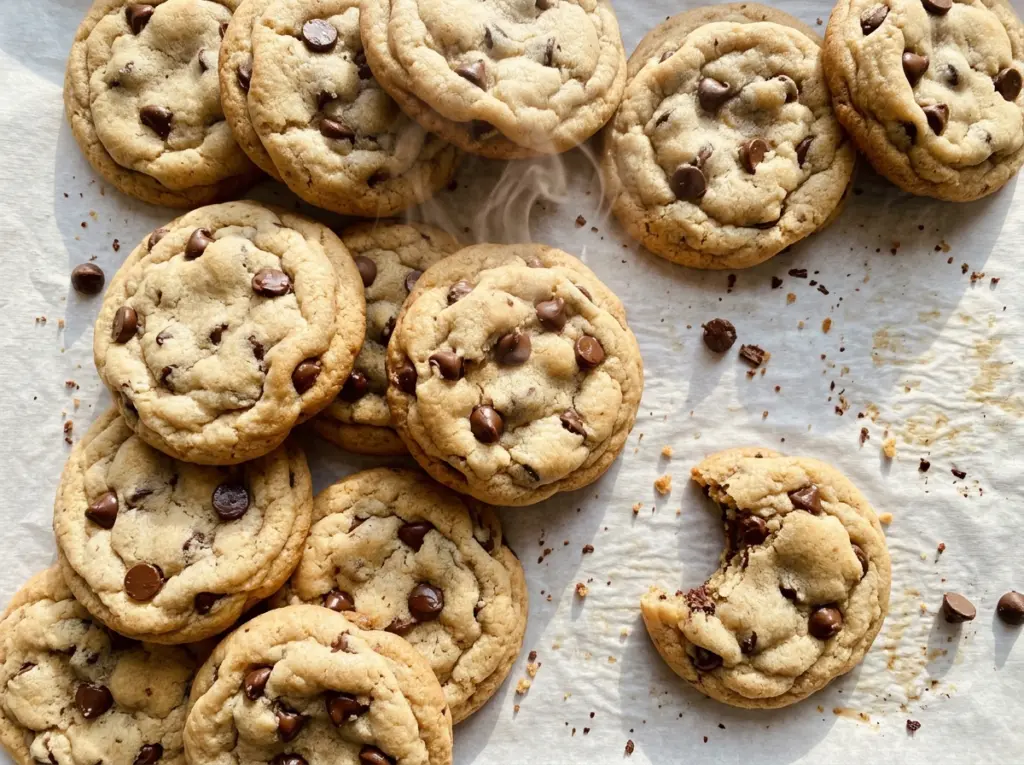
The edges turn pale gold before the centers look ready, and waiting for the middle to look fully baked is how soft cookies turn crisp. I pull these soft chocolate chip cookies while the centers still look a little underdone; they finish setting on the hot baking sheet without losing that tender middle. It’s a small timing difference, but it changes the bite.
The dough gets a short rest in the refrigerator before it goes into the oven. That makes it easier to portion neatly, and the cookies bake up with a soft center and lightly golden edges. I use a two-tablespoon scoop so the portions are consistent, then bake one sheet at a time. The result is a familiar chocolate chip cookie with a soft middle, a delicate edge, and semisweet chocolate in every bite.
Kitchen Note
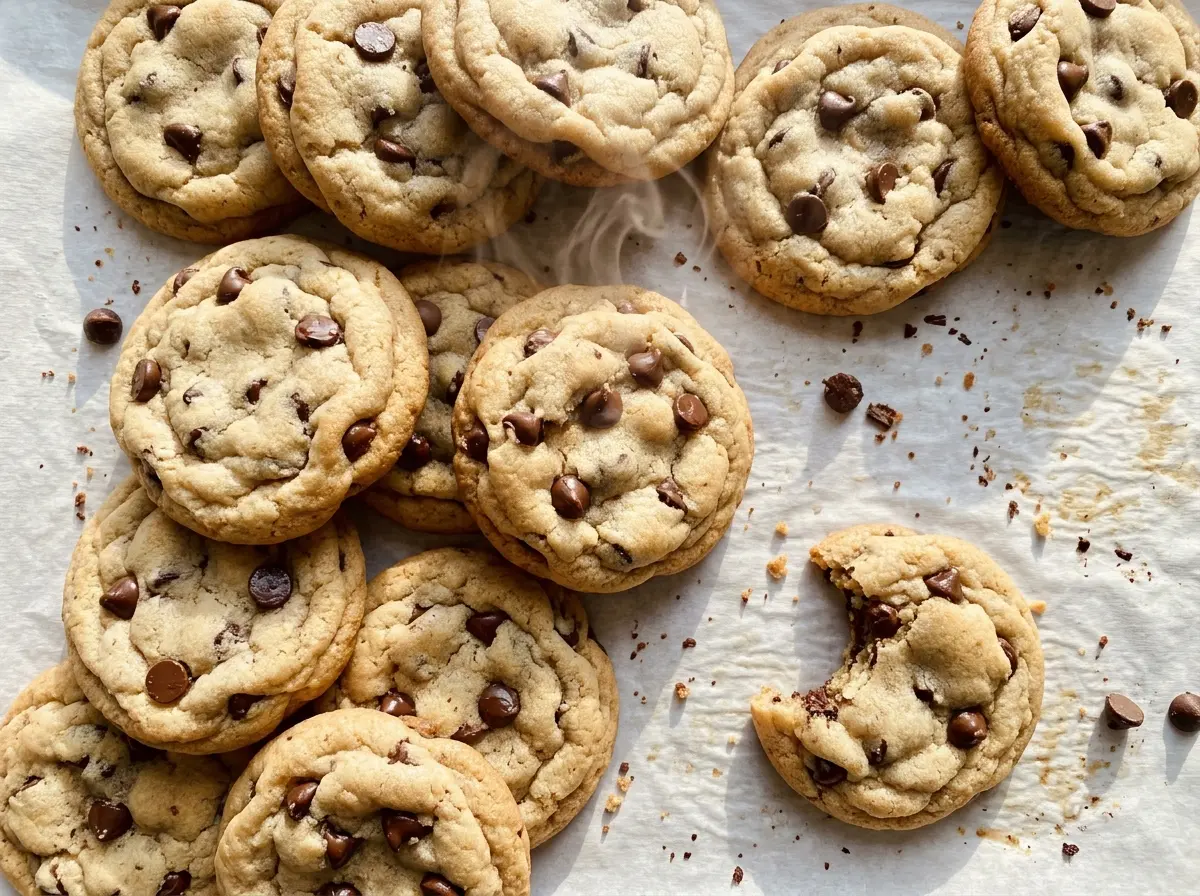
Cover the bowl while the dough chills for 30 minutes. The rest firms the dough enough to make tidy portions, and keeping it covered prevents the surface from drying out.
Save these soft chocolate chip cookies for a batch with tender centers, lightly golden edges, and chocolate in every bite.
Why These Cookies Come Out Soft Without Looking Fully Baked
Cookies keep cooking for a few minutes after they leave the oven. The hot baking sheet holds enough heat to set the centers, so waiting until the middle looks firm can push them past soft and into dry or crisp. Look at the edges first: they should be set and lightly golden. The centers should still look slightly underbaked when you take the pan out.
That cue matters more than chasing a perfectly even color across the whole cookie. A pale middle isn’t a sign that the batch needs extra time; it’s part of how these stay tender after cooling. The timing in this recipe is a range because ovens vary, so start checking at the earlier end. If the edges are still shiny and loose, give them another minute and check again. Once the edges have set, take the sheet out rather than waiting for the centers to look dry.
What the Brown Sugar, Butter, and Flour Each Bring to the Dough

- All-purpose flour — It gives the cookies enough structure to hold their shape while keeping the centers tender. Ordinary all-purpose flour works well; a specialty high-protein flour isn’t needed. Spoon flour into the measuring cup and level it rather than packing it down, since too much flour can make the dough stiff and the cookies dry.
- Unsalted butter — Softened butter creams smoothly with the sugars and helps build the dough’s texture. It should give when pressed but still hold its shape; melted or greasy butter won’t cream the same way. Unsalted butter also lets the measured salt stay in balance.
- Brown and granulated sugars — Packed light brown sugar brings moisture and a deeper, molasses-like note, while granulated sugar helps the edges bake up lightly golden. Dark brown sugar can replace light brown sugar measure for measure for a stronger molasses flavor, though the finished cookies will taste a little less delicate.
- Large eggs and vanilla — Eggs bind the dough and contribute to its soft texture, so use large eggs for the intended balance. Vanilla rounds out the butter and chocolate; a standard vanilla extract is all you need here.
- Semisweet chocolate chips — Their sweetness sits comfortably against the brown sugar, and chips keep distinct pockets of chocolate throughout the cookies. A familiar grocery-store brand works just fine; choose one you like eating on its own.
- Baking soda — It helps the cookies spread and brown. If the container has been open for a long time, check that it’s still fresh before baking; weak leavening can leave cookies flatter and denser.
Mixing and Baking the Dough for Soft Centers
Whisk the dry ingredients evenly
Whisk the flour, baking soda, and salt together in a medium bowl until the soda is dispersed throughout. This keeps the leavening from sitting in one spot and gives the dough an even rise. Set the bowl aside while you cream the butter and sugars. Don’t add the dry mixture before the butter mixture is ready.
Cream the butter and sugars, then add the eggs
Beat the softened butter with both sugars on medium speed for about 2 minutes, until the mixture looks creamy. Scrape down the bowl if butter or sugar is clinging to the sides, so it gets incorporated. Beat in the eggs one at a time, then add the vanilla and mix until combined. If the mixture looks a little uneven after an egg goes in, keep mixing until it comes together before adding the next one.
Fold in the flour and chill the dough
Add the flour mixture and mix on low speed only until no dry flour remains. Stop as soon as it comes together; mixing longer can make the cookies tougher. Fold in the chocolate chips, cover the bowl, and refrigerate the dough for 30 minutes. The dough should be cool and easier to portion after its rest.
Portion, bake, and cool
Heat the oven to 350°F and line two 18×13-inch rimmed baking sheets with parchment paper. Scoop the dough into 2-tablespoon portions, arranging 18 on each sheet with at least 2 inches between them. Bake one sheet at a time for 9 to 11 minutes, until the edges are set and lightly golden while the centers still look slightly underbaked. Cool the cookies on the sheet for 5 minutes, then move them to a wire rack to finish cooling.
Three Simple Swaps That Change These Cookies
Use a measure-for-measure gluten-free flour
Replace the all-purpose flour with an equal amount of a gluten-free baking blend designed for a one-to-one swap. The cookies may have a slightly different crumb, but the blend gives the dough structure without requiring a new method.
Make the batch dairy-free
Use dairy-free baking sticks in place of the butter and dairy-free semisweet chocolate chips in place of the regular chips. Choose sticks made for baking rather than a soft tub spread; the cookies may spread a little differently, but the dough can be mixed and baked the same way.
Give the dough a deeper molasses note
Swap dark brown sugar for the light brown sugar in an equal amount. The cookies will have a more pronounced molasses flavor and a slightly darker color, while keeping the same soft-cookie format.
Storage and Reheating
- Room temperature: Keep fully cooled cookies in an airtight container for up to 4 days. They’ll stay soft, though the edges gradually lose some of their fresh-baked texture.
- Freezer: Freeze cooled cookies in a single layer until firm, then transfer them to a freezer-safe container or bag for up to 2 months. Thaw at room temperature before serving.
- Reheating: Warm a cookie briefly in the microwave if you want the chocolate soft again. Use short bursts and stop as soon as it’s warm; too much heat can dry out the cookie.
Questions That Come Up While Baking These Cookies
Soft Chocolate Chip Cookies
Ingredients
Equipment
Method
- Preheat the oven to 350°F.
- Line two 18x13-inch rimmed baking sheets with parchment paper.
- Whisk the flour, baking soda, and salt together in a medium bowl.
- Beat the butter, brown sugar, and granulated sugar in a large bowl with an electric mixer on medium speed for about 2 minutes, until creamy.
- Beat in the eggs one at a time.
- Beat in the vanilla extract until combined.
- Add the flour mixture and mix on low speed just until no dry flour remains.
- Fold in the chocolate chips.
- Cover the bowl and refrigerate the dough for 30 minutes.
- Scoop the dough into 2-tablespoon portions.
- Arrange 18 portions on each prepared baking sheet, spacing them at least 2 inches apart.
- Bake one sheet at a time for 9 to 11 minutes, until the edges are set and lightly golden while the centers still look slightly underbaked.
- Let the cookies cool on the baking sheet for 5 minutes.
- Transfer the cookies to a wire rack to cool.


