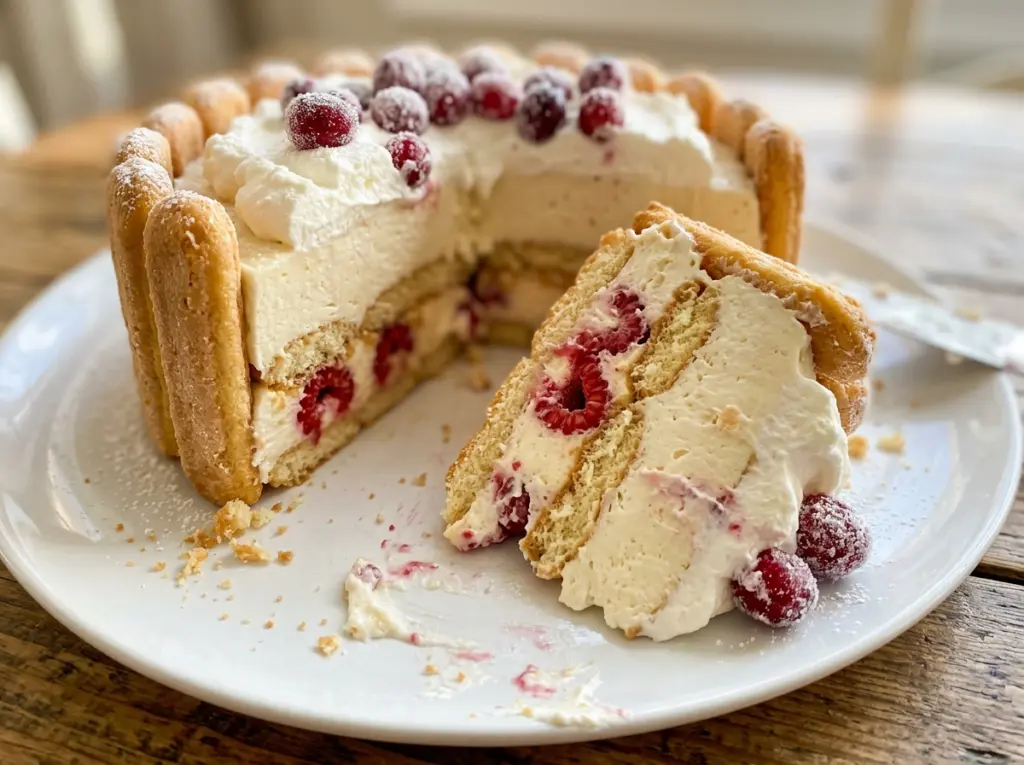
Those sugared ladyfinger edges should sit just above the pan, like a neat fence around the filling; if they slump inward, the slices lose that clean charlotte shape. I build the shell in an 8-inch springform pan with the sugared sides facing out, then trim the bottoms until the tops rise about half an inch above the rim. This White Christmas Charlotte Cake turns that crisp cookie wall into a no-bake dessert with a cool white chocolate center and coconut on top.
The filling begins as a gently cooked egg-yolk custard, not a bowl of melted chocolate and whipped cream. Cooking it to 170°F gives the yolks time to thicken the milk without letting the mixture boil, and the gelatin helps the chilled filling hold its shape. Once the custard cools, I fold in cream beaten to medium peaks so the center stays light rather than dense. The finished cake has a crisp edge, a soft mousse-like middle, and a snowy finish.
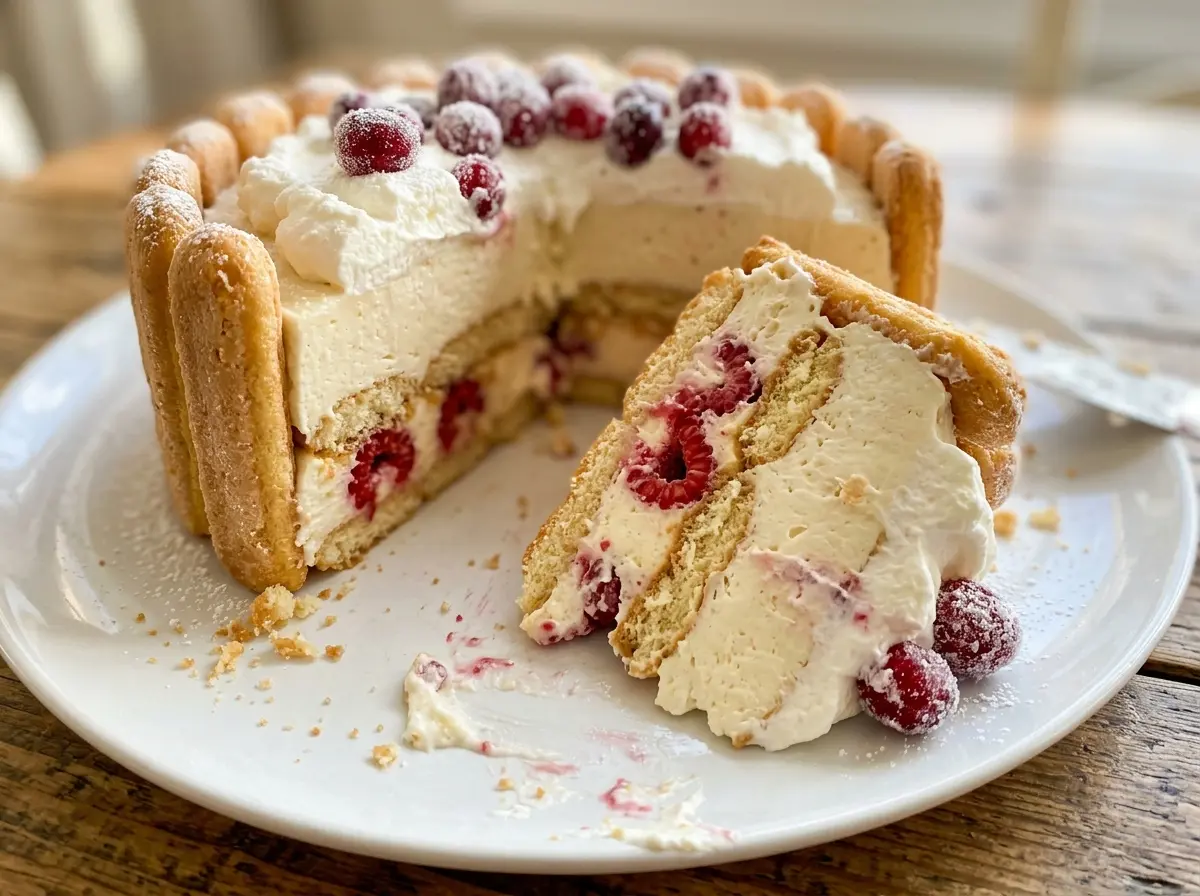
Kitchen Note
Give the gelatin its full five minutes over cold water before it goes into the custard. That short rest lets it hydrate evenly, so you don’t have dry grains to chase around the filling.
Save this White Christmas Charlotte Cake for its crisp ladyfinger sides, cool white chocolate filling, and coconut finish.
Why the Ladyfinger Wall Has to Rise Above the Filling
In a charlotte, the ladyfingers aren’t just a base for the filling; they’re the sides of the cake. Standing them sugared-side out gives you the decorative edge, while trimming their bottoms lets the tops rise about half an inch above the pan. That small overhang leaves a tidy border around the filling instead of a flat rim that disappears into it.
A snug ring matters as much as the height. Ladyfingers that lean away from one another leave gaps where the soft filling can press through, and an uneven bottom layer makes the cake harder to lift cleanly from the pan. Arrange the upright cookies close together first, then fit the remaining pieces across the parchment-lined base and break a few to fill open spots. The shell doesn’t need to look perfectly uniform on the bottom; it does need to cover the base so the filling stays contained.
This is also why crisp ladyfingers are a better fit than soft sponge cake. They give the cake a clear boundary while the filling chills, and the contrast between the cookie edge and the airy center is part of what makes each slice feel like a charlotte.
What Gives the White Chocolate Filling Its Structure
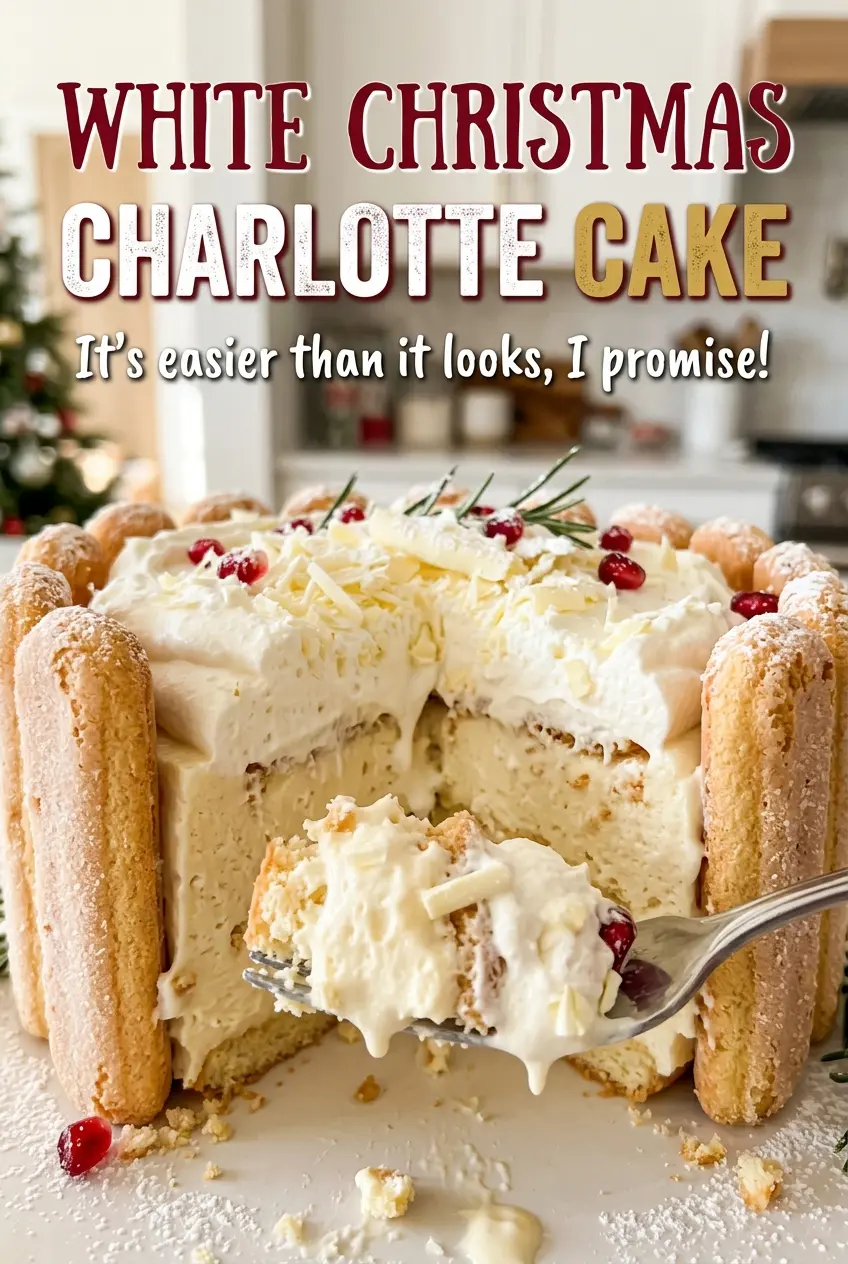
- Crisp ladyfingers — Look for firm, dry cookies that can stand upright without bending. They form the cake’s shell and base; soft sponge fingers won’t hold the same neat shape. If you need a gluten-free cake, use crisp gluten-free ladyfingers close in size to the original cookies.
- White chocolate — Finely chopped bar chocolate melts smoothly into the warm custard and helps the chilled filling set. Choose a bar you enjoy eating, since its flavor carries through the whole center. Chocolate chips can be harder to melt evenly, so stick with finely chopped bar-style white chocolate for the filling.
- Gelatin — This is what helps the whipped-cream filling hold its shape after chilling. Unflavored powdered gelatin keeps the white chocolate flavor in the foreground; flavored gelatin would change both the taste and color. There isn’t a simple spoon-for-spoon substitute that gives this filling the same set.
- Egg yolks and whole milk — Together, they make the custard that gives the filling body before the cream is folded in. Whole milk brings more richness than skim milk; 2% milk works in a pinch, though the custard will be a little less rich. Keep the yolks in the mixture, since they’re essential to the custard’s texture.
- Cold heavy cream — Heavy cream whips to the medium peaks that make the filling light while still helping it hold. Half-and-half won’t whip into those peaks, so it isn’t a useful swap here. Keep the cream cold until you beat it.
- Sweetened shredded coconut — It brings a little chew and sweetness to the white chocolate topping. Unsweetened shredded coconut works if you prefer a less-sweet finish, though the topping will taste less sugary.
Building the Shell and Folding a Smooth Filling
Fit the ladyfingers into the pan
Line the bottom of an 8-inch springform pan that’s at least 3 inches deep with a parchment round. Stand 25 ladyfingers around the inside, with their sugared sides facing out, and trim the bottoms so they reach about half an inch above the rim. Arrange the remaining cookies in one layer over the base, breaking them as needed to cover the gaps. If the upright cookies tip, adjust them until they sit snugly against one another and the pan.
Cook the custard without boiling it
Sprinkle the gelatin over the cold water in a small bowl and let it stand for five minutes. In a 2-quart saucepan, whisk the milk, egg yolks, sugar, and salt until smooth, then cook over medium-low heat, stirring constantly. After about 5–8 minutes, the custard should reach 170°F and lightly coat the back of a spoon. Don’t let it boil; steady stirring and moderate heat keep the yolks from curdling.
Melt the chocolate, then cool the custard
Take the saucepan off the heat and stir in the bloomed gelatin until it dissolves, followed by the 10 ounces of finely chopped white chocolate. Stir until the chocolate has melted and the custard looks smooth. Set the saucepan in a 4-quart bowl of ice water and stir for 10–15 minutes, until the mixture cools to about 75°F and thickens slightly. Cooling it before adding the cream helps the whipped cream stay airy when you fold everything together.
Fold, chill, and finish the cake
Beat the cold heavy cream and vanilla in a 3-quart bowl for 2–3 minutes, until medium peaks form. Fold the cream into the cooled custard in three additions, stopping when no streaks remain, then spoon the filling into the shell and smooth the top. Cover the pan loosely and refrigerate the cake for at least 6 hours or overnight, until the filling is set. Release the springform sides and move the cake to a serving plate; melt the reserved white chocolate in a microwave-safe bowl in 15-second bursts, stirring between each, then drizzle it over the top and sprinkle with coconut. Chill for 10 minutes to set the topping.
Three Simple Ways to Change the Finish
Make the shell gluten-free
Use crisp gluten-free ladyfingers in place of the regular ones, choosing cookies close in size so they fit the same pan. Keep the filling ingredients and method unchanged. The shell may be a little more delicate, so fit the cookies gently rather than pressing them together hard.
Give the coconut a toasted edge
Toast the sweetened shredded coconut in a dry skillet over medium-low heat, stirring often, until it turns lightly golden. Let it cool before sprinkling it over the white chocolate. The toasted coconut brings a deeper, nutty note, but watch the pan closely because sweetened coconut can darken quickly.
Add a tart raspberry finish
Replace the coconut with crushed freeze-dried raspberries, scattering them over the white chocolate drizzle. Their tartness cuts through the sweet filling, and the dry fruit keeps the topping crisp. Add them after drizzling so the pieces stay visible on top.
Make-Ahead and Serving
- Refrigerator: Keep the cake covered in the refrigerator for up to 3 days. The ladyfingers soften as they sit, so the shell won’t stay quite as crisp.
- Freezer: I don’t recommend freezing this cake. The whipped filling and ladyfingers can lose their pleasant texture as they thaw.
- Serving: Let the chilled cake stand at room temperature for 10 minutes before slicing. That brief rest makes the filling easier to cut without warming it for too long.
Questions That Come Up Before Slicing
White Christmas Charlotte Cake
Ingredients
Equipment
Method
- Line the bottom of an 8-inch springform pan that is at least 3 inches deep with a parchment paper round.
- Stand 25 ladyfingers snugly around the pan, sugared sides facing out, trimming the bottoms so they extend about 1/2 inch above the rim.
- Arrange the remaining 15 ladyfingers in a single layer over the bottom, breaking them to fill gaps.
- Sprinkle the gelatin over the cold water in a small bowl and let stand for 5 minutes.
- In a 2-quart saucepan, whisk the milk, egg yolks, sugar, and salt until smooth.
- Cook over medium-low heat, stirring constantly, until the custard reaches 170°F and lightly coats the back of a spoon, 5–8 minutes; do not let it boil.
- Remove the saucepan from the heat and stir in the bloomed gelatin until dissolved.
- Stir in 10 ounces of the white chocolate until melted and smooth.
- Set the saucepan in a 4-quart bowl of ice water and stir the custard until it cools to about 75°F and thickens slightly, 10–15 minutes.
- In a 3-quart bowl, beat the heavy cream and vanilla to medium peaks, 2–3 minutes.
- Fold the whipped cream into the cooled custard in three additions until no streaks remain.
- Spoon the filling into the ladyfinger shell and smooth the top.
- Cover the pan loosely and refrigerate until the filling is set, at least 6 hours or overnight.
- Release the springform sides and transfer the cake to a serving plate.
- Melt the reserved 2 ounces of white chocolate in a microwave-safe bowl in 15-second bursts, stirring between bursts.
- Drizzle the melted white chocolate over the cake and sprinkle with the coconut.
- Refrigerate for 10 minutes to set the topping.
- Let the cake stand at room temperature for 10 minutes before slicing.


