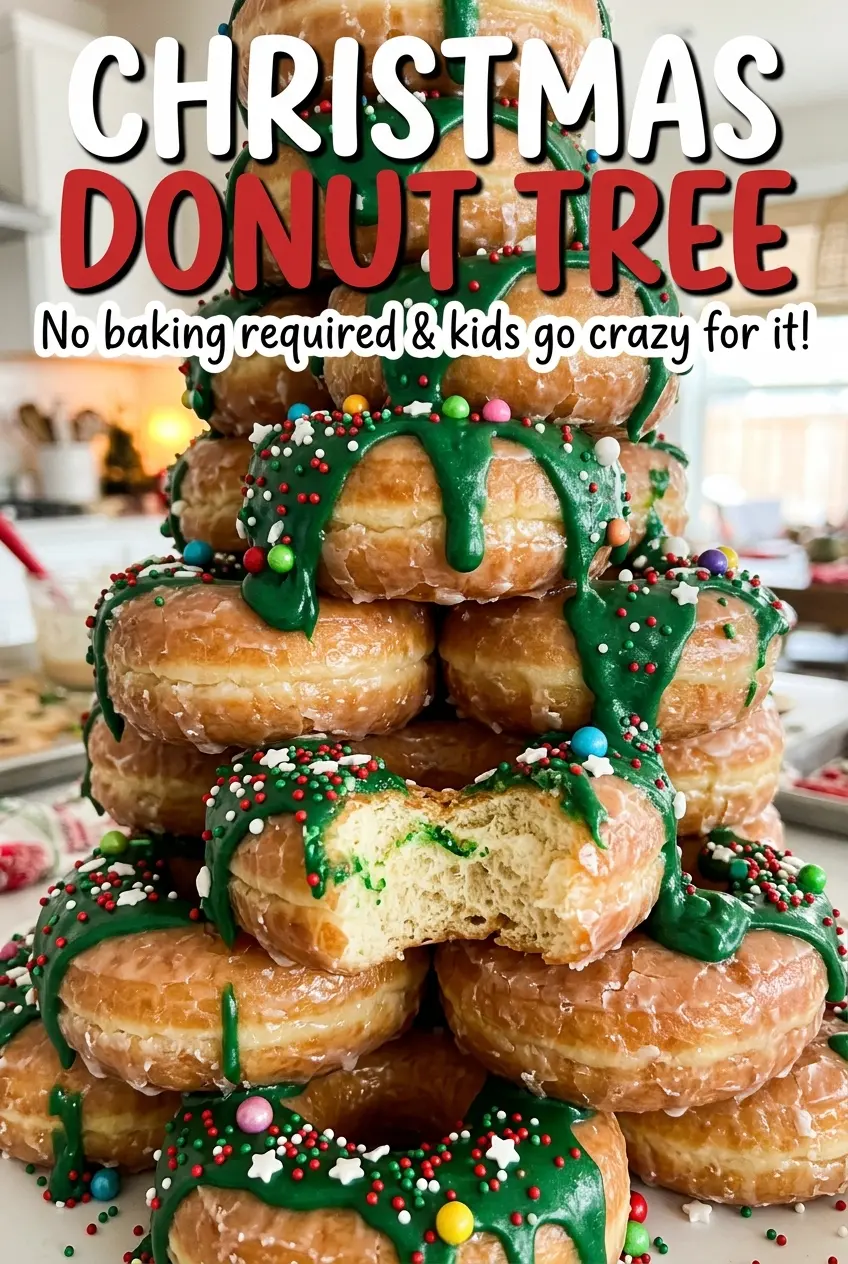
The moment the green candy melts run across the powdered donuts, the little gaps between them start to disappear and the scattered rounds become one recognizable tree. I like that this Christmas Donut Tree looks festive without baking or complicated decorating, and the whole assembly happens right on the serving platter.
The shape comes from arranging the mini donuts in centered rows, then letting the coating fill the joins as it covers the tops. That connection matters: the candy coating doesn’t just add color, it helps the finished tree hold together when you lift a donut to serve it.
Red and green candies make quick ornaments, with a yellow star at the top and a pretzel trunk at the bottom. The finished tree serves seven, and it’s a cheerful centerpiece made entirely from familiar sweets.
Kitchen Note
I get the smoothest coating when I stir after every 30-second microwave burst, even if the melts still look mostly solid. Keep going at 50% power until they turn glossy and pourable; a few extra seconds at high heat can make the coating harder to work with.
Save this Christmas Donut Tree for an easy holiday centerpiece, with green candy-coated joins and candy ornaments that come together right on the platter.
Why the Six-Donut Base Makes This Tree Look Balanced
A tree shape reads clearly when its widest point sits at the bottom and each row above it gets narrower. Here, the six-donut base gives the platter a broad foundation, while the rows of five, four, three, two, and one create a clean taper to the star. Center each row over the one below it; even a small shift at the bottom becomes more noticeable as the shape rises.
The donuts should touch before any candy goes on. That gives the green coating short gaps to fill rather than wide spaces to bridge, so the joins can set into a connected shape. Use an 18×14-inch platter, which leaves room for the full arrangement without pushing the bottom row against the edge. If the rows look a little uneven while you’re arranging them, adjust them now. Once the coating sets, the tree is much less forgiving to move around.
Think of the platter as your work surface as well as the serving dish. Building the shape there means you won’t need to transfer a delicate finished tree from a board to a plate.
What Each Donut-Tree Ingredient Brings to the Platter
- Mini powdered-sugar donuts — Their compact round shape makes the stepped tree possible, and the powdered tops give the green coating a visible contrast. Choose intact donuts rather than crushed or misshapen ones so the rows sit neatly. Full-size donuts won’t make the same arrangement on the platter.
- Green candy melts — These provide the tree color and the coating that fills the joins. They’re a better fit here than ordinary chocolate, which won’t give you the same green finish. Break up any large clumps in the bag before melting so the bowl heats more evenly.
- Red and green mini candy-coated chocolates — Their small size makes them easy to scatter as ornaments without overwhelming the donuts. Save them until the coating is still wet; once it sets, they won’t stick securely on top.
- Yellow star-shaped candy — The star creates a clear top point, so its shape matters more than its size or brand. Set it at the top while the green coating is wet, rather than trying to attach it after the surface firms.
- Pretzel stick — It gives the bottom of the tree a simple trunk and a little salty crunch against the sweet coating. Keep it below the bottom row so it reads as the trunk instead of another ornament.
How to Build the Rows Before the Candy Coating Sets
Set the Tree Shape on the Platter
Arrange the donuts on an 18×14-inch platter in six centered rows: six at the bottom, then five, four, three, two, and one. Bring each donut close enough to touch the next so there aren’t wide gaps between them. Check that the rows narrow evenly toward the top before you start melting anything. It’s easiest to correct a lopsided outline while the donuts are still loose.
Melt the Green Candy Smoothly
Put the candy melts in a medium microwave-safe bowl and heat them at 50% power in 30-second bursts. Stir after each burst, scraping through the middle and around the sides so warmer melts mix with the pieces that haven’t softened yet. Stop when the coating is smooth and can be spooned over the donuts. If solid pieces remain, give the bowl another burst rather than switching to high power.
Coat and Decorate While the Surface Is Wet
Spoon the melted candy across the tops of the donuts, covering them and filling the joins. Keep the coating moving across the tree before it starts to set; the wet surface is what holds the decorations in place. Add the red and green mini candies as ornaments, place the yellow star at the top, and set the pretzel stick below the bottom row for the trunk. If a decoration lands in the wrong place, move it while the coating is still soft.
Give the Tree Time to Set
Leave the platter at room temperature for about 15 minutes, until the candy coating is set. The surface should look firm rather than glossy and wet when you gently inspect it. Avoid shifting the platter around during this time, since the coating needs to firm up across the joins as well as on the donut tops. Once set, the tree is ready to serve from the platter.
Three Ways to Change the Look Without Losing the Tree Shape
Make the Ornaments Look More Deliberate
Instead of scattering the red and green candies randomly, place them in a repeating pattern down the rows while the coating is wet. The same candies look more like planned ornaments, and the tree keeps its original green-and-red palette.
Leave More Powdered Sugar Showing
For a less-coated look, spoon green candy over the joins and in narrower passes across the donut tops instead of covering every top completely. The tree will show more powdered sugar and have less candy coating on each serving, while the filled joins still tie the shape together.
Make a Gluten-Free Adaptation
Use gluten-free mini powdered-sugar donuts and a gluten-free pretzel stick in place of the standard versions, and choose green candy melts and mini candies that are suitable for your needs. The arrangement stays the same, though the texture and size of gluten-free donuts can vary by brand, so keep the donuts touching as you build the rows.
Storage and Reheating
- Refrigerator: Keep the finished tree covered in an airtight container for up to 2 days. The donuts may firm up, and moisture can soften the powdered-sugar finish.
- Freezer: Freezing the assembled tree isn’t recommended; condensation as it thaws can make the coating tacky and the decorations less tidy.
- Reheating: Skip reheating, since warmth softens the candy coating and can loosen the joins. If chilled, let the platter sit out until the donuts are no longer cold before serving.
The Donut-Tree Questions That Come Up Mid-Assembly
Christmas Donut Tree
Ingredients
Equipment
Method
- Arrange the donuts on an 18x14-inch platter in a tree shape, with rows of 6, 5, 4, 3, 2, and 1 donut, centered and touching.
- Melt the candy melts in a medium microwave-safe bowl at 50% power in 30-second bursts, stirring after each, until smooth.
- Spoon the melted candy over the donuts, covering their tops and filling the joins. While it is still wet, add the mini candies as ornaments, place the star at the top, and set the pretzel stick below the bottom row as the trunk.
- Let the tree stand at room temperature for about 15 minutes, until the candy coating is set.


