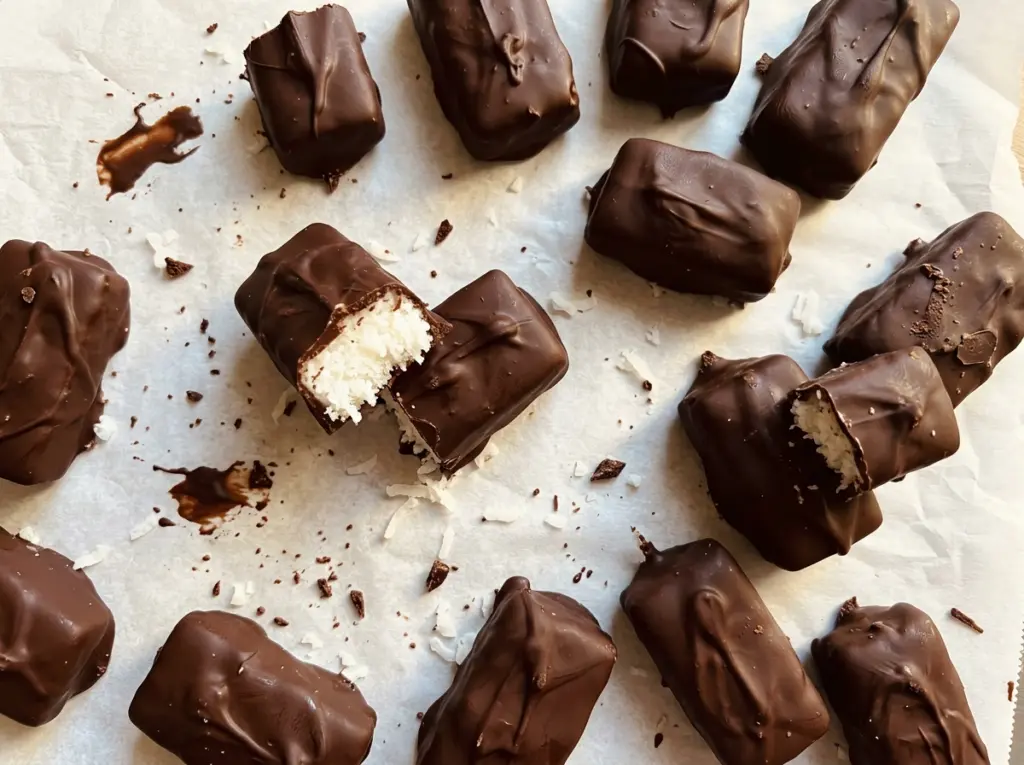
The coconut mixture should clump when you press it between your fingers, not crumble like loose shreds. That little check matters before you shape these Easy Homemade Mounds Candy bars: the centers need to hold together through chilling and dipping, but they shouldn’t be packed into dense blocks.
I fold the coconut in gently until it’s evenly moistened, then shape the bars and let the refrigerator firm them up. Cold centers are much easier to coat, and the chocolate slips around them instead of pulling the filling apart. With a bittersweet shell around that sweet, chewy coconut, each piece has the familiar candy-bar contrast without a complicated candy-making setup.
Kitchen Note
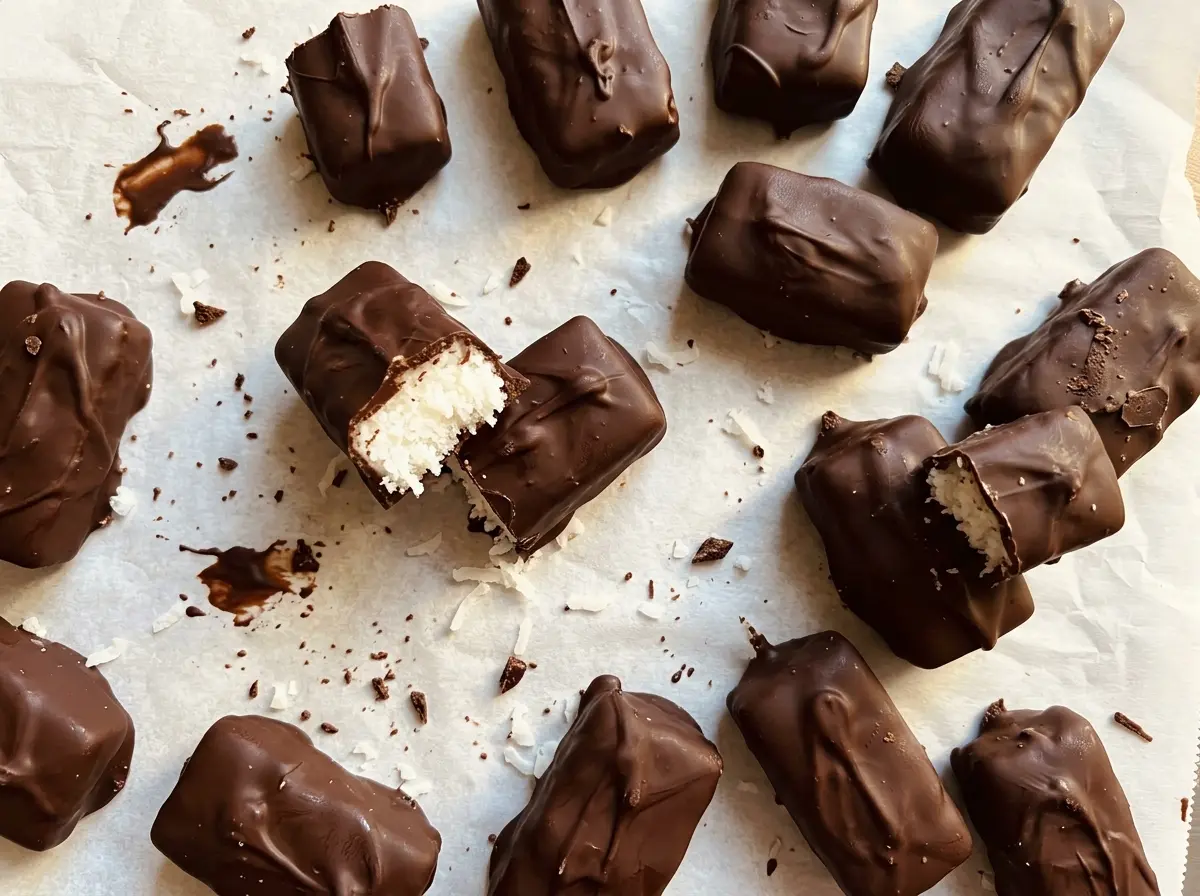
Microwave the chocolate at half power and stir after every 20-second burst, even when a few pieces still look solid. The chopped chocolate keeps melting as you stir, so don’t wait for every piece to look liquid before checking whether it’s smooth.
Save these Easy Homemade Mounds Candy bars for a homemade chocolate-and-coconut treat with firm, chewy centers and a bittersweet shell.
Why the Sweet Coconut Needs a Bittersweet Shell
The filling brings sweetness from more than one place: the coconut is sweetened, and the condensed milk and powdered sugar add their own. Coating it in chocolate that’s about 60% cacao gives the candy a deeper, slightly bitter edge. That contrast keeps the coconut from tasting one-note sweet, and it’s what makes these bars read like a chocolate candy rather than a coconut dessert with a chocolate drizzle.
There’s also a practical difference between a thin coating and a thick, heavy one. Finely chopped chocolate melts evenly, while a little coconut oil helps it flow around the chilled centers. Let the extra chocolate drip back into the bowl before setting each bar down; a thinner shell gives you a clean chocolate layer without burying the coconut center. If you prefer a sweeter candy, you can choose milk chocolate, but the finished bars will taste noticeably sweeter and less bittersweet.
What Gives the Coconut Centers Their Hold and the Chocolate Its Flow

- Sweetened shredded coconut — The larger shreds give the centers their chewy texture. Use sweetened coconut for the intended balance and moisture; unsweetened or very fine, dry coconut can leave the mixture less sweet or harder to press together.
- Sweetened condensed milk — This thick, sweet milk binds the coconut and helps the bars keep their shape. Evaporated milk isn’t a direct substitute: it’s thinner and unsweetened, so it won’t give the centers the same hold or sweetness.
- Bittersweet chocolate — A chopped bar around 60% cacao melts into a smooth coating and balances the sweet center. A good grocery-store baking bar works well; if you swap in milk chocolate, expect a sweeter finish.
- Coconut oil — It loosens the melted chocolate so it coats the bars more smoothly. Refined coconut oil has a quieter aroma, while virgin coconut oil brings a more noticeable coconut scent.
- Powdered sugar, vanilla, and salt — Powdered sugar blends into the moist filling without the grit granulated sugar can leave. Vanilla rounds out the coconut, and the small amount of salt keeps the sweetness from tasting flat.
Shape First, Chill Firm, Then Dip
Mix Until the Coconut Is Evenly Moistened
Line a rimmed baking sheet with parchment before you start shaping. Stir the powdered sugar, sweetened condensed milk, vanilla, and salt together in a medium bowl until smooth, then fold in the coconut. Keep folding until there are no dry pockets and the mixture holds together when pressed; loose, powdery patches mean it needs more mixing, not more force.
Shape Bars That Stay Intact
Shape the mixture into 18 bars about 2 inches long and set them on the prepared sheet. Press each bar just firmly enough to help it hold together, without compacting it into a hard lump. Refrigerate the bars for 30 to 45 minutes, until firm. If they still feel soft when you lift one, give them more time in the refrigerator before dipping.
Melt the Chocolate Gently
Combine the finely chopped bittersweet chocolate and coconut oil in a heatproof bowl. Microwave at 50% power in 20-second bursts, stirring after each one, for 1 to 2 minutes total, until smooth. The bowl can hold heat between bursts, so stir well and check the texture before returning it to the microwave. If the chocolate gets too hot, it can turn thick instead of coating the bars evenly.
Coat and Let the Shell Set
Dip each chilled coconut bar in the melted chocolate, then let the excess drip back into the bowl. Return each coated bar to the parchment-lined baking sheet. Refrigerate for 15 to 20 minutes, until the chocolate is set and no longer looks wet. Keep the bars in a single layer while the coating firms so the fresh shells don’t get marked.
Three Smart Twists on Homemade Mounds Candy
Make the Coating Sweeter
Use milk chocolate in place of the bittersweet chocolate and keep the coconut oil in the coating. The softer, sweeter chocolate makes these taste closer to a classic milk-chocolate candy bar, though you’ll lose some of the contrast against the sweet coconut center.
Add an Almond to Each Bar
For an almond-coconut version, press a whole almond onto each shaped bar before chilling, then dip the bars as usual. The almond adds a crisp bite and a nutty flavor; press it in securely so it stays attached when you coat the center.
Make Them Dairy-Free
Replace the sweetened condensed milk with sweetened condensed coconut milk, and choose dairy-free bittersweet chocolate. The coconut milk keeps the filling sweet and cohesive, with a stronger coconut taste; check the package to confirm the chocolate is dairy-free.
Storage and Serving
- Refrigerator: Keep the candies in an airtight container for up to 1 week. The centers stay chewy, while the chocolate shell will be firm when cold.
- Freezer: Freeze the set bars in a single layer, then transfer them to an airtight container with parchment between layers. They keep their best texture for up to 2 months; thaw them in the refrigerator while still covered to limit condensation on the chocolate.
- Serving: Let refrigerated bars sit out for about 10 minutes before serving if you prefer a less-firm center. Don’t leave the whole batch out in a warm room, where the chocolate coating can soften.
Questions That Come Up While Making Mounds Candy
Easy Homemade Mounds Candy
Ingredients
Equipment
Method
- Line a rimmed baking sheet with parchment paper.
- Stir the powdered sugar, sweetened condensed milk, vanilla, and salt together in a medium bowl until smooth.
- Fold in the coconut until evenly moistened and the mixture holds together when pressed.
- Shape the mixture into 18 bars about 2 inches long and place them on the prepared baking sheet.
- Refrigerate for 30 to 45 minutes, until firm.
- Combine the chocolate and coconut oil in a heatproof bowl and microwave at 50% power in 20-second bursts, stirring after each, for 1 to 2 minutes total, until smooth.
- Dip each chilled coconut bar in the chocolate, let the excess drip back into the bowl, and return it to the baking sheet.
- Refrigerate for 15 to 20 minutes, until the chocolate is set.


