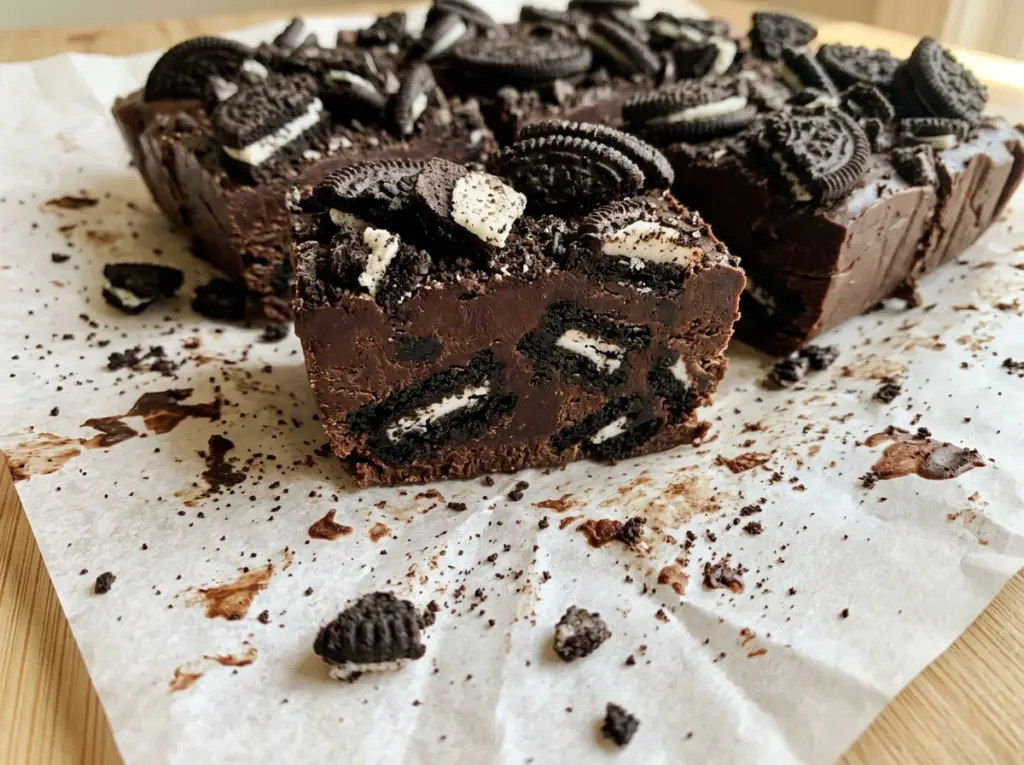
The white chocolate chips begin as separate little pieces, then turn into a thick, glossy mixture as they warm with the sweetened condensed milk. That’s the moment to step away from the burner, not turn up the heat. Oreo fudge comes together with just a saucepan and an 8-inch square pan, but gentle heat makes the difference between a smooth bite and scorched chocolate.
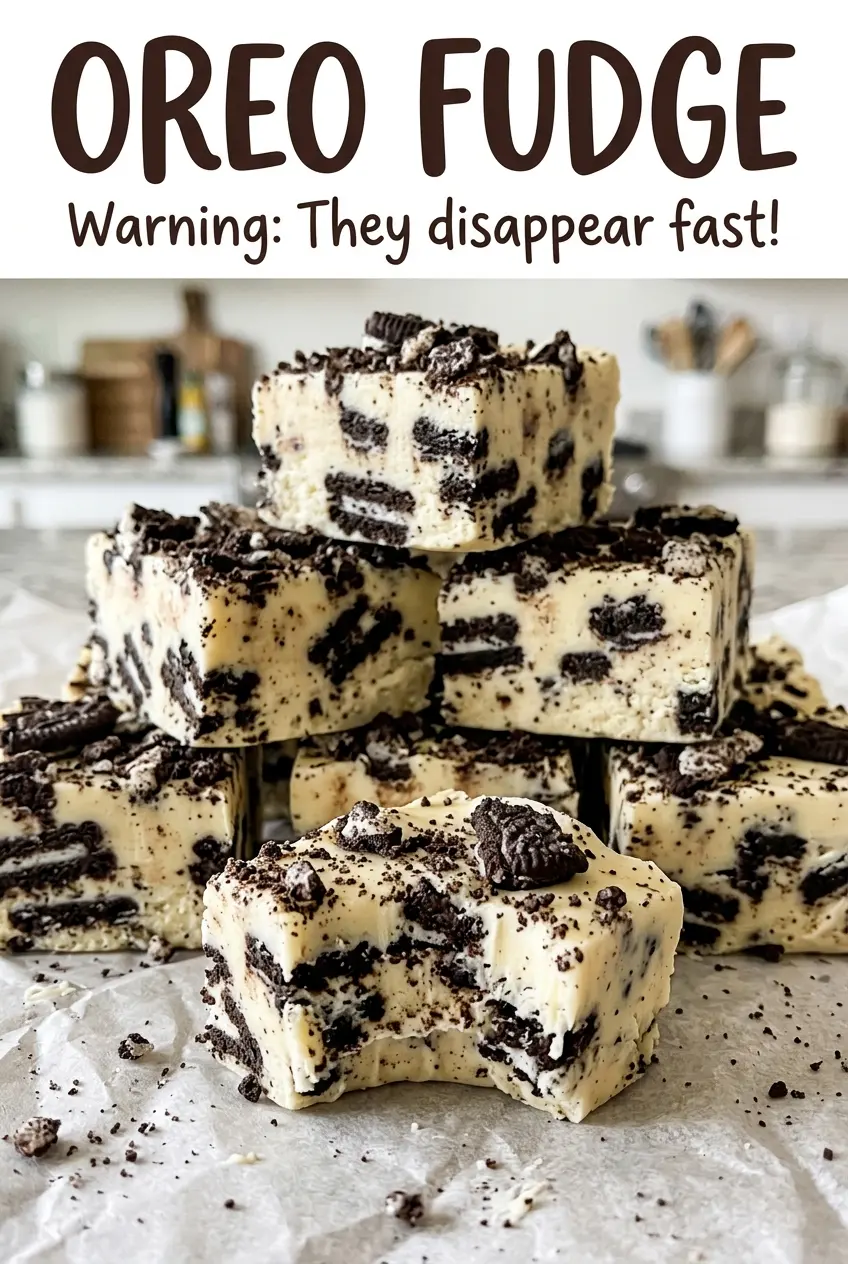
I fold the roughly chopped cookies in after the pan comes off the heat, so their pieces stay distinct instead of disappearing into the white chocolate. Once the slab has chilled until firm, the parchment makes it easy to lift out and portion. Each square has a creamy base and a cookie crunch, with enough contrast to make a simple batch feel special.
Kitchen Note
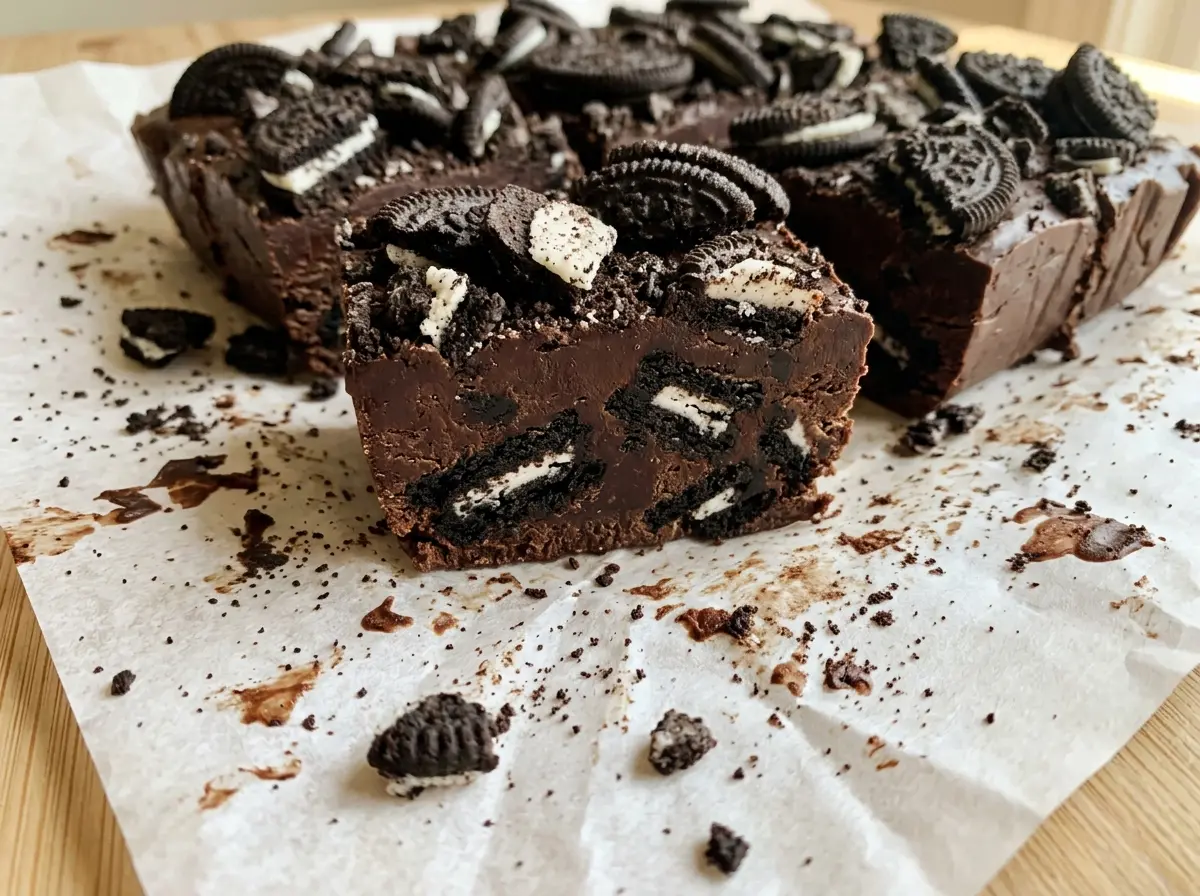
Leave enough parchment hanging over the pan to get a good grip on both sides. Once the fudge is firm, that overhang lets you lift the whole slab out without digging a spatula into the corners.
Save this Oreo fudge for a sweet treat with creamy white chocolate and generous cookie pieces in every square.
The Condensed-Milk Shortcut That Keeps This Fudge Off the Candy Thermometer
Traditional stovetop fudge usually asks you to cook sugar to a particular stage before it will set. This version takes a different route: white chocolate and sweetened condensed milk become the base, so there’s no bubbling sugar syrup to monitor and no candy thermometer to read. That makes the timing more forgiving, but it doesn’t mean the chocolate can take high heat.
White chocolate is delicate, and rushing it can leave you with a thick, scorched mixture before it has melted smoothly. Gentle heat gives the chips time to melt into the condensed milk while you stir. The goal isn’t to cook the mixture down; it’s to bring the two together, then add the cookies off the heat. Keeping that distinction in mind helps you avoid treating this like old-fashioned fudge that needs to boil.
The other useful detail is the pan size. An 8-inch square pan gives the mixture enough depth to cut into substantial pieces, while spreading it evenly keeps the slab consistent from edge to center. Parchment makes the set fudge easy to lift out before portioning.
Why White Chocolate and Sweetened Condensed Milk Need Each Other Here
- White chocolate chips — They melt into the sweet, creamy base and give the fudge its structure as it chills. A familiar, affordable bag works well here; if you’d rather use a white chocolate bar, replace the chips with an equal weight of chopped white chocolate. Chop it small enough to melt evenly.
- Sweetened condensed milk — This brings sweetness and a thick, cohesive texture to the mixture. Use sweetened condensed milk, not evaporated milk: evaporated milk lacks the same sweetness and concentration, so it won’t give you the same set.
- Vanilla extract — A little vanilla rounds out the sweetness without competing with the cookies. Vanilla bean paste works as a direct swap in the same amount, though you’ll see tiny flecks in the finished fudge.
- Oreo cookies — Their chocolate wafers and creme filling add the familiar cookie-and-cream bite. Roughly chop them rather than crushing them to dust, so the finished pieces have recognizable cookie chunks. A crisp store-brand chocolate sandwich cookie also works if you’re not attached to the Oreo name.
From Smooth Melt to 36 Clean Oreo Fudge Squares
Set Up the Parchment-Lined Pan
Line an 8-inch square pan with parchment paper, leaving enough overhang to lift the fudge out later. Let the paper cover the base and sides so the mixture won’t stick to the pan. This little bit of setup is easier before the chocolate mixture is warm and ready to spread.
Melt the Chips Without Scorching Them
Combine the white chocolate chips and sweetened condensed milk in a medium saucepan over low heat. Stir constantly for 5 to 7 minutes, scraping around the bottom as the chips soften. The mixture should look smooth and melted, without hard chips or darkened patches. If it starts to look scorched or unusually stiff, the heat is too high; lower it rather than trying to hurry the melt.
Fold in the Cookies and Chill Until Firm
Take the saucepan off the heat, stir in the vanilla, then fold in the roughly chopped Oreos. Work gently so the cookie pieces stay distributed through the mixture rather than breaking down as you stir. Spread it evenly in the prepared pan, then refrigerate for at least 3 hours, until firm. Lift the slab out with the parchment and cut it into 36 pieces.
Three Cookie Swaps That Change the Bite Without Changing the Method
Make It Gluten-Free With Gluten-Free Oreos
Replace the regular cookies with the same number of gluten-free Oreos, then roughly chop them as usual. The fudge keeps its familiar chocolate-cookie flavor, with a slightly different wafer texture depending on the package.
Use Golden Oreos for a Vanilla-Cookie Version
Swap in the same number of Golden Oreos for a milder cookie flavor and a lighter-colored fudge. The creamy white chocolate stays the star, and the pieces still bring a crisp cookie contrast.
Give It a Mint-Chocolate Twist
Use mint creme sandwich cookies in place of the regular Oreos. Their mint filling changes the flavor noticeably, while the chocolate cookie pieces still pair well with the white chocolate base.
Storage and Reheating
- Refrigerator: Keep the fudge in an airtight container for up to 1 week. It will be firmer straight from the fridge.
- Freezer: Freeze the cut pieces in an airtight container, with parchment between layers, for up to 2 months. Thaw them in the refrigerator.
- Reheating: No reheating is needed. Serve chilled, or let a piece stand briefly at room temperature if you prefer a softer bite.
Questions That Come Up Before You Cut the Slab
Oreo Fudge
Ingredients
Equipment
Method
- Line an 8-inch square pan with parchment paper, leaving enough overhang to lift out the fudge.
- Combine the white chocolate chips and sweetened condensed milk in a medium saucepan and heat over low heat, stirring constantly, for 5 to 7 minutes, until smooth and melted.
- Remove the pan from the heat and stir in the vanilla extract.
- Fold in the chopped Oreos.
- Spread the mixture evenly in the prepared pan.
- Refrigerate for at least 3 hours, until firm.
- Lift the fudge out using the parchment.
- Cut into 36 pieces.


